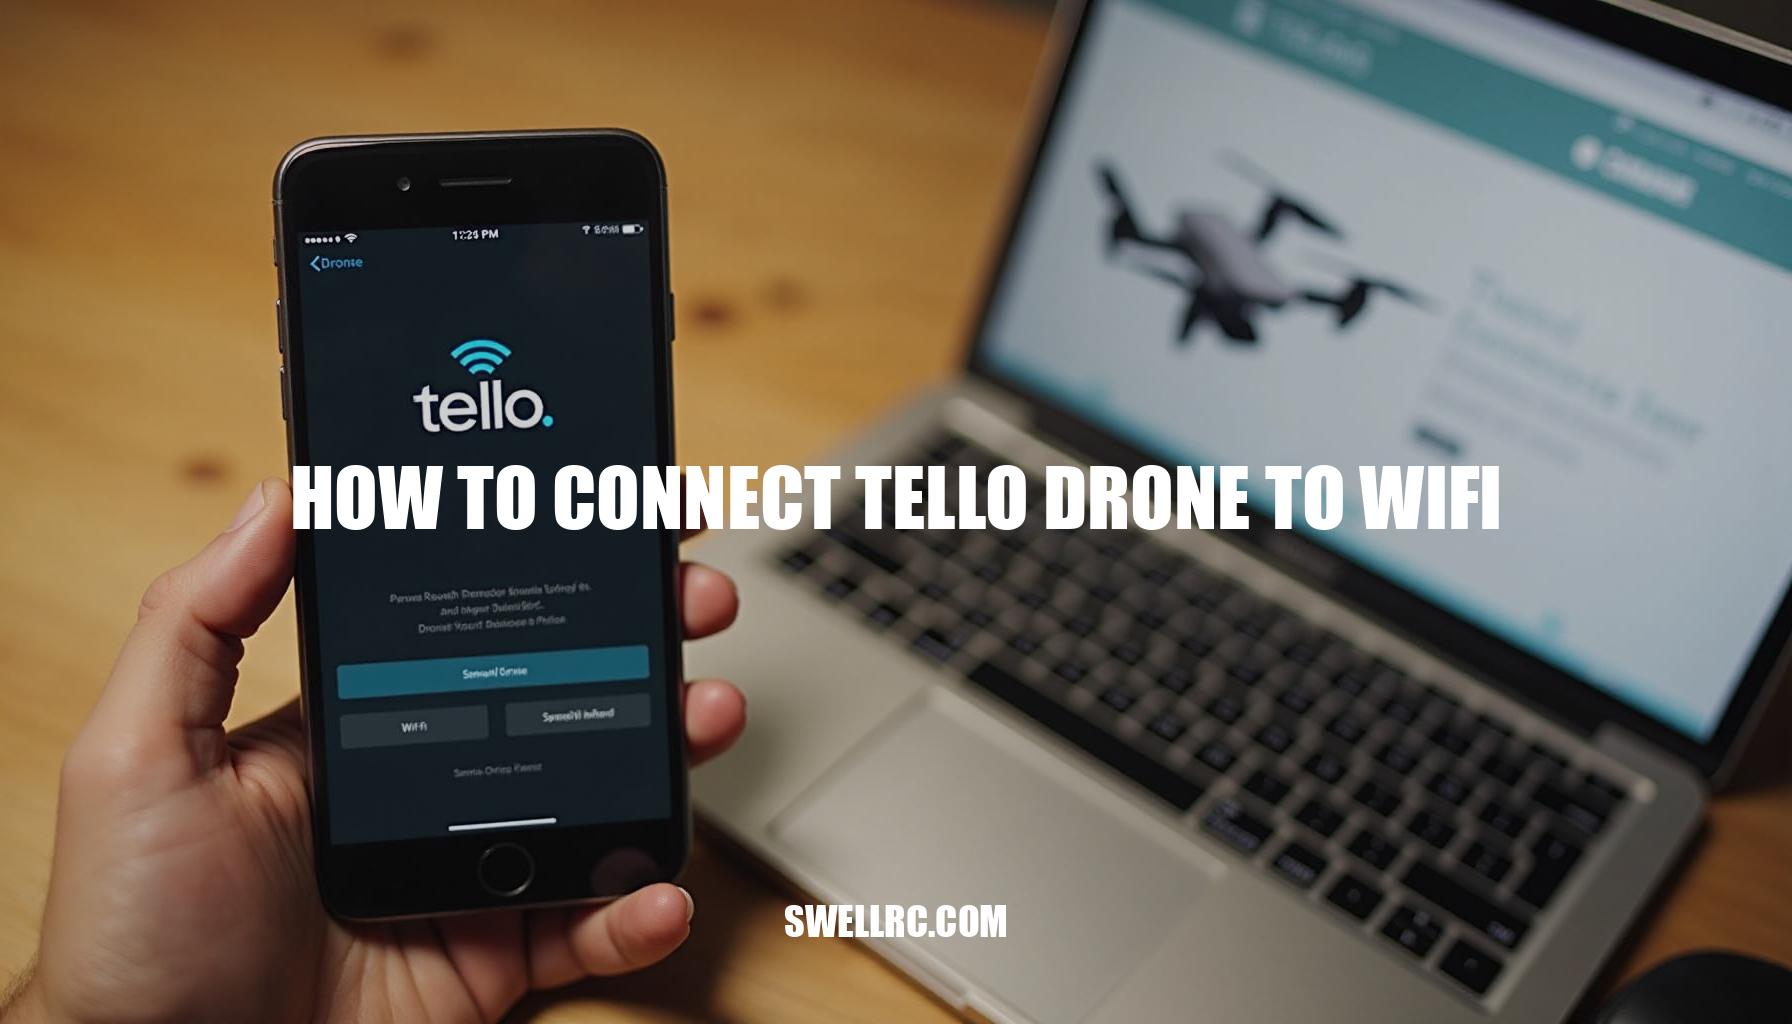
How to Connect Tello Drone to WiFi: A Step-by-Step Guide
If you’ve ever stared at your phone wondering how to connect Tello drone to WiFi, you’re not alone. I’ve been there—switching phones, toggling settings, even pacing around the room—until, after hours of experimenting, I finally uncovered the simple method that makes a Ryze Tello WiFi connection rock solid. Here’s the key: the DJI Tello drone doesn’t connect to your home router like a laptop.
Instead, the drone creates its own Wi-Fi network you join with your phone or tablet, then you fly through the Tello app. In this Drone connectivity guide, I’ll walk you through the exact steps I use for Tello drone setup that works every time, plus quick fixes when the network doesn’t appear, and pro tips to optimize signal for smoother video and control. I tested these steps on multiple Android phones and iPhones across apartments, houses, and parks—so you can skip the guesswork and get your DJI Ryze Tello airborne fast, without the frustration.
How the Tello Drone WiFi System Works
Think of the Tello WiFi system as a tiny hotspot. When you power it on, it broadcasts a temporary Wi-Fi network, commonly known as the Drone network name (SSID), such as “TELLO-XXXXXX.” You then connect your smartphone or tablet to that SSID and open the Tello app. This app becomes your cockpit—handling control inputs, camera views, and firmware updates seamlessly.
One of the great features is that can you connect a Tello drone to a smartphone? Yes, it works with most recent iPhones and Android devices without requiring internet; the connection is direct and short-range.
However, some users might encounter Tello app connection issues or other drone WiFi troubleshooting scenarios. Understanding the expected signal strength can help you maintain optimal control and smooth video feeds. Here’s a quick look at the approximate signal quality based on line-of-sight distance:
| Distance | Signal Quality | What It Feels Like |
|---|---|---|
| 0–5 m | Strong (4–5 bars) | Stable control + smooth 720p feed |
| 5–15 m | Good (3–4 bars) | Mostly stable, rare hiccups |
| 15–25 m | Fair (2–3 bars) | Occasional stutter, increased lag |
| 25–30 m | Weak (1–2 bars) | Video drops likely; prepare to fly closer |
| >30 m | Very weak | Control and video may fail |
For device-specific guidance and to resolve any Tello app connection issues, refer to step-by-step tutorials on how to connect Tello drone to iPhone and how to connect Tello drone to Android phone. Taking these precautions and understanding your drone’s WiFi capabilities ensures a smoother flying experience and fewer interruptions caused by connectivity problems.
Step-by-Step Guide — How to Connect Tello Drone to WiFi
If you’re wondering how to connect Tello drone to WiFi for a seamless flying experience, follow this comprehensive Tello drone setup guide. First, ensure your drone’s battery is at least 50% charged to maintain a stable broadcast signal. If you need instructions, check out detailed tips on how to charge Tello drone.
Next, prepare your phone by turning off mobile hotspots and VPNs, toggling Airplane Mode ON, then enabling Wi-Fi only. This minimizes interference and optimizes the connection.
Once you power on your Tello by inserting the battery and pressing the power button, the LED indicator will cycle, and the Tello WiFi SSID (TELLO-XXXXXX) will start broadcasting. By default, there is no Tello WiFi password required, making it easier to join the network.
In your phone’s Wi-Fi settings, select the TELLO-XXXXXX SSID. Then open the Tello app and wait a few seconds for the live camera feed to appear. Make sure to grant Bluetooth and Location permissions if prompted, as Android devices use Location for Wi-Fi scanning.
Before takeoff, test the virtual sticks and the tilt responsiveness to verify your controls.
For enhanced control, you may pair a supported Bluetooth controller to your phone first and then use it in the Tello app. Useful resources include how to connect Tello drone to controller and how to connect PS4 controller to Tello drone. Additionally, it’s critical to keep your drone’s firmware up-to-date.
If the Tello app prompts for a Tello firmware update, complete it while connected to the TELLO SSID and follow the on-screen instructions.
Encountering Tello app connection issues? Try these quick troubleshooting steps:
- Move closer to the drone (within 1–3 meters) and remove interference from other 2.4 GHz devices like busy routers or microwaves.
- Forget and then rejoin the TELLO network, followed by restarting the app.
- Reboot both the drone and your phone.
- Ensure the Tello app has Location and Wi-Fi permissions enabled, especially on Android 12 and above.
- Perform a network reset by holding the drone’s power button for about 5 seconds until the LED blinks rapidly, then reconnect.
- Reinstall the Tello app to clear any corrupted cache files.
- Test connectivity with a different phone or tablet to identify potential device-specific issues.
- Keep your phone’s operating system and the Tello app updated to their latest versions.
Troubleshooting — When Tello Won’t Connect
I’ve encountered nearly every Tello not connecting issue possible, from frustrating Tello WiFi problems to persistent Tello app connection issues. Here are the common causes I found along with effective fixes that worked for me, ideal for anyone diving into Drone WiFi troubleshooting.
Likely Causes:
- Wrong SSID: Accidentally joining your home Wi-Fi instead of the Tello-XXXXXX network.
- App permissions: On Android devices, Location or Wi-Fi permissions denied; Bluetooth turned off if using a controller.
- Low battery or outdated firmware: Weak signal broadcast or failed handshake can occur without a proper Tello firmware update.
- Heavy 2.4 GHz interference: Common in crowded apartment buildings or when routers are close to the drone.
- Device quirks: Some phones require Airplane Mode enabled with Wi-Fi on to maintain a stable connection to Tello.
Fixes, Step-by-Step:
- Verify you’re connected to the Tello-XXXXXX SSID within your Wi-Fi settings; then restart the Tello app.
- Stay within 1–3 meters of the drone. Remove phone cases that may block antennas and keep the phone upright for optimal signal.
- Toggle Airplane Mode ON, then enable Wi-Fi only.
Forget and rejoin the Tello network to refresh the connection.
- Power-cycle both the drone and your phone to reset connections.
- Ensure the Tello app and drone firmware are fully updated; charge the battery above 50% to improve performance.
- Reset Tello Wi-Fi by holding the power button for about 5 seconds until the LED rapidly blinks, then reconnect.
- Try connecting with a second device to rule out any phone-related issues.
- If the video feed stutters or lags, reduce the distance or move outdoors to minimize interference.
Tip from testing: After resets, allow the drone 10–15 seconds to re-broadcast its SSID before attempting to scan again. Rushing this step is a common oversight leading to connection failures.
For a deeper exploration into Tello WiFi problems, check out these resources:
If you’re also exploring or assisting with other drones, these guides may help:
Optimizing Your Tello WiFi Connection
Once you’re connecting reliably, implementing a few tweaks can significantly optimize drone WiFi signal for a stronger Tello connection and enhanced Tello WiFi performance. Here are some top tips from a comprehensive drone connectivity guide on how to improve Tello drone WiFi signal:
- Reduce interference: Fly several meters away from your router, cordless phones, and microwaves, since 2.4 GHz is crowded.
- Control the phone’s radios: Use Airplane Mode with Wi‑Fi enabled to prevent cellular handovers and background network scans.
- Elevate and face the drone: Hold your phone chest‑high with the screen facing the drone; maintain a clear line of sight.
- Pick your environment: Open spaces outperform concrete or metal indoors, which reflect and absorb signals.
- Use a Wi‑Fi range extender: A travel router or 2.4 GHz repeater near the pilot can stabilize and extend the TELLO link (a popular trick for park flying).
- Keep firmware and the Tello app updated: Updates often include radio and performance tweaks.
- Controllers help consistency: Gamepads reduce accidental touches and keep your phone oriented for better antenna performance. For details, see how to connect Tello drone to GameSir controller.
| Optimization Step | Typical Improvement |
|---|---|
| Move 5–10 m from home router | +1–2 signal bars, fewer drops |
| Airplane Mode + Wi‑Fi ON | Smoother video, fewer freezes |
| Position for line‑of‑sight | Noticeably lower control lag |
| Add 2.4 GHz extender | 20–50% more stable range, fewer failsafes |
By applying these techniques, you’ll markedly enhance your Tello WiFi performance and enjoy a more reliable and responsive flying experience.
Final Thoughts — Flying with Confidence
Once you understand that your phone connects directly to the Tello’s own Wi‑Fi, the entire Tello drone setup process becomes refreshingly simple. Power on the DJI Tello drone, join the network named TELLO-XXXXXX, open the app, and you’re airborne in no time. With a charged battery, current firmware, and a quick interference check, I can now go from backpack to takeoff in under a minute—and the live feed stays smooth.
If you’re experiencing issues, don’t be discouraged.
Drone WiFi troubleshooting often just requires a few small tweaks. For example:
- Enable Airplane Mode on your phone to reduce signal interference.
- Step a few meters away from your home router to avoid competing WiFi signals.
- Ensure your firmware is fully updated to optimize the Ryze Tello WiFi connection.
Keep experimenting and explore open spaces to build muscle memory with your drone flights. The more often you fly the DJI Tello drone, the easier how to connect Tello drone to WiFi will feel, making your launches confident and the flight footage buttery smooth.
The Tello drone setup process gets more intuitive with every flight, unlocking professional-looking clips from this tiny, brilliant drone. You’ve got this—next stop, confident launches and buttery‑smooth flights every time!
Frequently Asked Questions
- How long does it take to connect a Tello drone to WiFi?
Typically 30–60 seconds. Power on the drone, join the TELLO-XXXXXX SSID on your phone, then open the Tello app. Add another 1–2 minutes if a firmware update is required. - What should I do if my Tello drone won’t show up in WiFi networks?
Stand within 1–3 meters, recharge the battery, enable Airplane Mode then turn Wi‑Fi back on, forget and rescan for TELLO, and reboot both phone and drone. If needed, reset Tello Wi‑Fi by holding the power button ~5 seconds until the LED blinks rapidly, then reconnect. - Do I need the Tello app to connect to WiFi?
You’ll join the TELLO SSID via your phone’s Wi‑Fi settings, but you need the Tello app (or a compatible third‑party app) to control the drone, view video, and update firmware. - Can I fly my Tello without WiFi?
You don’t need internet, but you do need a Wi‑Fi link to the drone. Your phone connects directly to the TELLO SSID, then you fly via the app or a paired controller. - Is there a way to reset Tello WiFi settings?
Yes. With Tello powered on, press and hold the power button for about 5 seconds until the LED blinks rapidly, then release. The drone will rebroadcast its default TELLO-XXXXXX network so you can reconnect. Consult the manual if the LED pattern differs on your model (e.g., Tello EDU).