How to Sync RC Car Remote: A Step-by-Step Guide
There’s a moment every RC hobbyist knows: batteries in, LEDs flicker, throttle finger ready—then nothing. The remote isn’t synced. After hours of trial and error, I finally got it synced perfectly, and that click-into-control is pure joy.
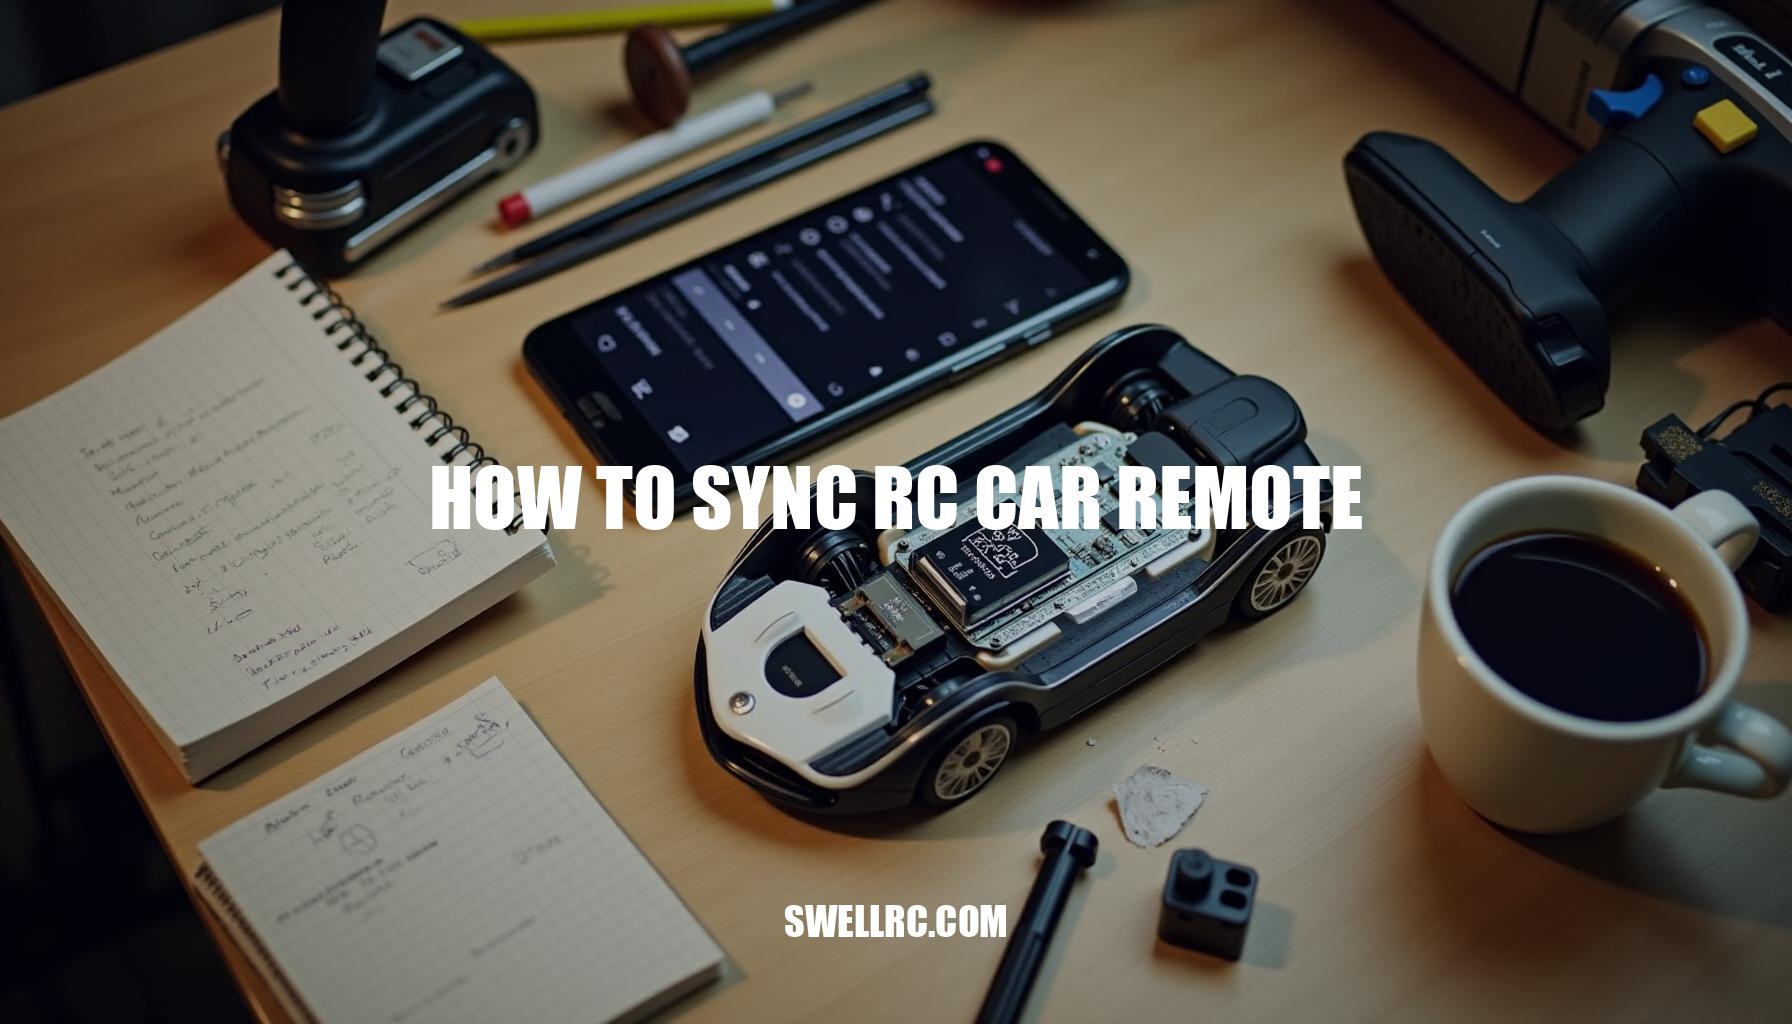
Syncing (also called binding) simply pairs your RC remote transmitter (the handheld remote) with the RC receiver inside your car so they talk on the same protocol without stepping on other signals. Getting the sync right ensures smooth throttle, crisp steering, solid range, and fewer glitches in the radio signal. Get it wrong and you’ll encounter interference, runaway failsafes, or a car that just sits there blinking at you.
In this guide, we’ll walk through the easiest step-by-step methods on how to sync RC car remote, including essential tips for remote binding, troubleshooting stubborn setups, and verifying compatibility before you even press the bind button on your RC car transmitter. I’ll share the exact moves that worked for me—and what to do when they don’t—to help you gain flawless control over your RC vehicle.
Understanding How RC Remotes Communicate
Your transmitter (TX) sends commands, while your receiver (RX) listens and passes those commands to the ESC and servos. Each signal channel on the TX controls one specific function—steering, throttle, extra lights, or winches—using a particular RC frequency and radio protocol. Modern 2.4GHz radio systems utilize remote binding, pairing the transmitter and receiver in a one-to-one relationship so that only your vehicle obeys your commands.
Older analog systems operated on fixed frequencies using crystals—for example, the classic 27MHz or 49MHz bands—often leading to interference and channel conflicts.
In contrast, modern digital systems use frequency hopping spread spectrum (FHSS) or direct sequence spread spectrum (DSSS) techniques, spreading signals across multiple frequencies to minimize interference.
| RC Frequency | Pros | Cons |
|---|---|---|
| 27/49MHz Analog (Crystals) |
|
|
| 2.4GHz Digital (FHSS/DSSS) |
|
|
Step-by-Step Guide: How to Sync Your RC Car Remote
Before you start connecting your RC remote, ensure all batteries (both TX and car) are fully charged or replaced. Turn all devices OFF and keep the car and radio a few feet apart to avoid near-field overloading. These steps are crucial for a successful remote binding process and reliable signal pairing.
Here’s a detailed step-by-step guide on how do I connect my RC remote and achieve the best way to pair RC transmitter and receiver:
- Identify your system
Most hobby-grade RC cars today operate on the 2.4GHz frequency and do not require crystals. Check your brand, model, and receiver label for specific bind-button or bind-plug requirements. - Confirm compatibility
Ensure your transmitter (TX) and receiver (RX) share the same protocol. Different brands may require matching receivers. For programming features after pairing, refer to comprehensive guides such as this program walkthrough. - Enter bind mode on the receiver
Bind Type Action Bind Button RX Hold the RX bind button while powering the car and release when LED flashes (bind mode active). Bind Plug RX Insert the bind plug into the BIND/BATT port and power the car; LED will flash indicating bind mode. - Start bind on the transmitter
Hold the TX’s bind button or access the menu option while powering it on. Keep the TX about 1–3 meters (3–10 ft) away from the RX. Wait for the RX LED to go solid or follow your brand’s blink pattern indicating successful binding. - Power cycle and remove bind plug (if used)
Turn off both units, remove bind plug, then power on the transmitter first, followed by the car. - Set failsafe positions
With the car powered on, set neutral steering and slightly engage the brake for throttle, then store the failsafe settings following your RX’s instructions. This step ensures safety and control if signal is lost. - Calibrate the ESC (Electronic Speed Controller)
Most ESCs require throttle range calibration after binding—typically by applying full throttle, full brake, then returning to neutral as prompted. For detailed ESC calibration instructions, review specialized guides addressing transmitter setup and ESC calibration.
Quick reference table for common binding methods:
| Method | Process |
|---|---|
| Bind button RX + Bind button TX | Hold both bind buttons during power-up, wait for LED to turn solid. |
| Bind plug RX + Bind button TX | Insert bind plug in RX, power RX (LED flashes), bind TX, remove plug, power cycle both units. |
| Auto-bind systems | Power TX first, then RX; devices link automatically after initial pairing. |
If binding fails, try the following troubleshooting tips:
- Check battery health and polarity.
- Increase the distance between transmitter and receiver to 3–10 ft.
- Restart a fresh bind cycle from OFF state.
- Ensure the receiver is compatible with your transmitter’s protocol.
- Avoid interference from Wi-Fi routers or metal surfaces during binding.
Following this workflow simplifies transmitter setup and ensures strong connection quality. Whether you’re binding Traxxas TQ/TQi systems, HPI, Flysky, Radiolink, or Spektrum, these principles of signal pairing and ESC calibration apply universally to get your RC car ready to run smoothly.
Troubleshooting and Signal Issues
When troubleshooting RC remote connection issues, several common problems and their fast fixes can help you get back on track quickly. If you experience no response after binding, it may be due to weak batteries, the receiver (RX) not being powered, or using the wrong protocol. Verify that the Battery Eliminator Circuit (BEC) power from the ESC (Electronic Speed Controller) is active and confirm the RX LED is solid.
If the steering works but throttle doesn’t, calibrate the ESC and check the throttle channel mapping and reverse setting to ensure proper function.
Car twitching or glitches often stem from antenna placement problems, such as a pinched antenna or the RX being too close to the ESC or motor. Additionally, interference from high-current wires may cause disruptions. Reroute and secure the antenna vertically and away from power leads to minimize weak signal issues.
Short range problems might indicate a damaged antenna, low transmitter (TX) power setting, or the RX being near carbon or metal components. Extending the antenna tube and testing line-of-sight can remedy these concerns.
If your system binds but then loses link, consider possible brownouts from a weak BEC or a sticky drivetrain causing current spikes. In such cases, reducing servo load or using an external BEC can establish a stronger, more stable connection. Wrong trims or endpoint limits can also result in throttle arming failures or brake irregularities; reprogramming endpoints and subtrims on the TX and calibrating the ESC usually fixes these issues.
Here’s a quick wiring refresher to verify the ESC-to-RX hookup: https://www.swellrc.com/how-to-connect-rc-speed-controller/. This guide is invaluable in preventing many connection problems related to ESC and RX wiring.
In practical testing, a simple example highlights the importance of correct antenna placement: I once chased a twitching issue for half an hour before realizing my RX antenna was folded under the body near the motor. Uprighting it, rebinding, and repositioning fixed the problem instantly, allowing the car to run flawlessly.
Quick test checklist to ensure reliable operation and prevent interference:
- Range test: Walk 30–50 meters while gently steering and throttling—confirm no dropouts or weak signal.
- Throttle test: Verify smooth ramp-up, a strong brake response, and no cogging.
- Fail-safe test: With the car elevated, turn off the TX; the car should immediately brake or revert to neutral, ensuring the failsafe system works.
- Interference test: Operate in a different environment away from Wi-Fi routers and metal benches to check for signal interference.
Choosing and Customizing Your Remote Setup
Sometimes the best sync is a smarter match. When exploring universal RC car remote control options, it’s important to understand what “universal” really means and how compatibility shapes your experience. You can either use a universal-style radio or upgrade to a transmitter (TX) with better range and tuning capabilities.
If you’re wondering, what universal entails and whether you can use a different remote for your RC car, these guides provide thorough insights.
Here are some compatibility rules of thumb to keep in mind when mixing brands or upgrading:
- Protocol match matters most: For example, a Spektrum Surface DSMR radio pairs with a DSMR receiver (RX), and Flysky AFHDS 2A radios need matching RX units.
- Channel count: Minimum 2 channels suffice for basic cars; scale rigs might require 4–6 channels for accessories like lights, a winch, or a dig mechanism.
- Receiver swap: If your TX won’t bind to the stock RX, replacing the RX with one that matches your TX protocol solves the issue.
- Feature set: Look for helpful functions such as endpoint adjustment, subtrim, dual-rate/expo, model memory, gyro support (for enhanced stability), and telemetry.
To clarify what to look for in universal RC car remote control radios, here is a quick feature comparison table incorporating important elements like protocol, channel count, dual-rate, and endpoints:
| Radio Tier | Example Models | Channels | Key Features | Best For |
|---|---|---|---|---|
| Entry-level 2.4GHz | Basic universal radios | 2–3 | Basic trim, dual-rate, simple endpoints | Bashers and beginners |
| Mid-tier | Flysky GT5, Radiolink RC6GS | 6+ | Model memory, gyro channel, extended range, advanced tuning | Hobbyists wanting versatility |
| Premium | Spektrum DX5C/DX5 Pro, Traxxas TQi with Link | 6+ | Deep endpoint control, telemetry, mixing, ergonomic design | Competitive and scale enthusiasts |
As an upgrade tip, prioritize radios featuring clear bind procedures and model memory, allowing you to manage multiple cars efficiently without rebinding each time you switch models. This ensures your remote control setup is both flexible and future-proof.
Expanding Your Skills Beyond Cars
Once you’ve mastered the binding process for cars, these transferable skills can easily extend to boats and aircraft, with the caveat of observing model-specific safety steps. For instance, RC helicopter enthusiasts know that aerial models often incorporate additional safety measures like arming procedures and throttle-cut safeguards to ensure safer operation. Despite these nuances, the fundamental steps remain consistent: initiating the correct power sequence, entering bind mode, confirming a solid link, setting the failsafe, and performing calibration.
Understanding the differences between surface vs aerial models is crucial, as helicopters and drones add layers of complexity but follow familiar protocols.
- Learn how to connect an RC helicopter to a remote in this comprehensive guide: https://www.swellrc.com/how-to-connect-rc-helicopter-to-remote/
- Deepen your knowledge of signal paths and channels by exploring how to make an RC helicopter remote: https://www.swellrc.com/how-to-make-rc-helicopter-remote/
Mastering connectivity across different RC vehicles is truly a lifelong superpower—each new model you bind will connect faster, fly straighter, and drive truer, leveraging your growing expertise with the binding process and safety protocols.
Conclusion: Testing, Tuning, and the Joy of Control
Syncing your RC car remote is all about mastering a few key steps: a clean bind, a smart failsafe, and a quick ESC calibration. Understanding how to sync RC car remote properly ensures your control feels both effortless and precise, which is essential for an enjoyable driving experience. Don’t forget to perform regular range tests and check for interference to maintain top performance.
Here’s a simple checklist to enhance your syncing and tuning process:
- Bind your remote and receiver cleanly: A solid connection is the heart of control.
- Set up failsafe settings: Protect your vehicle by programming a reliable failsafe that prevents runaway scenarios.
- Calibrate the ESC: Quick calibration helps ensure smooth throttle response and braking.
- Conduct range tests: Verify the remote can maintain connection at typical operating distances.
- Tune your settings per model: Save configurations individually to optimize driving.
Once you’ve got these steps locked in, testing and tuning become straightforward, allowing you to push your skills further.
For a friendly refresher on control techniques and driving finesse, check out this helpful guide: How to Control RC Car. Enjoy the process, celebrate each successful bind, and let that perfect radio link power your next adventure!
Frequently Asked Questions
- How do I sync my RC car remote control?
Power everything off. Put the receiver in bind mode (bind button held during power-up or bind plug in the BIND port). Turn the transmitter on in bind mode. Wait for the receiver LED to go solid. Power cycle TX first, then car. Set failsafe and calibrate the ESC if needed. - Why won’t my RC car connect to the remote?
Most often: dead batteries, wrong protocol/receiver, being too close during binding, interference, or a receiver not powered by the ESC/BEC. Move the TX 3–10 ft away, try a fresh bind, verify RX power/LED, and check that TX and RX are the same protocol. - Can I connect a different remote to my RC car?
Yes—if the transmitter and receiver share the same protocol. If not, swap the receiver to one that matches your transmitter. Ensure enough channels, set endpoints and trims, and then bind and calibrate the ESC. - How do I reset my RC transmitter and receiver?
On the TX, use model reset/factory reset for that model memory, then rebind. On the RX, clear binding by re-entering bind mode and pairing again. Afterward, recalibrate ESC, set failsafe, and recheck channel reversing/endpoints. - What frequency do RC cars use to connect?
Modern hobby-grade systems use 2.4GHz spread-spectrum (FHSS/DSSS). Older or toy-grade models may use 27MHz or 49MHz crystal-based radios. Binding and frequency-hopping on 2.4GHz greatly reduce interference compared to legacy bands. - How do you know if an RC remote is compatible with your car?
Match the radio protocol (brand/system), ensure the receiver type fits your transmitter, confirm enough channels, and check connector standards (PWM ports for surface gear). When in doubt, plan to replace the RX with one that matches your TX’s protocol.