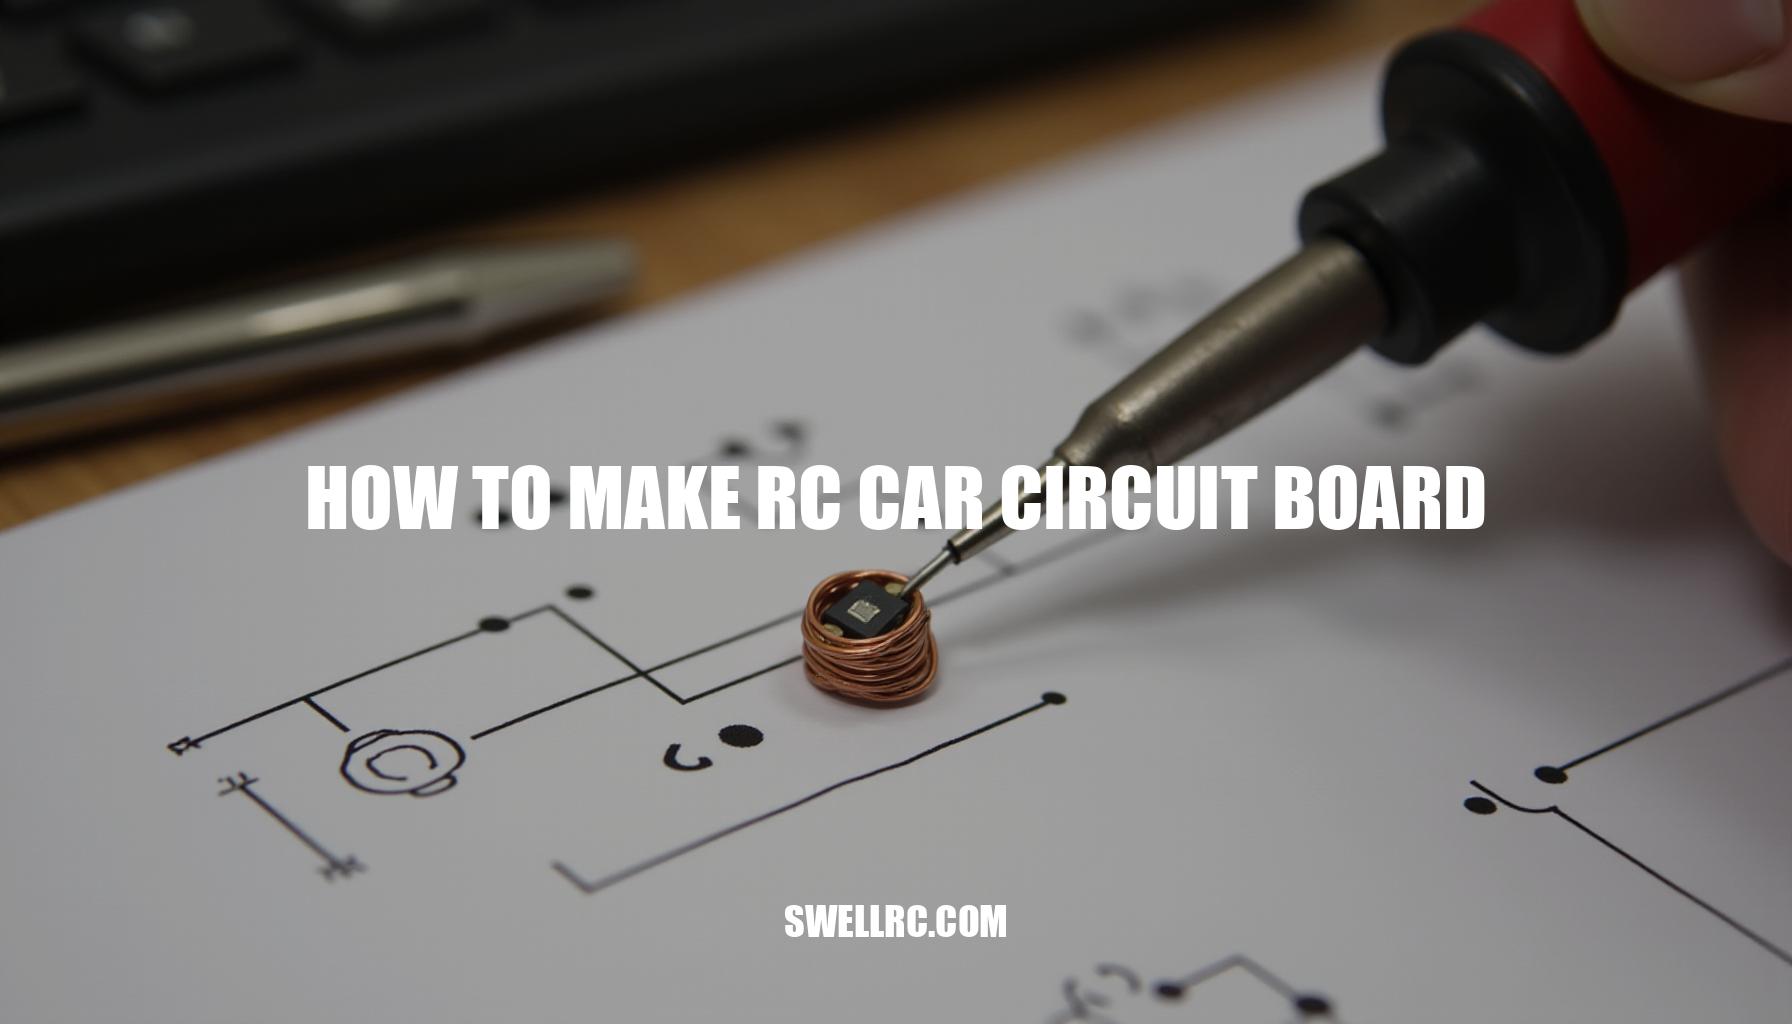
How to Make an RC Car Circuit Board from Scratch
The first time I swapped out a generic control board for a custom one in my RC car, it felt like the entire machine woke up. Suddenly, the throttle response was silky smooth, braking became predictably precise, and the steering finally obeyed every subtle command of my fingertips. That aha moment sparked months of sketching circuit diagrams, accidentally frying a few components, and diving deep into what truly makes an RC car come alive.
At the core of this transformation lies the circuit board—the heart and nervous system of an RC car.
It safely routes power from your battery, listens intently to your RC transmitter and receiver, then translates these signals into seamless motor control and crisp steering responses. Understanding this intricate electronics design is key to unlocking your car’s full potential.
Don’t worry if you don’t have a fancy lab or an engineering degree. With the right steps, patience, and some dedicated circuit board soldering practice, anyone can build a reliable, high-performance board from scratch.
It’s a truly approachable and rewarding endeavor that bridges creativity with precision.
In this comprehensive guide, we’ll walk you through every step: from grasping the system fundamentals, selecting the perfect parts, crafting an efficient circuit layout, soldering like a pro, to testing and upgrading your creation. Ready to elevate your RC car electronics design? Curious about integrating smartphone control?
Check out how the control logic translates in this Bluetooth build: https://www.swellrc.com/how-to-make-bluetooth-rc-car/.
Understanding RC Car Circuit Boards: Breaking Down the System
An RC circuit board is a specially designed printed circuit board (PCB) or protoboard that plays a crucial role in how your remote-controlled vehicle operates. Unlike a generic PCB, it needs to handle higher currents, resist vibration from movement, and minimize radio frequency noise that could disrupt the receiver’s signals. Essentially, this board distributes battery power, conditions voltage, and routes control signals between key components like the receiver, electronic speed controller (ESC), motor driver, sensors, and LEDs.
To give you a clearer picture of how to design an RC car circuit diagram, here are the core blocks typically found on an RC circuit board:
- Battery input with switch and fuse: Provides power safety and on/off control.
- Voltage regulator/BEC (battery eliminator circuit): Steps down the battery voltage to a stable 5 V or 6 V rail, supplying power to the receiver and logic circuits.
- Receiver input stage: Interfaces PWM, PPM, or SBUS signals output by the onboard receiver.
- ESC or motor driver outputs: Controls brushed or brushless motors by regulating power based on input signals.
- Optional microcontroller board: Adds advanced features like signal mixing, failsafe handling, traction control logic, and data logging.
Now let’s follow the signal journey. Your handheld transmitter emits an RF signal received by the receiver, which acts like a radio listener converting stick movements into precise electrical commands (usually PWM signals). These commands travel to the ESC or motor driver, which functions as a smart switch, metering battery power to the motor via high-frequency switching for smooth throttle and braking response.
This makes the wheels spin faster, slower, or in reverse as directed. Meanwhile, steering servos receive their own PWM signals to adjust the wheel angle accordingly.
Breaking down the definitions further, the ESC (electronic speed controller) manages motor speed by rapidly switching battery power, ensuring smooth control. The receiver interprets radio signals from your transmitter into electrical commands. Voltage regulators or BECs ensure all components get clean, safe voltages despite the varying battery levels.
Finally, integrating a microcontroller board can transform a basic build into an advanced programmable system capable of custom logic and enhanced control.
Whether you’re starting with a basic setup that simply routes power and signals to an off-the-shelf ESC or diving into complex, programmable builds, these components work together seamlessly. For a hands-on example of building programmable RC cars, explore this Arduino-based guide to deepen your understanding.
Materials and Tools You’ll Need
Before embarking on building your RC car circuit board, having a comprehensive list of components, tools, and materials is crucial to minimize trial and error. Opting for the best materials for RC car PCBs ensures durability and optimal performance. Below is a detailed table illustrating each item’s purpose and recommended specifications, tailored especially for beginners:
| Component | Purpose | Recommended Specification |
|---|---|---|
| Copper-clad board or protoboard | Forms the PCB | FR-4, 1–2 oz copper (choose FR-4 over phenolic for strength) |
| Soldering iron and tips | Assembly (circuit board soldering) | 60 W temp-controlled, fine conical tip |
| Solder, flux, tip cleaner | Reliable joints | 0.6 mm lead-free, no-clean flux |
| Multimeter and continuity buzzer | Testing | Auto-ranging with diode mode |
| Motor driver IC/Module | Drives motor (key for motor driver ICs for RC cars) | L298N (brushed, light duty), BTS7960/BTS7960B, or proper ESC for high current; use BLDC ESC for brushless motors |
| Microcontroller (optional) | Logic and features | Arduino Nano or ATmega328-based board |
| RC receiver | Input | PWM/PPM/SBUS compatible with your transmitter |
| Voltage regulator/BEC | 5 V power rail (power supply for RC car) | 5 V 3 A switching BEC recommended |
| Battery | Power source | 2S–3S LiPo with appropriate C rating |
| Connectors | Serviceability and safety | XT60/XT30 for main power, JST for auxiliaries (use locking connectors) |
| Capacitors | Stability | 100 nF per IC + 470–1000 µF bulk on main rail |
| Resistors and diodes | Logic and protection | 10 kΩ pull-downs, Schottky flyback diodes where needed |
| MOSFETs (logic-level, optional) | Switching loads | Rds(on) < 10 mΩ at 4.5–5 V gate drive |
| Heat shrink, zip ties, ferrules | Strain relief and cable management | |
| Heatsinks and thermal pads | Cooling for driver/ESC | Sized according to device specs |
| Inline fuse or resettable polyfuse | Safety | Sized slightly above peak current draw |
| TVS diode (optional) | Surge protection | 14–18 V for 2–3S systems |
| Hand tools | Assembly | Wire stripper, side cutters, tweezers |
| Drill set and mini hand drill | Drilling vias/holes | 0.8–1.2 mm drill bits |
For durability, prefer using FR-4 boards instead of phenolic material as they provide greater strength and longevity. After assembly, applying a conformal coating protects the PCB from moisture and dust, preserving your work. Using silicone-insulated wire (16–24 AWG) is advisable for flexibility and durability; it resists cracking even with frequent bending.
Employ locking connectors to ensure secure and reliable electrical connections over time.
Keep in mind that your circuit design and PCB layout should correspond closely with your chassis design. Ensure mounting holes and standoffs on the PCB align with the frame mounting points for easy installation and best performance. For frame planning and integration tips, refer to this detailed guide: https://www.swellrc.com/how-to-build-a-rc-car-frame/.
When designing your board, consider employing reliable PCB design software to validate tracks and component placement before fabrication. Combining quality parts and precise planning will pave the way for a successful and efficient RC car build.
Step-by-Step Circuit Design Process
Designing a circuit layout from concept to a ready-for-solder PCB is an exciting journey, combining creativity with technical precision. Let’s walk through this process step-by-step, ensuring even beginners feel confident at each stage.
- Step 1: Sketch the system. Start by drawing out the core components like the battery, switch or fuse, BEC/voltage regulator, receiver, ESC (electronic speed controller) or motor driver, motor, and optionally, a microcontroller. This rough map helps you visualize connections and power flow, essential for how to design RC car circuit diagram effectively.
- Step 2: Choose your tool. While a paper sketch is a great start, leveraging PCB design software like EasyEDA or KiCad offers benefits like auto-generated netlists and design rule checks (DRC), making your workflow smoother and less error-prone.
- Step 3: Schematic details. Dive into creating the schematic by labeling connectors clearly and adding decoupling capacitors near every IC. Place bulk capacitors close to your power entry points to stabilize voltage. Don’t forget to define signal types such as PWM, PPM, or SBUS, which are commonly used in RC systems.
- Step 4: Plan power paths. Focus on keeping high-current traces short and wide to minimize resistance and heat buildup. Using copper pours for the ground plane helps to reduce noise. To protect sensitive receiver traces, isolate them from the noisy motor currents generated by the ESC or motor driver.
- Step 5: Layout rules. Calculate track widths based on current—typically, 3–5 mm for 20–30 A on 1 oz copper. Employ star-ground configurations to prevent ground loops, maintain at least 1 mm clearance around main power routes, and establish keepouts around mounting holes to avoid accidental shorts.
- Step 6: DRC and silkscreen. Run design-rule checks in your software to catch spacing and clearance issues. Add silkscreen labels for polarity, connectors, and test points to simplify debugging and assembly.
- Step 7: Transfer to copper. If you’re creating your PCB at home, print your design and use iron-transfer or hand-scribe techniques. Be mindful to mirror your design if the copper side faces down to ensure correct orientation.
- Step 8: Etch and clean. Handle etchants safely, rinse your PCB thoroughly, tin exposed copper to prevent oxidation, and inspect for under-etching or copper whiskers that could cause shorts.
- Step 9: Drill and deburr. Drill component holes precisely, then remove any burrs that might damage component leads or insulation.
- Step 10: Dry fit. Before soldering, place all parts to verify spacing and orientation, avoiding surprises during final assembly.
Tip: Just as tires influence traction and handling in RC cars, your circuit layout affects throttle response and overall performance. For traction tuning inspiration, check out this tire building guide.
By following these steps, from initial circuit layout planning through to etching and assembly, you’ll master how to design an effective and reliable power supply for RC car systems incorporating ESCs, receivers, and more. Happy designing!
Assembling and Soldering the Circuit Board
Embarking on the hands-on phase of soldering and assembling an RC car circuit board requires a methodical approach to ensure optimal performance and safety, especially for beginners. First and foremost, prioritize safety: always work in a well-ventilated area, wear eye protection, place your work on a fire-safe surface, and never leave a hot soldering iron unattended to prevent accidents.
Preparation is key to smooth circuit board soldering. Begin by cleaning the solder pads with isopropyl alcohol to remove oils and contaminants. Pre-tin both the pads and wire ends by applying a thin layer of solder, which promotes easier connections later.
Set your soldering iron temperature to approximately 350–370°C when using lead-free solder to ensure proper melting without damaging components.
The order of assembly is crucial for a clean and efficient build:
- Small passives (such as resistors and capacitors) and signal headers should be soldered first. These foundational parts are easier to place when the board is uncluttered.
- Next, install the voltage regulator/BEC (Battery Eliminator Circuit) and logic modules to establish a stable power supply for RC car circuits.
- Follow by attaching high-current connectors, fuses, and modules like the driver/ESC (electronic speed controller) that manage power delivery.
- Finally, add heatsinks and strain reliefs to protect components from overheating and mechanical stress.
When connecting the RC transmitter and receiver, hook up PWM/PPM/SBUS signal lines carefully to the microcontroller or directly to the ESC/servo pins, keeping an eye on the ground reference to avoid signal miscommunication.
For ESC and motor connections, verify correct polarity to prevent damage. Before conducting any road tests, calibrate the ESC by entering its programming mode to set the throttle range accurately, ensuring responsive motor control.
Before powering the board, perform essential checks:
| Check | Description |
|---|---|
| Continuity | Ensure no shorts exist between VBAT and GND using a multimeter. |
| Polarity | Use diode mode to confirm no reverse current paths are present. |
| Visual Inspection | Check for solder bridges, verify correct IC orientation, and confirm electrolytic capacitors are aligned properly. |
Common troubleshooting tips include:
- Motor doesn’t respond: Check if the receiver is bound, the ESC is armed, and the signal wire is connected to the correct pin.
- ESC beeps continuously: Make sure the throttle is at minimum or re-run the ESC calibration process.
- Board resets on throttle: This could indicate an undersized BEC; consider adding bulk capacitance or upgrading the voltage regulator.
By adhering to these steps, newbies can confidently solder and assemble their RC car’s circuit board, effectively integrating motor driver ICs for RC cars and enjoying a smooth build process. For comprehensive insights on high-power builds and robust wiring best practices, consult the detailed guide at https://www.swellrc.com/how-to-make-a-high-speed-rc-car/.
Programming and Testing (Where the Magic Happens)
When you first power on your RC car circuit board, it’s crucial to start safely using a power supply for RC car such as a bench supply or a LiPo battery equipped with an inline fuse or a current-limiting lamp. Begin with low current limits to prevent damage. Next, perform thorough voltage checks: verify that the Battery Eliminator Circuit (BEC) output voltage is stable between 5.0 and 5.2 V, ensure the receiver rail maintains steady voltage, and confirm no unexpected voltage appears on the signal pins to protect sensitive components.
To verify signal flow, connect your RC transmitter and receiver along with a servo tester.
Check that the Pulse Width Modulation (PWM) widths vary appropriately across approximately 1000 to 2000 microseconds. The Electronic Speed Controller (ESC) should arm correctly and respond linearly to input commands, demonstrating proper control of the motor.
Here is a helpful debug checklist to fine-tune performance and resolve common issues:
- If the receiver browns out when steering: consider adding additional capacitance on power lines or upgrading to a higher-current BEC unit to provide stable voltage.
- If servo jitters occur: reroute signal traces away from power lines to reduce interference or add a ferrite ring on the servo lead to suppress noise.
- If motor cogging is present at low throttle: adjust ESC timing settings or implement a ramp function in firmware to smooth acceleration.
For advanced users employing a microcontroller board, optional programming enables mapping receiver inputs directly to outputs, adding failsafes like throttle cut-off if a signal is lost, incorporating soft-start mechanisms, or even advanced traction mixing strategies for better vehicle dynamics.
To learn more about binding and control logic, visit our detailed guide at https://www.swellrc.com/how-to-program-a-remote-control-to-a-rc-car/.
On a personal note, after experiencing three burnt resistors and one dramatic puff of magic smoke, I finally achieved a rock-solid setup by upsizing my BEC and relocating all ground returns to a true star point. This experience underscores how proper circuit board soldering and power management principles underpin reliable operation and endurance of your RC car motor.
Understanding how does a circuit board control an RC car motor comes down to these fundamentals of signal integrity and stable power delivery.
Real-World Enhancements: Ideas to Upgrade Your Build
Expanding or upgrading your custom RC boards can transform a simple circuit layout into a highly versatile and performance-oriented system. By integrating smarter control options, such as adding an Arduino, ESP32, or a Bluetooth module, you unlock capabilities like telemetry, smartphone control, and custom throttle curves, enhancing your Bluetooth RC control experience.
- Sensors: Incorporate voltage/current sensing devices like the INA219, IMUs for stabilization, and temperature probes on critical components such as the driver or motor to monitor real-time performance and safeguard your electronics.
- Power Ideas: Utilize dual-stage BECs, install supercapacitor buffers, or experiment with solar trickle charging for endurance builds. For inspiration, check out this solar build guide that creatively harnesses renewable energy in RC car electronics design.
- Ruggedization: Improve durability by applying conformal coatings and waterproof coatings to protect sensitive components. Use gasketed enclosures, pot critical joints, and implement strain-relieved harnesses to ensure your custom microcontroller board withstands harsh environments and rough usage.
- Modularity: Design your boards with keyed connectors and headers to enable quick swapping of receivers, ESCs, or entire motor modules, simplifying repairs and upgrades without complex rewiring.
- Tiny Conversions: For small-scale projects, build compact boards suited for die-cast model conversions. This approach brings fun and functional upgrades to miniature RC cars, as demonstrated in this Hot Wheels conversion guide.
Integrating these features into your RC car electronics design will not only boost performance but also add customization options tailored to your specific needs. Embrace smart upgrades and rugged construction techniques to build a reliable, feature-rich system that stands out on and off the track.
Troubleshooting and Maintenance Tips
Builders working on DIY RC circuit boards often encounter a range of common issues that can hinder performance but are usually straightforward to troubleshoot with some know-how. Understanding these problems and their simple fixes can empower you to maintain your board confidently over the long term. For example, random resets usually stem from an undersized Battery Eliminator Circuit (BEC) or voltage dips; the solution is to increase your regulator’s capacity and add bulk capacitors to stabilize the voltage supply.
Overheating drivers typically point to an underrated motor driver—upgrading the device itself and incorporating heatsinks or increased airflow can prevent thermal shutdowns.
Electromagnetic interference (EMI) often causes RF glitches, especially when antennas are routed too close to power wiring. Re-routing the antenna away, adding ferrite beads, and ensuring separated grounds can significantly improve signal integrity. Brownouts during aggressive throttle input are mostly due to an inadequate battery C rating; opting for a battery with higher C rating or implementing throttle ramping can protect your system from voltage drops.
Post-crash non-responsiveness is commonly due to broken solder joints, and reflowing the solder while adding strain relief prevents future breakages. Finally, short circuits after a wet run result from moisture ingress, so thoroughly drying, cleaning with isopropyl alcohol, and recoating susceptible areas is critical.
Here’s a handy summary table illustrating common symptoms, probable causes, and quick fixes, designed to assist with troubleshooting RC electronics efficiently:
| Symptom | Possible Causes | Quick Fix |
|---|---|---|
| Servo jitter | EMI from power lines | Re-route wiring, add ferrite beads, decouple power supply |
| ESC beeping continuously | Throttle not at minimum or uncalibrated | Recalibrate ESC, check throttle endpoints |
| Motor cogging | Low timing settings or poor signal path | Adjust ESC timing, clean and secure signal wiring |
| Receiver not binding | Wrong protocol or antenna damage | Match correct protocol, inspect and repair antenna |
Moreover, maintenance tips such as routine inspection for cold solder joints during circuit board soldering, and regular testing for shorts using a multimeter to learn how to test RC circuit board for short circuits, can save you from costly repairs. Ensuring a stable and adequate power supply for RC car setups is also vital for reliable operation.
Insights from cross-vehicle experiences reveal that helicopter boards face similar noise and power challenges. Comparing approaches and mitigation strategies, for example detailed at this guide on RC helicopter circuit boards, can provide additional perspectives that apply to land-based RC electronics as well.
By integrating these tips and solutions, you’ll develop stronger troubleshooting skills and enhance the longevity and performance of your DIY RC projects.
Conclusion: The Spark That Keeps You Building
The thrill of guiding your very first self-made RC circuit board as it spins across the driveway is truly addictive. That hands-on journey — from RC car electronics design complications to mastering every circuit layout nuance — transforms patience into precision. With each revision, solder joint, and smart adjustment, you’re not just building a device; you’re crafting tangible performance imbued with your creativity.
Remember to keep detailed notes and snap photos throughout your process.
Treat every hiccup not as a setback but as valuable data guiding your next endeavor. Whether pondering can you make a custom RC car circuit from scratch or refining your microcontroller board, this iterative learning guarantees your upcoming boards will be cooler, cleaner, and tougher — equipped with a robust power supply for RC car that meets your demands.
Ready to push boundaries? Consider scaling up your skills to a custom monster truck build, where power and suspension dynamics come alive: https://www.swellrc.com/how-to-make-a-rc-monster-truck/.
Experiment boldly, test carefully, and share your discoveries — it’s through this collaborative spirit that the RC community accelerates together, making each build more rewarding and each ride more fun.
Frequently Asked Questions
- What components are needed to make an RC car circuit board?
At minimum: a battery input with switch/fuse, a 5 V BEC/voltage regulator, an RC receiver, an ESC or motor driver suited to your motor (brushed vs brushless), connectors, decoupling/bulk capacitors, and wiring. Optional parts include a microcontroller for custom features, current/voltage sensors, and protection devices like TVS diodes. - How do I connect the motor, ESC, and receiver on a custom circuit board?
Route battery positive/negative to the ESC’s power pads through a fuse. Connect the receiver ground to the ESC ground. Run the receiver’s throttle signal (PWM) to the ESC signal pin. For steering, connect the receiver’s steering channel directly to the servo signal pin with shared 5 V and ground. Calibrate the ESC so it recognizes your transmitter’s endpoints. - Is it cheaper to build or buy an RC car circuit board?
Buying is often cheaper for basic needs because mass-produced ESCs and receivers are cost-effective. Building makes sense if you want custom features, unique form factors, learning value, or integration with special sensors. Expect higher upfront costs in tools and materials, offset by flexibility and skills gained. - Can I make an RC car circuit board without programming knowledge?
Yes. You can build a purely hardware board that routes receiver PWM signals directly to an ESC and servo. Programming becomes useful if you want mixing, telemetry, traction control, or custom signal processing, but it’s not required for a reliable, drivable setup. - How can I test my RC circuit board for short circuits?
Before powering up, use a multimeter in continuity mode between VBAT and GND; there should be no beep. Check for low resistance that slowly rises as capacitors charge. Power up with a current-limited bench supply or a series lamp/fuse, and verify the 5 V rail before connecting the receiver and ESC. - What software can I use to design an RC circuit PCB layout?
EasyEDA and KiCad are great free options. Both support schematics, PCB layout, design rule checks, and exporting Gerbers. They also have libraries for connectors and common driver modules used in RC builds. - How do Bluetooth or Arduino-based RC circuits differ from traditional ones?
Traditional builds rely on an RC receiver feeding an ESC/servo directly. Bluetooth/Arduino builds insert a microcontroller that interprets commands (from a phone or custom code) and can add features like soft-start, telemetry, or filtering. The trade-off is added complexity and the need for power budgeting and firmware.