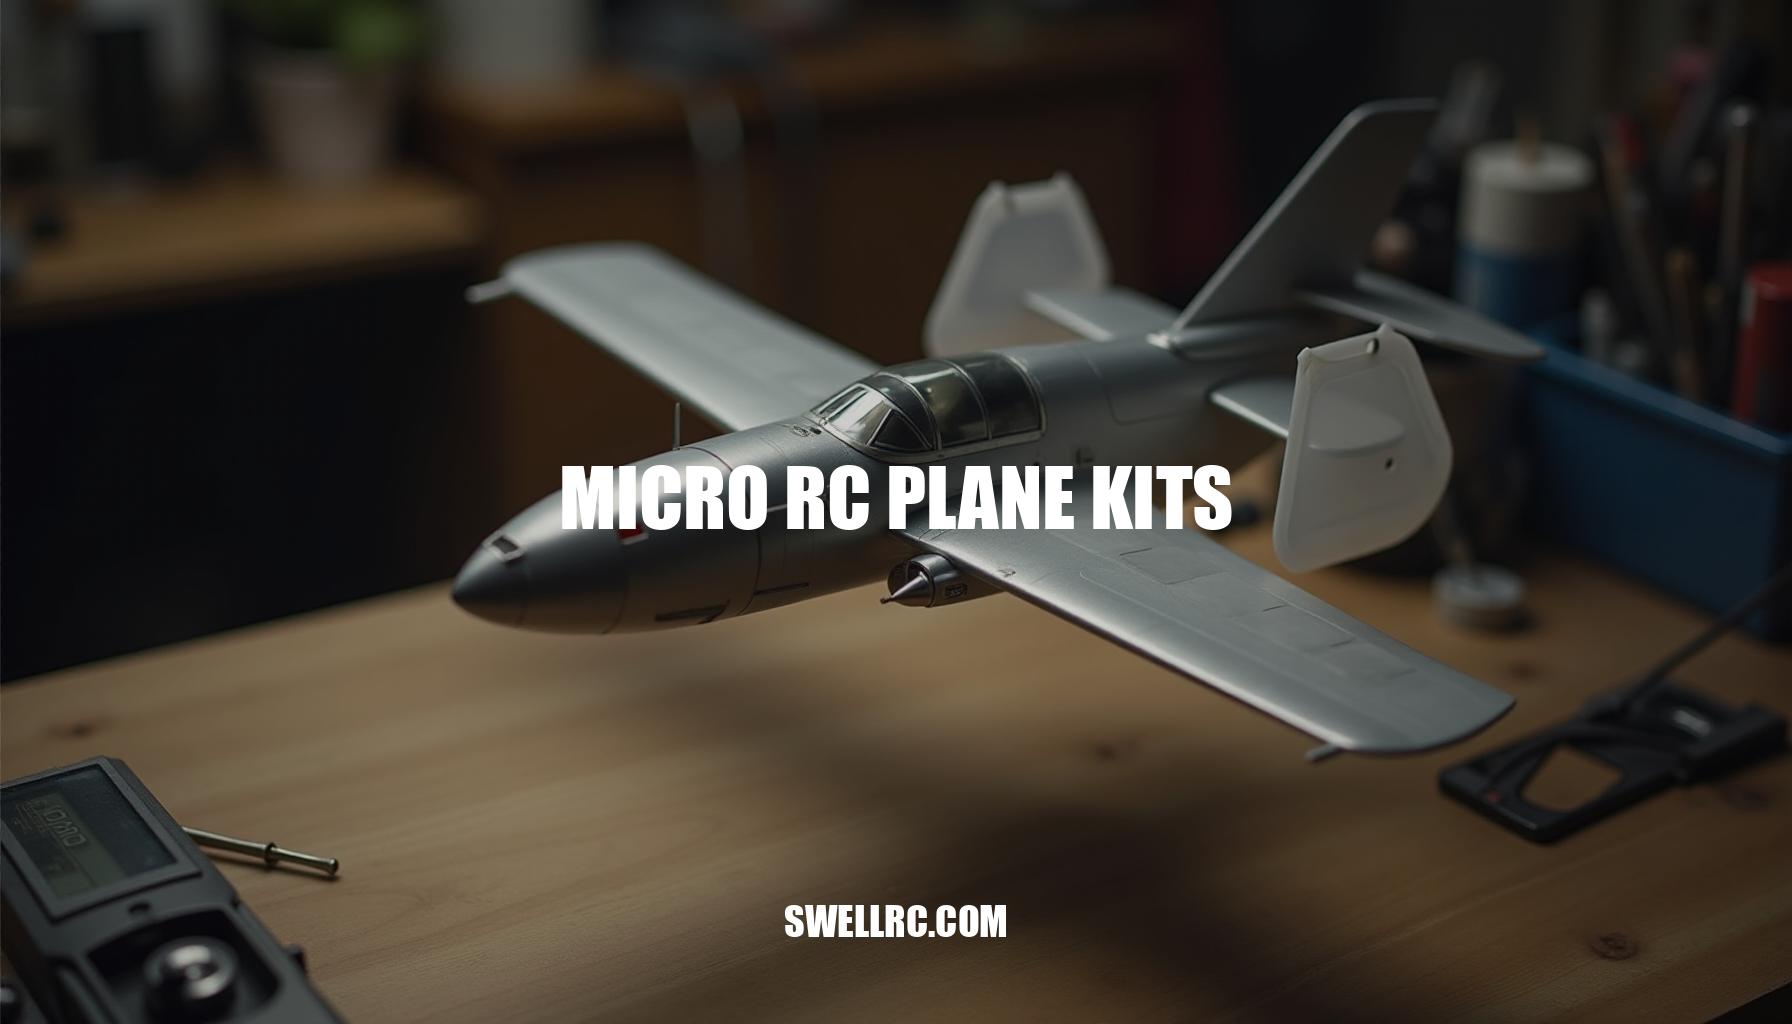
Micro RC Plane Kits: A Beginner’s Guide to Precision Flight
After weeks of testing these tiny marvels on quiet mornings at the park and calm evenings in the gym, I fell headfirst into the world of micro RC plane kits. These miniature RC aircraft shrink the magic of flight into the palm of your hand—without shrinking the challenge or the satisfaction. Unlike larger models, RC airplane kits in this category prioritize weight, precision, and efficiency; every gram and every millimeter matters.
Because they’re lightweight and often sub-250g micro planes, they’re accessible, kinder on the wallet, and brilliant for indoor flying where space is tight. In this guide, we’ll explore what sets micro kits apart, how to build and tune them, and which kits are worth your time—sprinkled with hard-won build tips, flight-testing notes, and trusted kit recommendations for indoor RC planes and other lightweight RC kits.
What Makes Micro RC Plane Kits Special
Micro kits live where engineering meets minimalism in the world of electric RC planes. Compared with mini or standard hobby-grade airplanes, they trade brute power for finesse: smaller spans, lower wing loading, tighter control linkages, and razor-thin margins on balance. They excel in gyms and small parks, where low inertia and slow-speed handling shine.
Outdoors, they’re happiest in light air, while mini-class models better tolerate breeze and distance. If you enjoy the precise geometry of pattern-style lines, you’ll appreciate the control discipline micros teach—skills that translate beautifully to larger formats like RC pattern plane kits. Likewise, if you love elegant, energy-efficient soaring, micro builds echo the craftsmanship found in RC balsa glider kits.
Modern foams and laser-cut balsa, efficient micro brushless motors, and compact receivers and ESCs have made these lightweight RC kits both approachable and deeply rewarding.
| Type | Typical Wingspan | Typical AUW | Battery | Best Environment | Notes |
|---|---|---|---|---|---|
| Micro RC plane | 250–450 mm | 40–150 g | 1S 300–550 mAh or 2S 300–450 mAh | Indoor gyms; calm outdoor mornings | Very nimble; low wing loading |
| Mini RC plane | 500–800 mm | 150–400 g | 2S–3S 450–850 mAh | Small parks; mild breeze | Easier to see; handles wind better |
| Sub-250g RC plane | 400–800 mm (varies) | ≤ 249 g | 2S–3S 450–850 mAh | Parks; travel-friendly | Regulatory advantages in many regions; see sub-250g RC plane |
The magic is in the ratios: power-to-weight from efficient 1S/2S setups, lift-to-weight from light, stiff wings, and control authority from precise linkages. When you get those right, remote control planes like micros feel like they’re flying on rails—even at walking speed.
Beginner-Friendly Kits and Build Tips
If you’re new to beginner RC airplane kits, it’s best to start with stable, forgiving airframes like those found in micro remote control airplanes. These allow you to gain confidence before moving on to more advanced DIY RC airplane assembly projects. Opting for curated RC model airplane kits ensures that electronics and airframes work harmoniously, reducing compatibility issues and streamlining your build process.
Here’s a step-by-step guide to get started:
- Identify parts: Choose the right airframe—foam or laser-cut balsa—and pair it with a 1S or 2S brushless motor (typically 1103 to 1106 size) and a matching ESC rated between 5–12 A. You’ll need 2–3 micro servos (weighing 1.7–4.3 g), a micro receiver, and a suitable LiPo battery (1S 300–550 mAh or 2S 300–450 mAh). Don’t forget control horns, pushrods, and a lightweight propeller sized about 5–6 inches for 1S setups or 4–5 inches for 2S, depending on KV rating.
- Light-but-strong assembly: Use foam-safe CA glue for foam airframes, and thin CA or aliphatic resin for balsa structures. Reinforce long wingspans with carbon strips or rods ranging from 0.5 to 1.5 mm for extra durability. Keep glue joints minimal to avoid unnecessary weight.
- Electronics install: Route servo wires neatly, keep ESC leads short, and mount the receiver strategically away from the motor to minimize electronic noise. Solder carefully with a fine tip at moderate heat, pre-tin all wires, and support solder joints to prevent flexing and failure.
- Set center of gravity (CG) and thrust: Begin with the kit’s recommended CG position and test-glide the airplane over a grassy surface. Apply a slight right-thrust and down-thrust of about one to two degrees on the motor to counteract torque effects and pitch changes under throttle.
- Adjust rates and expo: Start conservatively with control throws around 60–70% and apply 20–35% exponential settings on the elevator and ailerons. Gradually increase control sensitivity as your piloting skills improve.
- Calibrate for the first flight: Make sure control surfaces are squared and trims are set to neutral. Confirm your failsafe settings are properly configured to ensure safe operation.
Be mindful to avoid these common mistakes when flying indoor RC planes or beginner models:
- Over-gluing: Excess glue adds unnecessary weight. Use micro-applicators and allow the CA glue to wick into joints efficiently.
- Aft center of gravity: A rearward CG causes porpoising and stalls. Adjust battery placement forward in small 3–5 mm increments until stable flight characteristics emerge.
- Over-propping: Using too large a propeller wastes power and decreases flight duration. Match prop size carefully to motor KV and battery cell count.
- Sloppy linkages: Poorly fitted clevises and loose Z-bends introduce lag and flutter. Ensure linkages are snug but free-moving, eliminating any play.
- Skipping range tests: Always perform thorough radio range and failsafe checks before your maiden flight for safety and control confidence.
- Flying in wind: Avoid early flights outdoors in winds exceeding 5–8 mph; indoor or calm conditions are ideal for beginners.
By following these guidelines and understanding key concepts like micro servos and center of gravity, you’ll set yourself up for success in the rewarding world of RC aircraft. Starting with stable kits and taking meticulous care during assembly will make your journey both enjoyable and educational.
Performance Insights – Testing, Tuning, and Flying
My turning point with micros came after a maiden flight of a plane that waddled through the air like a duck. By moving the battery 5 mm forward, dialing back the elevator rates, and swapping to a slightly lower-pitch prop, the next flight tracked cleanly, rotated smoothly into turns, and landed like it was on rails. These small adjustments reveal critical insights into how to improve flight performance on small RC models, emphasizing the importance of careful tuning RC aircraft.
Key tuning concepts center around a few pillars:
- Torque responsiveness: Increasing propeller pitch and diameter boosts thrust but also torque. For 1S setups, a 5×3 prop can be friendlier than a 5×4.3 on high-KV motors. With 2S systems, downsizing diameter or pitch helps keep current draw manageable.
- Lift-to-weight ratio: Lower wing loading translates to slower stall speeds and gentler handling characteristics—a critical factor especially for indoor RC planes. Keep models lightweight, reinforcing with carbon spars or strips only where it meaningfully improves stiffness.
- Prop selection: Selecting the right propeller matched to motor KV and battery cell count is vital. If the ESC or battery runs hot, stepping down pitch or diameter helps maintain efficiency and longevity.
Experience from larger aerobats like the Great Planes Ultra Sport (link) and robust models such as World Models RC planes (link) reinforce that correct CG placement, clean thrust lines, and smooth control inputs solve most issues—even when scaled down. Likewise, techniques used in building ultra-light indoor RC planes improve agility and enhance float.
Below is a concise table outlining common flight issues and quick fixes to help optimize performance in your small RC models:
| Issue | Likely Cause | Quick Fix |
|---|---|---|
| Porpoising | CG too far aft or too much elevator throw | Move battery forward 3–5 mm; reduce elevator rates/expo |
| Wing rock in turns | High wing loading; slow airspeed | Add a touch of speed; increase dihedral slightly; smooth inputs |
| Torque roll on launch | High prop torque; throttle slammed to max | Launch at 60–70% throttle; add right rudder; use smaller/lower-pitch prop |
| Short flight time | Over-propped; tired battery | Downsize prop; use fresh 1S/2S pack; manage throttle carefully |
| Servo jitter | Vibration; BEC overload | Balance prop; ensure ESC/BEC current capacity; isolate receiver from vibration |
| Tip stall on flare | Aft CG; aggressive angle of attack | Carry a bit more speed; move CG forward; add washout during build |
In summary, mastering the art of propeller selection, managing lift-to-weight ratio, and applying proven tuning techniques derived from both large aerobats and light indoor planes makes a significant difference in the flight quality of small RC models. This integrative approach to how to improve flight performance on small RC models ensures your aircraft soar with finesse and consistency.
Choosing the Best Micro RC Plane Kits for Your Needs
Selecting the right best micro RC plane kits comes down to your skill level, where you’ll fly, and your budget. When choosing among lightweight RC kits, consider the following:
- Ease of assembly: RTF (Ready to Fly) or PNP (Plug and Play) kits provide speed and convenience, while DIY kits offer craftsmanship and customization.
- Materials: EPP foam offers durability; balsa wood ensures precision and lightness; depron/EPP is ideal for ultra-light indoor flying.
- Motor/battery: 1S battery setups are perfect for gentle indoor flight, whereas 2S packs deliver more power for outdoor use.
- Flight duration: Lighter builds paired with efficient propellers result in longer flights.
Here’s a comparison of popular micro kit categories:
| Category | Best for | Pros | Cons | Approx. Cost Tier |
|---|---|---|---|---|
| Foam RTF/PNP micro kits | First flights; convenience | Fast setup; durable EPP; electronics pre-matched | Less customization; higher cost per gram | $ |
| Laser-cut balsa micro kits (DIY) | Builders; precision | Feather-light; beautiful handling; rewarding builds | More build time; fragile if mishandled; needs careful adhesives | $$ |
| Indoor depron/EPP micro kits | Gym/indoor slow-fly and 3D | Ultra-light; floats at walking pace; low damage energy | Wind-limited; tight CG margins; electronics sourcing required | $$ |
If you’re leaning towards mini rather than micro, check out the best mini RC plane recommendations.
For those set on true micros, this roundup is a helpful start: best micro RC plane kits to explore.
The micro community is wonderfully collaborative; expect to learn continuously, share tweaks, and iterate. The skills you develop in flying and building these electric RC planes are surprisingly transferable to larger airframes, making these kits an excellent entry point in your RC plane journey.
Conclusion – The Joy and Future of Micro RC Flying
At the micro scale, craftsmanship and precision take center stage—every gram saved and every linkage aligned translates into calmer landings and crisper turns. Embracing the micro RC hobby means diving into a world where meticulous attention to detail is rewarded with superior flight performance. Along the way, you’ll discover the joy of iteration: build, test, tweak, repeat.
This cycle isn’t just how you improve; it’s where the fun truly lives.
Whether you’re starting with forgiving indoor RC planes or exploring intricate lightweight RC kits, the journey offers a lifelong runway for discovery and mastery. These RC airplane kits come in various forms, such as foam RTF models for beginners or laser-cut balsa gems for seasoned flyers, each designed to enhance your skills step by step.
- Focus on craftsmanship to optimize flight dynamics and durability.
- Engage in the iterative process of build, test, and tweak to refine your planes.
- Choose from a wide range of lightweight RC kits suited for indoor flying.
Every successful flight in the micro RC hobby tells a story of patience, learning, and a dash of wonder—making each moment in the cockpit an unforgettable experience.
Frequently Asked Questions
- What is the difference between micro and mini RC planes?
Micro RC planes typically span about 250–450 mm and weigh roughly 40–150 g, optimized for indoor gyms and calm outdoor air. Mini RC planes are larger (about 500–800 mm, 150–400 g), making them easier to see and better in light wind. Definitions vary, but the micro class emphasizes minimal weight and slow-speed handling, while mini offers more presence and range. - Are micro RC plane kits suitable for beginners?
Yes—choose a stable, three-channel micro with durable foam (EPP), a prop saver, and an RTF or simple PNP setup. Fly indoors or in very light wind first, carry spare props, and use conservative control throws. As skills grow, move to DIY balsa or depron kits. - How do you assemble a micro RC airplane kit?
Lay out parts, keep glue minimal, and reinforce long spans with carbon. Install motor/ESC and route wires cleanly. Fit 1.7–4.3 g servos with slop-free linkages. Set the recommended CG, add a touch of right/down thrust, and start with low rates and 20–35% expo. Perform range/failsafe checks before the maiden and test-glide over grass. - What materials are best for lightweight RC aircraft?
EPP foam is tough and forgiving, great for trainers. Laser-cut balsa is extremely light and precise for efficient flight. Depron and thin EPP excel in ultra-light indoor models. Carbon fiber spars and thin film coverings add stiffness with minimal weight. Use foam-safe CA for foam and thin CA or aliphatic resin for balsa. - Can micro RC planes fly outdoors?
Yes, in calm conditions—early mornings or evenings with winds under about 5–8 mph. Slightly larger micros on 2S handle light breeze better. Avoid gusty conditions; the low mass that makes them agile also makes them susceptible to turbulence. - How long do micro RC plane batteries last?
Typical flights run about 5–12 minutes, depending on battery size, prop load, and throttle use. As a rough guide: flight time (minutes) ≈ 0.8 × battery capacity (mAh) ÷ average current draw (mA) × 60. Example: a 450 mAh pack at 4 A average draw yields roughly 5–6 minutes. Manage throttle and use efficient props to extend time.