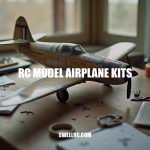
RC Glider Kits: A Beginner’s Guide to Soaring Success
The first time I launched one of my RC glider kits off a sun-warmed hillside, the only sound was wind feathering past the wing and my own breath holding steady. Then the model caught a gentle updraft, lifted, and everything clicked. That moment sent me down a rabbit hole of researching, testing, and comparing kits to find the best balance of value, performance, and build joy.
RC gliding has grown fast because it’s both accessible and deeply absorbing: you can start with a simple foam hand-launch and eventually tune a precision composite sailplane to hunt thermals like a hawk. Today’s RC glider kits span beginner-friendly EPO foam, classic balsa builds, and sleek fiberglass composites, each rewarding in its own way. Whether you’re looking for your first taste of silent soaring or the satisfaction of crafting a model that floats on invisible air, this guide will help you choose, build, and fly with confidence—so you can experience that same lift-off thrill for yourself.
From remote control planes to electric sailplanes, the world of model aircraft offers countless designs to fit every flying hobby kit enthusiast’s dream. Embrace the art of thermal soaring with glider models designed for slope soaring gliders, and discover why RC airplanes continue to captivate hobbyists worldwide.
Understanding RC Glider Kits – Types, Materials, and Designs
Inside a typical RC glider kit, you’ll find essential components like the fuselage, wing panels, tail surfaces, and hardware. Many kits also include pushrods and control horns, along with a detailed plan or manual to guide your build. However, you’re generally expected to supply the electronics—servos, receiver, battery, and ESC if it’s an electric model—as well as adhesives for assembly.
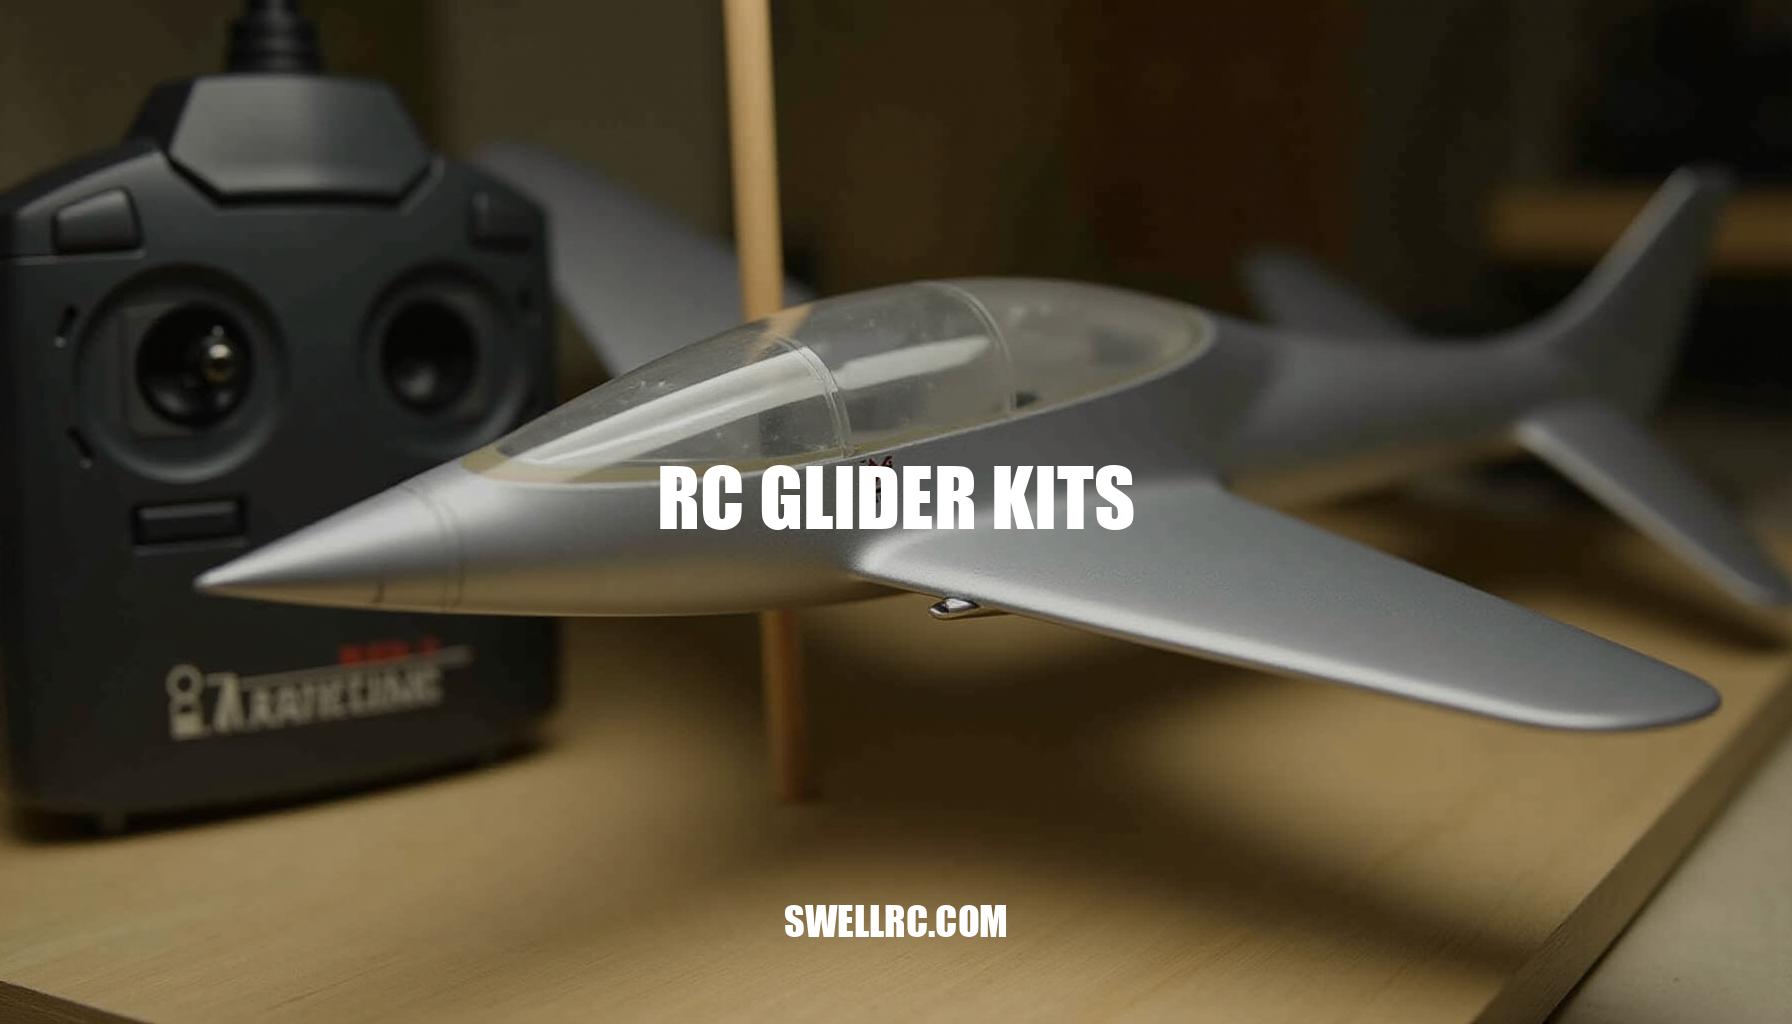
The choice of material significantly influences both your building experience and the flight characteristics of your RC glider. Classic balsa RC glider kits offer a light and responsive feel, perfect for enthusiasts who enjoy sanding, sheeting, and customizing their models. On the other hand, EPO foam gliders are valued for their toughness and quick assembly time, making them ideal for beginners and those seeking durability.
For pilots aiming for razor-clean aerodynamics and advanced performance, fiberglass RC plane kits provide sleek airframes with high durability.
Compare these options to see which style matches your flying goals:
| Material | Advantages | Best For |
|---|---|---|
| Balsa RC Glider | Lightweight, customizable, classic building experience | Modelers who love hands-on crafting and fine tuning |
| EPO Foam Gliders | Durable, quick to assemble, impact resistant | Beginners and casual flyers |
| Fiberglass RC Plane Kits | Sleek, aerodynamic, very durable | Advanced pilots seeking high performance |
Understanding key aerodynamic concepts helps in selecting and optimizing your RC glider or RC sailplanes vs gliders. Here are important factors to consider:
- Wingspan and Aspect Ratio: Longer wings with a higher aspect ratio glide farther and have less sink rate, but require gentler handling to maintain control.
- Wing Loading: Lower wing loading means better floatation in weak lift conditions, while higher wing loading improves penetration through wind.
- Center of Gravity (CG): A CG too far forward results in stable but sinking flight; too far back gives a floaty feel, increasing the risk of wandering or stalling.
- Airfoil and Washout: Choosing airfoils tuned for thermal or slope flying improves performance; washout in the wing tips helps prevent tip stall for safer flight characteristics.
For enthusiasts interested in hand-launch gliders and other models, exploring balsa glider kits can be very rewarding. Check out these options here: RC Balsa Glider Kits. If you prefer high-performance fiberglass builds, see the selection here: Fiberglass RC Plane Kits.
How to Choose the Right RC Glider Kit for Your Skills and Style
Picking the right kit comes down to your goals, where you fly, and how much you enjoy building. If you can walk to a small park, a lightweight micro RC plane kit or an EPO hand-launch glider is perfect. For nearby bluffs or cliffs, slope soaring gliders shine in steady wind conditions.
Prefer calm fields and enjoy reading the sky? Go for thermal soaring-oriented sailplanes; adding a small electric motor to create electric sailplanes can help you climb quickly if you don’t have access to a hi-start or winch.
When learning how to choose an RC glider kit, consider this handy list of tips:
- Assess your flying environment: Parks, cliffs, or open fields each suit different glider types.
- Match your skill level: The best RC glider kits for beginners often feature durable materials and forgiving flight characteristics.
- Consider size and portability: Micro RC plane kits are ideal for tight spaces and easy transport.
- Decide on power options: Thermal sailplanes can be unpowered or electric, depending on your interest in powered soaring.
- Review proven models: Compare spans and styles to find what fits your preferences and local air conditions.
During a recent test flying, I compared a 2-meter glider side-by-side with a micro model. The larger glider felt calmer in flight and conserved energy better through turns, while the micro responded instantly but lost speed quickly—making it excellent for small parks but more challenging in gusty conditions. Ultimately, choosing the right kit depends on your local air conditions and how you want to progress as a pilot.
Building and Fine-Tuning Your RC Glider
When embarking on your remote control glider assembly, begin with a careful dry-fit of all major parts, ensuring the tail is squared precisely to the wing. This fundamental step prevents issues like constant roll trim caused by wing misalignment later on. Proceed to glue in stages, aligning the wings meticulously and verifying that the incidence angle is equal on both panels to maintain balanced flight characteristics.
Servo calibration is a critical phase: install servos with minimal slop and center them perfectly before attaching the control horns. This ensures accurate and responsive controls, eliminating common pitfalls such as servo end points not matching, which leads to unequal control throws. When routing linkages, avoid any binding and secure metal-to-metal contacts with threadlock to enhance durability and precision.
Mount your electronics and set the initial Center of Gravity (CG) according to the manual. Precise CG balance is key — don’t rely on guesswork or eyeballing. To illustrate, after experiencing several failed launches, one pilot found that shifting their battery just 5 mm forward corrected an aft CG, transforming cartwheels into smooth, stable glides.
| Key Assembly Step | Common Issue | RC Glider Building Tip |
|---|---|---|
| Wing Alignment | Constant roll trim | Use a jig to square wings before glue sets |
| Servo Installation | Unequal control throws | Center servos and calibrate control throw precisely |
| Hinge Gluing | Stiff controls from over-gluing | Apply minimal adhesive to allow smooth movement |
| CG Setting | Unstable flight due to incorrect balance | Measure CG with scales, not eyeball |
For those interested in honing their skills further, exploring complementary experiences through general RC model airplane kits can be invaluable. Precision practice from aerobatic-style airframes sharpens control and launch technique, while big airframes offer forgiving, stable handling — perfect for building confidence in trimming and maneuvering your glider. Check out these resources to expand your expertise:
- RC Model Airplane Kits for foundational skills.
- RC Pattern Plane Kits to master precision and control throws.
- Big RC Plane Kits for stable and forgiving flight experiences.
Finally, program your radio with sub-trims to neutral, set low rates for the maiden flight, and add a touch of expo to smooth out controls, ensuring a gentle and controlled maiden flight. Remember, meticulous assembly and thoughtful trimming are the keys to turning your RC glider building tips into successful, soaring flights.
Advanced Performance and Aerodynamics — When Passion Turns into Precision
As your skills in precision flying develop, fine-tuning transforms smooth gliding into an exacting art. Understanding and adjusting wing loading is crucial: adding ballast improves wind penetration during slope soaring, while removing it enhances floatation in weak thermals. Modifying the dihedral angle affects roll stability—more dihedral offers greater stability, ideal for relaxed flying, whereas less dihedral delivers crisper turns suited for racing-style maneuvers.
Key control surface settings such as aileron differential, camber and reflex, and flap mixing dramatically influence sink rate and handling characteristics. Methodical experimentation and detailed logging of these parameters allow for optimized performance tailored to your local conditions.
When it comes to powered glider modifications, employing a low-KV motor paired with a folding propeller efficiently gains altitude, allowing the pilot to then focus entirely on reading the air. For the best slope soaring optimization, selecting ballast to correspond with wind speed and maintaining a slight nose-down attitude during turns prevent undesirable mushing effects.
For reference and inspiration, explore high-quality airframes and proven builds from established brands such as those featured on World Models RC Planes. Classic precision platforms like the Ultra Sport (Great Planes Ultra Sport) offer excellent avenues to hone radio setup discipline and deepen aerodynamic intuition.
| Modification | Effect |
|---|---|
| Elevator sensitivity (more expo, forward CG) | Reduced over-responsiveness, smoother control |
| 35% Aileron differential | Minimized adverse yaw, tighter circling capability |
| 2 mm Camber for thermal mode | Lower sink rate, improved lift in thermals |
Mini case study: By applying these changes, including a forward CG shift and adjusted control surface settings, my average sink rate decreased noticeably. Consequently, I achieved tighter circling without tip-stall, leading to longer, calmer flights that truly showcase the benefits of well-executed fine-tuning in slope and thermal soaring.
Cost, Value, and Where to Start
When considering how much does it cost to get started in RC gliding, it’s important to budget realistically for the kit plus radio gear, batteries, charger, and tools. Foam beginner kits provide the fastest path to flying, offering great cost-value ratio for newcomers. In contrast, balsa and fiberglass kits cater to intermediate and expert builders seeking more longevity and superior performance, though they require a higher investment of time and gear.
To help clarify your beginner RC glider budget, here’s a comparison of typical costs associated with various kit types and essential accessories:
| Item | Budget Range (USD) | Notes |
|---|---|---|
| Foam Beginner Kit | $80 – $150 | Fast assembly, good durability, ideal for newbies |
| Balsa/Fiberglass Intermediate Kit | $150 – $300 | Better performance, more involved build |
| Expert-Level Kit | $300 and up | High-end materials and complex construction |
| Radio Transmitter | $120 – $350+ | Investing in a quality radio pays off long term |
| Batteries | $20 – $60 | Essential for powering your gear; get a few backups |
| Charger | $30 – $100 | Reliable charging infrastructure is critical |
| Tools & Accessories | $20 – $50 | Basic building and maintenance gear |
Where to buy? Compare spans, materials, and build style across SwellRC’s curated glider and kit pages throughout this guide for solid value and reputable sourcing. Don’t overlook the community; local clubs, forums, and build logs are invaluable to accelerating your learning curve.
Plus, the quiet focus of gliding makes it an addictive and meditative hobby. Making a smart first purchase along with a dependable radio transmitter you’ll keep for years ensures the best value in the long run.
Conclusion – The Joy and Mastery of Flight
From the first careful glue joint to the first true thermal turn, RC glider kits teach patience, finesse, and how to read invisible air. You’ve seen how materials shape flight personality, how setup and CG transform handling, and how small tuning steps unlock real flight performance. Building is half the joy; the other half is that silent climb when the vario chirps or the wingtip lifts in a whisper of rising air.
There’s always a new skill waiting just over the horizon, such as:
- Camber tuning for enhanced aerodynamic efficiency
- Slope ballast adjustments to optimize slope soaring
- Exploring advanced composites for lighter and stronger builds
Whether you’re passionate about thermal soaring or mastering the art of gentle turns, RC glider kits provide a rewarding journey. When you’re ready, explore more kits and spans across SwellRC’s catalogs referenced above. Pick a model that matches your skies—be it electric sailplanes or other RC airplanes—and let your next launch carry you a little higher, a little farther, and a lot more confident.
Frequently Asked Questions
- What materials are best for RC glider kits — balsa, foam, or fiberglass?
It depends on your goals. Foam (EPO) is durable, inexpensive, and quick to assemble—great for beginners and casual flying. Balsa is very light and customizable, rewarding careful builders with excellent thermaling performance. Fiberglass/composite kits are sleek and strong for advanced pilots seeking maximum efficiency and wind penetration, but they cost more and take more setup skill. - Are RC glider kits good for beginners?
Yes—choose a simple EPO foam glider with stable handling, clear instructions, and minimal parts. A small motor (electric sailplane) makes learning easier because you can climb on demand. Start with low control rates, fly in gentle wind, and keep repairs simple. - How do you assemble and balance an RC glider?
Dry-fit, align, and glue major parts; install servos centered; set control throws per the manual; and place the battery to hit the recommended center of gravity (often 25–35% of wing chord). On the maiden, use low rates with a touch of expo, hand-launch level into light wind, and trim for a flat, steady glide. - What’s the difference between powered and unpowered RC gliders?
Powered gliders (electric sailplanes) use a motor and folding prop only to climb, then soar unpowered. Pure gliders rely solely on launch methods (hand, bungee, winch) and atmospheric lift. In the air, both fly the same—motor-off—so choose based on your field and convenience. - Which RC glider kit offers the longest flight time?
In steady slope lift, a well-trimmed glider can fly essentially indefinitely. For thermals, larger, low wing-loading sailplanes with efficient airfoils tend to stay aloft the longest. Electric gliders extend sessions by providing quick relaunch climbs while maximizing motor-off soaring time. - How much does it cost to get started in RC gliding?
Expect roughly $250–$700 for a beginner setup: $120–$300 for a foam kit or RTF, $120–$250 for a capable 6–8 channel radio, $30–$80 for batteries and a basic charger, plus small tools and adhesives. Intermediate and composite builds add cost for servos, power systems, and higher-end radios. - Can I modify a basic RC glider for better performance?
Absolutely. Dial CG forward/back for stability versus float, add aileron differential and camber/reflex flight modes, reduce linkage slop, smooth the wing surfaces, and experiment with small ballast. Even simple changes can markedly improve glide ratio, turns, and energy retention.