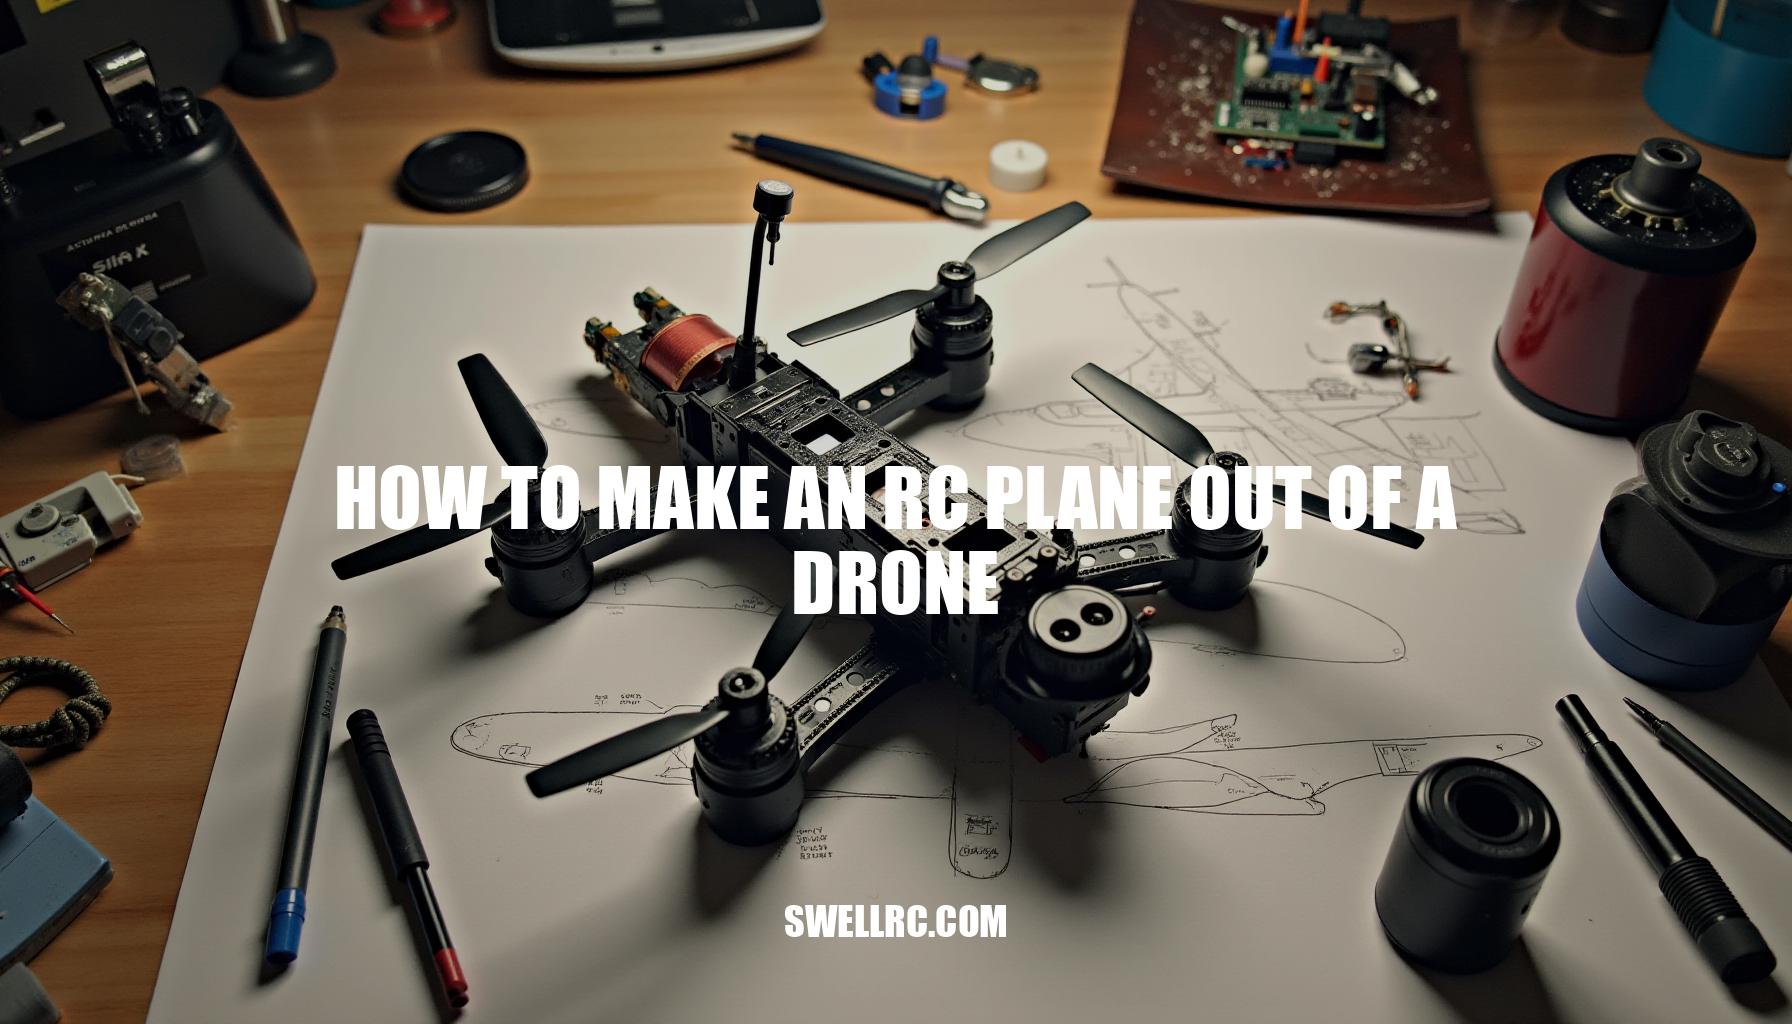
How to Make an RC Plane Out of a Drone: A Step-by-Step Guide
The idea struck me during a dusk session tuning my quadcopter: what if a drone’s heart could power a wing? I couldn’t resist exploring whether the same motors, ESCs, and flight controller that keep a multirotor hovering could also send a fixed-wing slicing through the sky. RC aircraft and drones share a surprising amount of DNA—brushless motors, ESCs, receivers, batteries, and transmitters—but they apply them in different ways.
That’s where creativity becomes essential in drone modification. In this comprehensive guide, I’ll walk you through the materials needed, key structural and control differences, step-by-step conversion processes, electronics setup, and the magical first flight, complete with tuning tips I learned the hard way. By the end, you’ll discover that converting a drone into a DIY RC plane isn’t just a party trick—it’s an immensely rewarding project blending engineering curiosity with hands-on problem-solving.
Along the way, we’ll address critical topics such as aerodynamics, thrust-to-weight ratio, RC flight control, remote control systems, and how to optimize your FPV drone for smooth and controlled flight.
Understanding the Core Differences: Drone vs. RC Plane
Before grabbing any tools, it’s crucial to understand how multirotors and fixed-wing aircraft behave in terms of aerodynamics and flight stability. Multirotors generate lift directly from their props, allowing them to hover and perform agile maneuvers by rapidly changing drone components like motor speeds. In contrast, fixed-wing aircraft rely on their wings for lift generation, requiring continuous forward airspeed, with stability maintained through aerodynamic surfaces such as elevators, ailerons, and rudders.
The thrust-to-weight ratio plays a vital role in both cases, but the methods to achieve control differ significantly—multirotors adjust thrust vectors quickly on all three axes, while planes blend control surfaces with throttle adjustments and often employ specialized firmware modes for steady flight.
| Multirotor | Fixed-wing | |
|---|---|---|
| Lift mechanism | Direct lift from rotating props | Lift generated by wings via aerodynamic forces |
| Thrust usage | Variable thrust vectors from multiple motors for maneuverability | Steady thrust line adjusted with throttle for forward speed |
| Stability method | Rapid motor speed blending for 3-axis stabilization | Combination of control surfaces and throttle control with flight controller firmware |
| Control surfaces | None (control via motor speed changes) | Elevators, ailerons, rudder, plus servos and control linkages |
| Energy efficiency | Generally less efficient due to hovering & thrust vectoring | More efficient due to fixed-wing aerodynamics and steady flight |
| Typical flight times | Shorter; dependent on battery for hovering and thrust | Longer; benefits from glide and efficient lift |
| Takeoff/landing styles | Vertical takeoff and landing (VTOL) | Runway or hand launch; requires more space |
When transitioning between these platforms, many drone components such as ESCs and motors are reusable, but fixed-wing aircraft will require added servos and proper control linkage systems to manage aerodynamic surfaces effectively. For those looking to design lightweight and foam-friendly fixed-wing frames, KT-style profiles provide excellent inspiration. Models like the KT RC Foam Aircraft Fighter Drone Jet showcase simple, aerodynamic shapes that complement efficient lift generation and flight stability, making them ideal references for enthusiasts and builders seeking to optimize thrust-to-weight ratio and maneuverability in fixed-wing drones.
Prepping Your Drone for Conversion: What You’ll Need
When assembling your fixed-wing drone, it’s crucial to have a comprehensive layout of all the necessary drone components to ensure compatibility and optimal performance. Essential parts include a compatible flight controller configured with fixed-wing firmware or mode, high-quality brushless RC motors paired with appropriate ESCs to manage power efficiently, and a reliable propeller mount with props designed specifically for forward flight dynamics. For control surfaces, incorporate 2–4 micro servos responsible for the elevator, ailerons, and rudder functions, connected via pushrods and horns.
Choosing your airframe material wisely matters; foamboard and EPP foam frames offer a forgiving and lightweight structure ideal for beginners, while balsa frames provide stiffer builds but require more skill to handle. Additionally, reinforce critical mounts with 3D printed parts if needed.
To keep your project organized, here is a detailed list covering essential electronics, airframe materials, adhesives, fasteners, and measurement tools that aid in balancing your airplane conversion kit effectively:
- Essential Electronics: Flight controller with fixed-wing firmware, brushless drone motors, ESC connections tailored for your motor’s specifications, micro servos for control surfaces, transmitter and receiver combo for seamless RC transmitter setup, LiPo battery, and power distribution board.
- Airframe Materials: Foamboard or EPP foam for a forgiving foam frame, balsa wood for a sturdy balsa frame, and optional 3D printed parts like motor pods or control horns to increase durability.
- Adhesives and Fasteners: Cyanoacrylate (CA) glue, epoxy resin, double-sided tape, screws, pushrods, and control horns compatible with your servos and airframe.
- Measurement and Balancing Tools: Digital scale for checking weight, ruler or calipers for precise measurements, and a center of gravity (CG) balancing stand or fixture to nail the perfect balance point.
Keep in mind, balancing the center of gravity (CG) is paramount in fixed-wing builds—it took me three prototypes to get it right, so don’t overlook this critical step. If you enjoy customizing parts, consider consulting resources like the 3D printed RC plane tolerance guide for precise fits and the ultra-light build tips to influence your choice between foam and balsa frames.
With proper planning and attention to component compatibility, your airplane conversion kit will deliver excellent flight performance and reliability.
Step-by-Step Conversion Process: Turning Drone Components into a Plane
If you’re diving into a step-by-step DIY drone-to-plane guide, the process begins meticulously to ensure flawless transformation and optimal flight. Start by disassembling the donor drone, carefully labeling components such as motors, ESCs, flight controller, RX, and power leads. This initial organization sets the foundation for success.
Next, inspect the RC motor compatibility by evaluating motor KV ratings and prop options to confirm sufficient thrust-to-weight ratio suitable for a fixed-wing aircraft.
- Configure the flight controller: Flash or set it to airplane/fixed-wing mode if available, ensuring proper control surface management.
- Construct the airframe: Build or adapt a foam or balsa fuselage and wing, reinforcing the motor mount area and establishing a clean thrust line to maximize efficiency.
- Servo installation: Install servos for elevator and ailerons (and rudder if used), setting up control horns and pushrods with neutral alignment; this step is crucial to precise control surface movements.
- Mount motor and ESC: Position these components to allow adequate airflow for cooling; plan battery placement carefully considering weight distribution to maintain proper center of gravity.
- Connect the receiver: Wire the RX to the flight controller, map channels for throttle, elevator, aileron, and rudder; verify servo directions and adjust as needed.
- Balance the aircraft: Fine-tune the position of the battery and components until the aircraft balances exactly at the recommended CG point.
- Perform control checks and glide test: Conduct dry runs of control systems before executing a gentle glide over soft grass to validate stability and response.
Throughout the process, it’s crucial not to rush the servo centering—always center servos first, then mechanically trim before applying any electronic subtrim, ensuring precise control surface alignment. This methodical approach integrates insights from helicopter control-system logic and RC motor and ESC connection practices to guarantee a smooth conversion from drone to fixed-wing aircraft, optimizing flight performance and reliability.
Configuring Electronics and Controls
Think of the wiring like a tree: starting from the battery, power flows to the ESC and the power distribution board, while the ESC signal wire connects to the flight controller (FC). The receiver outputs (or serial data) feed into the FC, which then controls the servos responsible for elevator, aileron, and rudder movements.
A typical wiring diagram looks like this:
- Battery → ESC → Motor
- ESC Signal Wire → Flight Controller Throttle Input
- Receiver Bound to Transmitter (TX) → Channels Mapped in Flight Controller
- Flight Controller Outputs → Elevator, Aileron, Rudder Servos
Start your RC transmitter setup by binding the transmitter to the receiver, then carefully confirm channel endpoints and reversals to ensure correct responses. To achieve smooth control, adjust throttle curves, rates, and exponential settings, enhancing throttle response so the plane doesn’t feel twitchy or overly sensitive.
Before mounting the propeller, always verify motor direction; if the motor spins the wrong way, swapping any two of the three motor wires will reverse it.
If you notice servo chatter, it may indicate a BEC loading issue—make sure power separation is clean and stable to prevent interference with servo operation. ESC calibration and appropriate servo configuration within the flight controller setup are critical steps to maintain precise and reliable control.
For additional insight into transmitter logic and how to approach mode setup and channel discipline, I highly recommend this detailed helicopter build article: https://www.swellrc.com/how-to-make-a-rc-helicopter/. After countless attempts, I finally cracked the logic behind channel mapping by following a simple mantra: label each channel clearly, test thoroughly, and only then tidy your wiring for a clean, efficient build.
Flight Testing and Fine-Tuning Performance
Before every flight testing session, it’s crucial to run through a comprehensive pre-flight checklist to ensure stability and performance. Here’s a handy table to guide you:
| Item | Checkpoints |
|---|---|
| CG Location | Verified for optimal balance |
| Control Surfaces | Neutral position and moving correctly |
| Motor/Prop | Tight fit and correct rotation direction |
| Battery | Securely fastened |
| Failsafe | Properly set to engage on signal loss |
| Range Check | Completed to confirm reliable control link |
| Control Throws | Adjusted to beginner-friendly rates |
Begin your flight testing with gentle hand launches into the wind, gradually building confidence through short circuits at mid-throttle. During stability tuning, note any tendencies such as pitching up on throttle due to thrust line misalignment, rolling in one direction (possibly wing warp or trim issues), or pitch hunting caused by a slightly aft CG. Always perform trim adjustments and mechanical linkage corrections before reprogramming your controls.
If you’re transitioning from multirotors, stabilization intuition like PID-like tuning and incremental tweaking will transfer well. For further guidance on translating hover skills to forward flight, this article is invaluable.
Expect a few bumps along the way; my biggest breakthroughs came after shortening control throws and switching to a slightly lower pitch prop to ensure smoother acceleration and better thrust line alignment. When your plane finally tracks true through the air, that first clean pass is pure joy.
Bonus Ideas: Customizing & Upgrading Your RC Hybrid
If you’re looking to enhance your drone project through customization, consider these incremental modifications to optimize performance and functionality. Start with electronics by adding an FPV camera/VTX and OSD for real-time data streaming; for effective FPV drone setup pointers, resources like mini-drone camera workflows can be invaluable. Experiment with airframe designs by incorporating aerodynamic tweaks such as winglets, slight dihedral angles, or trying out a pusher versus a tractor propulsion layout.
When refining the landing gear, simple wire skids provide lightweight simplicity, but upgrading to retractable landing gear can significantly improve aerodynamics. For power optimization, tune the propeller size and pitch to balance efficiency, or explore a twin-motor differential thrust setup for enhanced maneuverability. Avionics upgrades should include flight controller enhancements featuring advanced fixed-wing modes and GPS Return-to-Home (RTH) functionality.
Finally, don’t overlook aesthetics; scaling liveries and detailed designs inspired by larger projects, like the MQ-9 Reaper RC plane, can add an impressive visual appeal. By implementing changes gradually, you ensure each improvement can be directly attributed to a specific mod, allowing for precise performance tuning and effective troubleshooting.
Conclusion: Reflecting on What the Project Teaches You
Converting a drone into an RC aircraft has been an eye-opening RC learning journey, teaching me more about flight mechanics than any single build before. This fixed-wing conversion beautifully illustrates how lift, thrust, and control surfaces interact when the electronics are thoughtfully mapped with intention.
From scavenging parts to mastering servo geometry and maintaining strict CG discipline, every step underscored the value of patience and the power of incremental progress. If you approach this as a DIY RC plane project methodically—through planning, building, configuring, and testing—you’ll achieve a unique hybrid aircraft and gain a deeper understanding of RC flight.
This blend of creativity and engineering curiosity doesn’t just end with one build; it sets a solid foundation for all future projects, whether working with foam, balsa, or printed composites. I’m already sketching ideas for my next variant and am eager to see what innovations you bring to the field.
See you at the flying field, toolbox in hand and batteries fully charged!
Frequently Asked Questions
- Can you convert a drone into an RC plane?
Yes. Many drone components—motors, ESCs, flight controller, receiver, and battery—can be repurposed for a fixed-wing build. You’ll add a lightweight airframe and servos, configure the flight controller for airplane mode (if supported), and remap controls. The keys are correct thrust-to-weight, proper center of gravity, and reliable control surfaces. - What parts of a drone can be reused to make an RC airplane?
Typically reusable: brushless motors, ESCs, flight controller (if it supports fixed‑wing), receiver, battery, wiring, and sometimes the power distribution. You’ll need to add servos, linkages, control horns, a suitable prop/mount for forward flight, and of course a wing/fuselage airframe. - How does flight stability differ between drones and RC planes?
Drones stabilize by constantly varying motor speeds to create lift and control on all axes, allowing hover. RC planes rely on wings for lift and use aerodynamic surfaces (elevator, ailerons, rudder) for control while maintaining forward airspeed. Stabilization on planes often blends sensor input with surface deflections rather than rapid thrust changes alone. - What materials are best for building lightweight RC airplanes?
Foamboard and EPP are popular for durability and ease of repair; balsa offers stiffness and precision at low weight but needs more skill; selective 3D-printed parts work well for mounts and reinforcements. Choose materials that keep the center of gravity achievable and survive test flights. - How do you program the transmitter for a converted RC plane?
Bind the transmitter to the receiver, then map channels to throttle, elevator, aileron, and rudder. Set correct servo directions, endpoints, and subtrim. Add dual rates and expo for smoother control. If using a flight controller, enable fixed-wing mode and verify that stabilization and failsafe behave correctly before flight. - Is it cheaper to make an RC plane from a drone or build from scratch?
If you already own a donor drone, repurposing its motors, ESCs, FC, and battery can reduce costs significantly. However, you’ll still need an airframe, servos, linkages, and a few accessories. For newcomers without spare parts, a dedicated fixed-wing kit may be simpler and similarly priced once tools and incidentals are included.