How to Clean Nitro RC Car: A Comprehensive Guide
I learned how to clean a nitro RC car the hard way. After months of trial and error, my buggy started idling rough, stalling on throttle, and leaving greasy streaks across the chassis. The culprit?
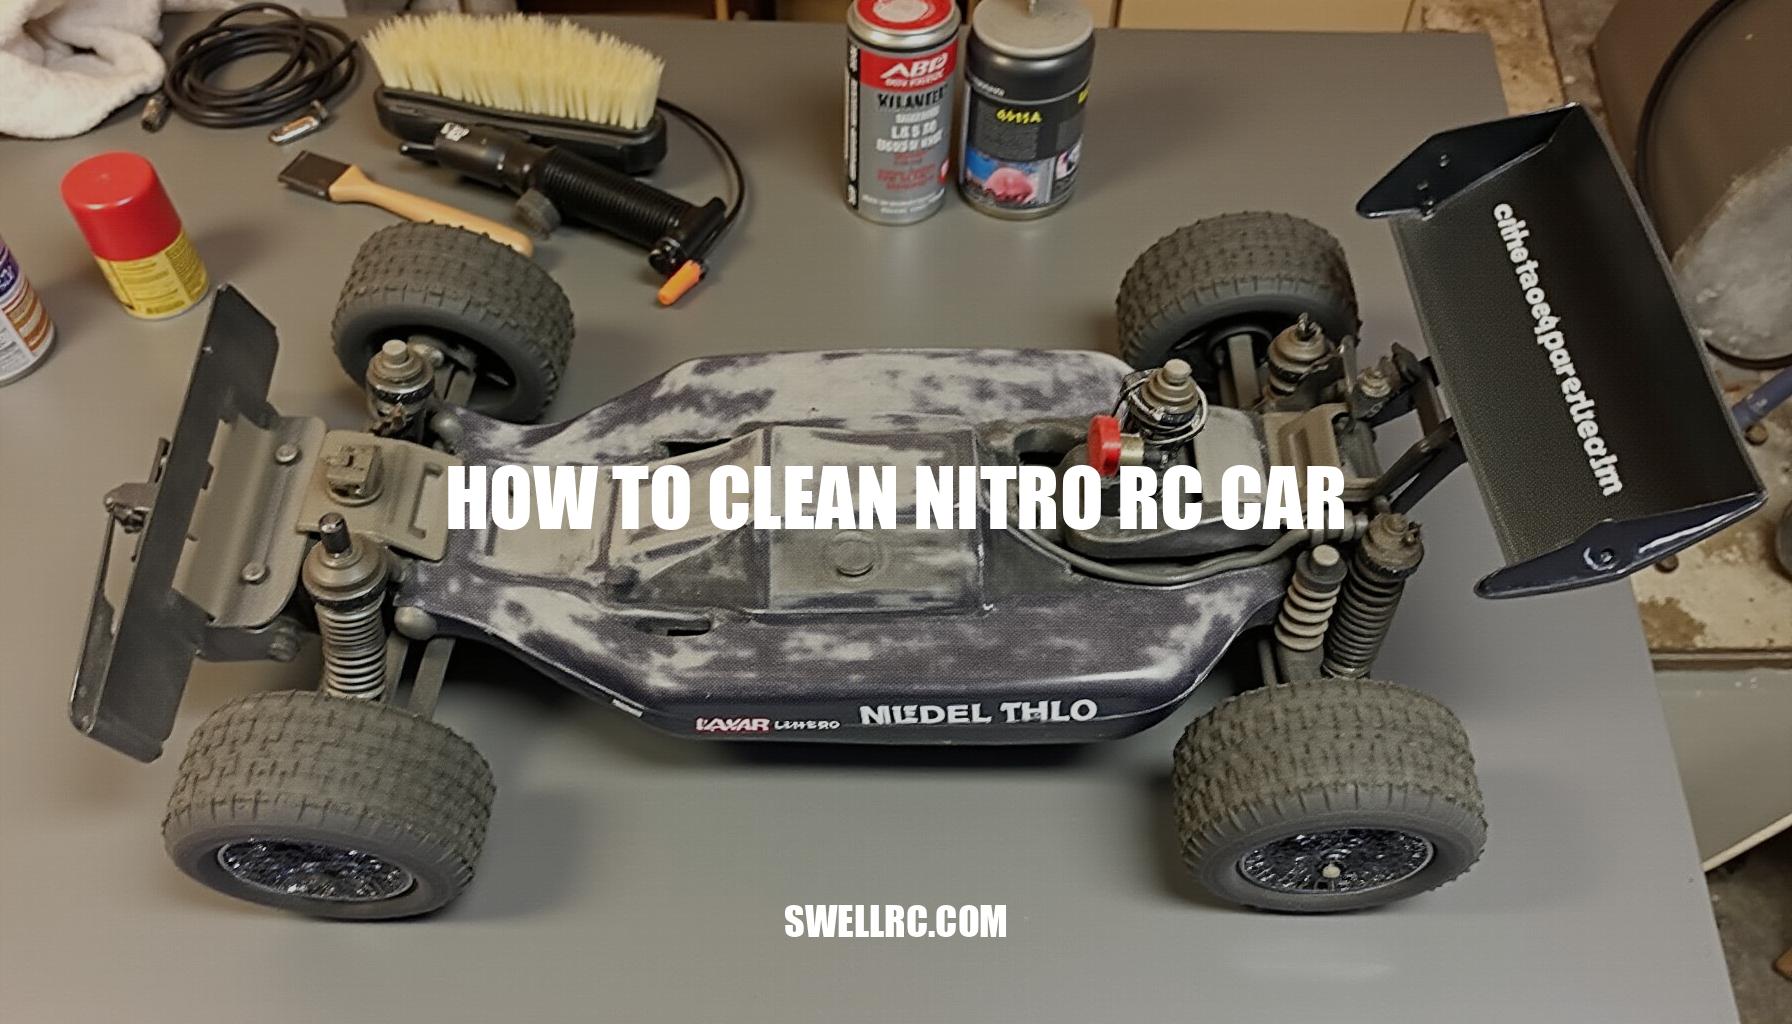
A neglected air filter and fuel residue caked around the carb and servos. I couldn’t believe the difference after trying this method—power came back, temps stabilized, and it even sounded happier. Nitro cars are special: the fuel leaves an oily film that attracts dust, the engines run hot, and tiny passages in the carb don’t forgive grit.
Proper nitro engine care is essential to keep your RC vehicle in top shape. Clean it right and you protect the engine, keep tuning consistent, and avoid expensive failures. In this guide, I’ll share the step-by-step routine I now swear by for cleaning nitro RC car components, plus the little tricks I picked up through mistakes so you can get pro-level results without risking your gear.
This approach to RC maintenance ensures that RC car fuel residue is effectively removed, extending the life of your vehicle and maintaining peak performance.
Know your nitro: mechanics that dictate how you clean
Once I understood how these parts connected, my cleaning approach completely changed. A nitro car has four zones that collect grime differently:
- Engine and carburetor: The heart of any radio control nitro car platform, your powerplant pulls in air through a filter and mixes it with fuel in tiny carb passages. A dirty exterior traps heat; contamination inside ruins tuning. See core anatomy here: rc car engine.
- Fuel system: Nitro fuel contains methanol, nitromethane, and oil—learn the blend and why residue forms here: nitro fuel residue. That oil film protects but also grabs dust.
- Chassis and suspension: Arms, hinge pins, and shocks sling dirt and clay into nooks under the center diff and along skid plates. Bearings hate grit. Proper nitro car chassis cleaning prevents premature wear.
- Electronics and servos: Throttle/brake servos sit where exhaust mist settles; residue can creep into servo cases and linkages. Regular servo maintenance keeps your controls smooth and responsive.
For context, nitro engines show up beyond cars—compare packaging and airflow nuances with an rc plane nitro engine and you’ll see why car cooling shrouds and filter placement matter. If you’re just getting into the category, this overview helps. Knowing what each part faces (heat, oil mist, dust, or vibration) tells you how aggressive you can be when cleaning—and what to absolutely keep dry.
Tools and safety prep
When preparing to clean your nitro RC car, it’s essential to gather the best cleaner for nitro RC cars alongside safe cleaning tools to ensure an effective yet gentle maintenance process. Start with soft paintbrushes and detailing brushes in various sizes to carefully reach every nook and cranny without damaging delicate components. Utilize compressed air at low pressure or a hand blower to remove dust and debris, taking care not to direct high-pressure air toward bearings or carburetor openings.
Use denatured alcohol or 91–99% isopropyl alcohol, both plastics-safe, for cleaning sensitive parts, and a citrus-based degreaser specifically for the chassis to effectively break down grime.
For wiping and spot-cleaning, microfiber cloths, cotton swabs, and toothpicks are ideal. Don’t forget nitrile gloves and safety glasses to protect yourself during the process.
Additional essentials include air filter oil, a tacky substance that traps dust without choking airflow, and after-run oil, a light, corrosion-inhibiting lubricant designed for engine internals. Keep paper towels, a parts tray, and small zip bags handy to organize components and maintain a clean workspace.
Safety is paramount when cleaning RC car electronics. Always disconnect the receiver battery before starting; let the engine and pipe cool fully; work in a well-ventilated area away from open flames; avoid soaking electronics, and never use harsh solvents on plastics.
By assembling these safe cleaning tools for nitro RC engines and practicing proper safety measures, you’ll ensure your RC car stays in peak condition for every run.
Quick reference: cleaning tools vs. purposes
Proper RC vehicle care requires using the right tools to maintain and clean your model effectively. Below is a detailed table highlighting essential tools and their purposes for optimal maintenance:
| Tool | Purpose |
|---|---|
| Soft brush | Loosen dry dust from chassis, shocks, cooling head fins. |
| Microfiber cloth | Wipe oily film without scratching plastics. |
| Compressed air (low pressure) | Blow off loose dirt from nooks and fins. |
| Denatured/isopropyl alcohol | Dissolve fuel oil residue on metal and plastics safely. |
| Citrus degreaser (diluted) | Break down heavy grime on chassis and skid plates. |
| Cotton swabs/toothpicks | Detail around carburetor base, servo horns, and screw heads. |
| After-run oil | Protect engine bearings and sleeve from moisture and corrosion post-cleaning, essential for nitro engine after-run oil maintenance. |
| Air filter oil | Re-oil cleaned foam filters to trap dust effectively during air filter cleaning. |
| Parts tray/zip bags | Keep screws and small parts organized during disassembly. |
Using these recommended tools ensures your RC vehicle remains in top condition, prolonging the lifespan of its components and enhancing performance during every run.
Step 1: Pre-clean inspection and smart disassembly
Before beginning any rc maintenance, it’s important to do a quick once-over of your nitro car chassis. Note any wet spots indicating fuel leaks, check for loose screws, and observe any binding linkages. To prepare for a thorough inspection, follow these key steps:
- Remove the body, wheels (optional), and air filter.
- Cap the carburetor throat with a clean plug or tape to prevent debris.
- If pulling the engine, mark the clutch shim order and header spring orientation to ensure reassembly accuracy.
- Take detailed photos as you go—future you will thank you for this documentation.
This process often reveals hidden issues, such as the tiny exhaust leak I spotted, which had been misting my brake servo. Addressing this leak alone solved a mysterious brake fade, showcasing the importance of servo maintenance and meticulous observation. This step in the nitro car chassis cleaning routine truly made me respect the precise engineering behind these tiny machines.
Step 2: Chassis and suspension cleaning
When performing nitro car chassis cleaning, start dry by brushing and blowing off the bulk of dust to prevent any abrasive grit from causing damage. Next, follow these radio control cleaning steps to ensure thorough rc vehicle care:
- Spray a little diluted citrus degreaser on a cloth and wipe skid plates, suspension arms, and the center area around the drivetrain.
- Use swabs to clean around hinge pins and shock caps carefully.
- Avoid dousing bearings directly; if they feel gritty, remove and service them separately for optimal function.
- For stubborn clay or debris, use denatured alcohol on a microfiber cloth, as it works wonders without harming plastic components.
- Keep water use to a minimum; if rinsing the body shell is necessary, remove it and dry it separately to prevent moisture-related issues.
- Finally, rotate the drivetrain by hand to check for any gritty spots you may have missed, ensuring smooth operation.
By following these detailed steps, your radio control vehicle care routine will maintain the performance and longevity of your nitro car’s chassis and drivetrain components.
Step 3: Engine and carburetor care
Exterior first: brush out the cooling head fins and wipe the crankcase with alcohol. Inspect the header gasket and fuel fittings for residue that signals leaks. Keep solvent out of the carb throat and off the air filter element.
If you disturbed tuning, you can return to baseline later; for a refresher on mixture basics and needle logic, see this guide. For effective nitro engine care, especially after exposure to harsh conditions, follow these crucial steps:
- Thoroughly brush and clean the cooling head fins to maintain proper engine temperature.
- Wipe the crankcase with alcohol to remove dirt and grime without damaging components.
- Inspect the header gasket and fuel fittings for any signs of residue which could indicate leaks.
- Avoid letting solvent enter the carburetor throat or touch the air filter element to prevent damage.
- If the engine was drowned in mud or water, remove it from the chassis and strip the clutch bell for external cleaning.
- Apply nitro engine after-run oil internally by placing a few drops into the carburetor and glow plug hole, then rotate the engine by hand to evenly distribute lubrication and prevent rust.
Maintaining your rc car engine through diligent carburetor cleaning and proper application of after-run oil not only enhances performance but extends engine life significantly.
Step 4: Fuel tank and lines decontamination
To ensure optimal performance and prevent common issues caused by nitro fuel residue, follow these essential rc maintenance steps for effective fuel system cleaning:
- Drain any leftover fuel promptly, as old nitro absorbs moisture quickly, which can damage your engine.
- Remove the tank cap and thoroughly wipe the rim and seal to eliminate any residue buildup.
- Run fresh alcohol through the tank and fuel lines to clean out contaminants effectively.
- Blow the fuel lines gently until they are completely dry to prevent moisture retention.
- Check the clunk filter regularly and replace any fuel lines that feel stiff or appear cloudy, as these are signs of wear or contamination.
- Re-seat the pressure and feed lines to ensure they do not kink, especially during full suspension travel, maintaining smooth fuel flow.
A clean fuel path not only keeps tuning stable but also prevents random flame-outs caused by debris. Be vigilant: if you ever notice glitter in the tank, stop immediately and investigate, as metal particles in the fuel signal a serious issue that must be addressed to avoid engine damage.
Step 5: Air filter cleaning and oiling technique
To ensure optimal nitro engine care, gently remove the foam element(s) from the cage. Follow these steps for effective air filter cleaning:
- Wash the foam in warm soapy water or a dedicated foam cleaner until it becomes clear.
- Squeeze the foam gently instead of twisting it to avoid tearing, which is crucial when using safe cleaning tools for nitro RC engines.
- Rinse thoroughly and press the foam between paper towels to absorb excess water, then let it fully dry.
- Re-oil the foam with air filter oil by adding a small amount, working it evenly throughout, and squeezing out any excess so that the foam feels tacky but not dripping.
- Carefully reassemble the filter ensuring there are no gaps at the base to maintain a clean seal.
Remember, a pristine filter protects the engine’s ring and sleeve better than any other maintenance step—you may notice engine temperatures drop and power output smooth out immediately after installing a fresh, well-maintained filter.
Step 6: Drying, lubrication, and reassembly
When learning how to dry a nitro RC after cleaning, it’s important to ensure all components are thoroughly dry to avoid damage. Begin with the final dry-down using low-pressure air and a microfiber cloth to remove any lingering moisture from your vehicle. Follow these essential steps to maintain your RC car effectively:
- Apply a drop of light oil to exposed metal linkages, taking care to avoid contaminating brake pads.
- Verify that servo screws are snug but not overtightened to maintain optimal performance.
- Add after-run oil to the engine, especially if you’ve cleaned aggressively or plan to store the car.
This involves placing a few drops into the carburetor and spark plug hole, then gently pulling the starter to coat internal engine parts.
- Refit the air filter securely to protect your engine.
- Reconnect your battery and verify that radio endpoints are functioning correctly.
- For additional peace of mind, consult quick-start backup tips for post-clean checks such as igniter alternatives and emergency methods without a glow plug to handle unexpected starting issues when cleaning RC car electronics.
Deep cleaning and maintenance tricks only experienced RC owners know
After countless hours experimenting, this little trick saved me dozens of maintenance headaches: spot-treat heavy grime with a dab of alcohol on a swab, then chase with dry air—no smeared mess. When it comes to deep cleaning nitro RC vehicles, particularly the body, if you’re refreshing a shell or stripping flaking rattle-can jobs, this guide is gold. Servos collect oil at the output spline—pop the horn, clean the spline, and check for case screws backing out to keep your servo maintenance up to par.
For nitro engine after-run oil application, especially if you run in damp conditions, fog the engine with after-run oil at the day’s end to protect your engine from corrosion. For racers focused on RC F1 nitro performance, a cleaner driveline means freer coasting; I noticed my RC F1 nitro car rolled further and braked more consistently after adopting this routine.
- Spot-treat heavy grime with alcohol swabs and dry air to prevent smeared mess.
- Body maintenance: Refresh or strip flaking paint with specialized guides.
- Servo maintenance: Clean output splines and inspect case screws regularly.
- Nitro engine after-run oil: Fog engine after use to prevent moisture damage.
- Driveline cleanliness: Ensures better rolling and braking performance for RC F1 nitro cars.
- Header sealing: Add a thin bead of high-temp RTV to stop exhaust leaks.
- Maintenance logs: Track fuel usage, flush the carb every few liters with fresh fuel, inspect clutch shoes, and replace air filter elements proactively.
Context check: your nitro category and platform
If you’re cross-shopping nitro car platforms or just stepping into the nitro world, skimming a category overview like this guide can help you understand how buggies, truggies, and on-road cars differ in terms of maintenance demands. For instance, heavier off-road chassis often require more frequent chassis degreasing due to exposure to dirt and grime, while tight on-road bodies trap heat, necessitating extra attention around the cooling head and pipe joints to prevent overheating. Tailoring your rc maintenance cadence to match how and where you run your vehicle is crucial for longevity and performance.
| Vehicle Type | Typical Maintenance Needs | Recommended Radio Control Cleaning |
|---|---|---|
| Buggies | Frequent chassis degreasing; suspension checks | Clean after every run to remove dirt and debris |
| Truggies | More intensive chassis cleaning due to heavy off-road use | Clean and lubricate regularly to maintain performance |
| On-road Cars | Focus on cooling head and pipe joint inspection; heat management | Ensure cooling passages are clear and clean after each use |
Implementing a consistent radio control cleaning routine tailored to your vehicle’s category will help maximize both performance and lifespan. Remember, your rc maintenance cadence should evolve alongside your usage patterns, whether it’s casual backyard runs or competitive racing.
Troubleshooting: common cleaning mistakes and how to avoid them
When it comes to nitro engine care and maintenance, avoiding common mistakes cleaning nitro RC cars is essential to keep your vehicle running smoothly. One frequent error is using too much water; water can wick into bearings and servos. If you rinse the chassis, make sure to immediately blow dry it, then run the drivetrain to sling off moisture before adding a drop of oil to any exposed metal parts.
Another vital aspect is not neglecting the air filter; a dusty, dry filter leads to premature engine wear. It’s important to clean and re-oil the filter frequently, especially if you run on a dusty track – ideally, every run.
Skipping after-run oil is also a common oversight. Alcohol-based cleaners strip protective oil layers, so if you clean the engine area, always add a few drops of after-run oil afterward to prevent rust formation. Additionally, over-tightening engine or pipe screws can cause warped mounts and exhaust leaks, which complicate tuning.
To avoid this, snug screws evenly and re-check them after heat cycles. Lastly, blasting high-pressure air into the carburetor or bearings can push debris inside. When cleaning RC car electronics or sensitive components, shield openings and use short, gentle bursts of air.
From experience, over-spraying degreaser onto a receiver can cause damage, so wrapping electronics in a plastic bag before heavy cleaning is a smart preventive step.
- Using too much water: Water wicks into bearings and servos; dry immediately and lubricate.
- Neglecting the air filter: Leads to premature engine wear—clean and re-oil frequently.
- Skipping after-run oil: Prevent rust by adding oil after cleaning.
- Over-tightening screws: Causes warped mounts and exhaust leaks; tighten evenly.
- Blasting high-pressure air: Drives debris inside; use gentle bursts and shield electronics.
Final thoughts: keep that nitro RC machine alive and roaring
Cleanliness is performance. A simple 15-minute post-run wipe-down combined with a weekly deep clean transformed my temperamental nitro engine into a reliable rocket. By integrating rc maintenance into your routine, you ensure longer engine life, steadier tuning, and easier starts. Treating nitro engine care not as an afterthought but as a vital part of driving significantly improves overall rc vehicle care.
Here are some key benefits of consistent cleaning:
- Prolonged engine lifespan
- Smoother and steadier tuning performance
- Reduced starting issues
- Enhanced overall vehicle reliability
Keeping my nitro RC spotless evolved from a chore into a meaningful ritual that deepened my connection to the hobby.
For expert tips and trusted guides, keep exploring resources across SwellRC as you refine your rc maintenance routine.
Frequently Asked Questions
- What is the best way to clean a nitro RC car after running?
Let the engine cool, remove the body, and start dry: brush and blow off loose dirt. Wipe fuel residue with denatured or isopropyl alcohol on microfiber. Clean the chassis with a plastics-safe degreaser, then detail around the carb, servos, and brakes with swabs. Service the air filter (clean and re-oil), and add a few drops of after-run oil if you washed away protective film. Dry thoroughly before reassembly. - How often should you clean your nitro RC car engine?
Do a light wipe-down after every run and a deeper exterior clean every 2–3 outings, or immediately after mud/wet use. Clean and re-oil the air filter as often as conditions demand—dusty tracks mean every run. Add after-run oil to the engine after any heavy cleaning session or before storage. - Can you wash a nitro RC car with water?
Use water sparingly and never on electronics, bearings, or directly into the carb. If you rinse the body or chassis, keep it targeted, then blow dry immediately and lubricate exposed metal. Alcohol and plastics-safe degreasers are usually safer than soaking with water. - What are the common mistakes when cleaning a nitro RC car?
Overusing water, soaking electronics, skipping air filter service, failing to add after-run oil, blasting high-pressure air into bearings or the carb, and overtightening engine/pipe screws after cleaning. Each of these shortens component life or causes tuning issues. - How do you remove dirt and fuel residue from a nitro RC car chassis?
Brush and blow off loose debris first. Apply a diluted citrus degreaser to a cloth and wipe skid plates and arms. For oily film, use denatured/isopropyl alcohol on microfiber. Detail tight areas with cotton swabs and toothpicks. Avoid flooding bearings; remove and service them separately if gritty. - Is it necessary to clean the air filter after every run?
In dusty conditions, yes—clean and re-oil after every run. In light-use or clean environments, inspect every run and clean every 1–2 tanks. Always re-oil the foam lightly so it’s tacky but not dripping. - What cleaning tools and products are safe for nitro RC engines?
Soft brushes, microfiber cloths, denatured or high-purity isopropyl alcohol, plastics-safe degreasers, cotton swabs, low-pressure air, air filter oil, and after-run oil. Avoid harsh solvents like acetone or chlorinated brake cleaner on plastics, and keep any solvent out of the carb throat. - How do professionals clean nitro RC cars before storage?
They degrease and dry the chassis, clean and re-oil the air filter, drain the tank and lines, add after-run oil to the engine (carb and plug hole), rotate to distribute, and bag the car with desiccant in a cool, dry place. Tires are often removed or the car is stored on a stand to prevent flat spots.