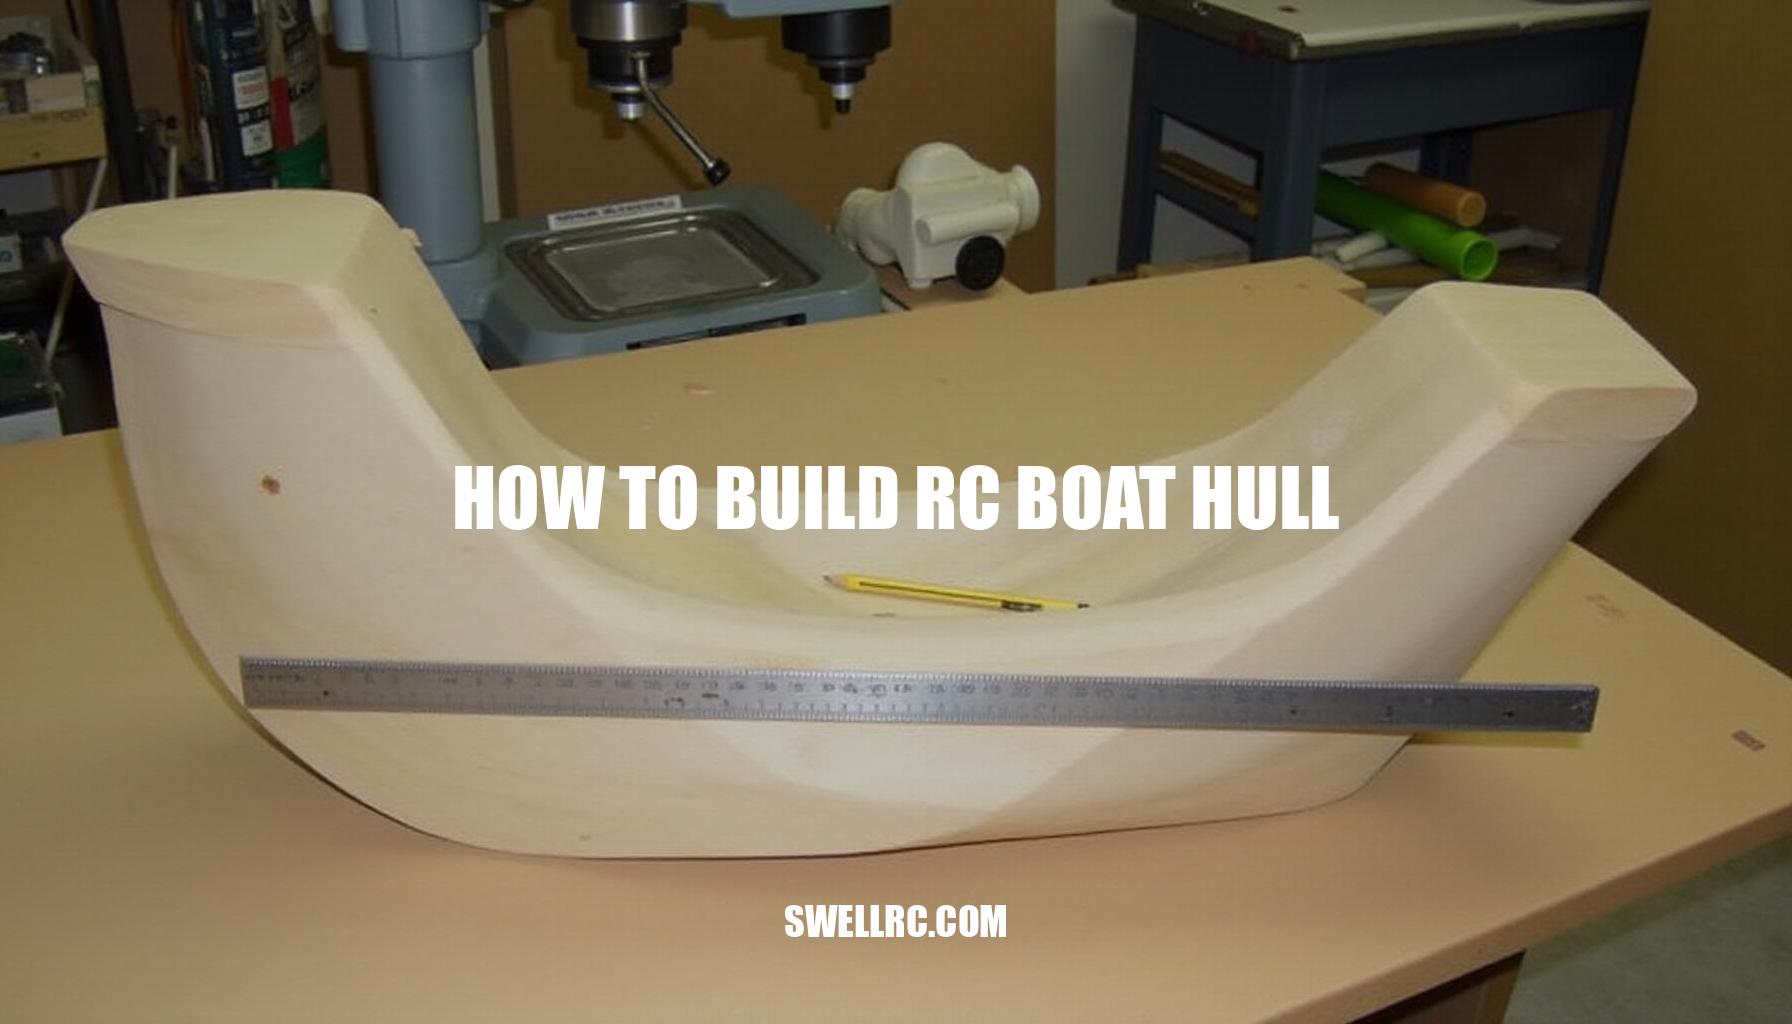
How to Build RC Boat Hull: A Comprehensive Guide
The first time I realized how much a hull shape dictates personality, I was watching two scratch-built boats I’d tuned myself: a sleek mono carving arcs while a skittish hydroplane skimmed past like it had somewhere better to be. That moment made me obsessed with how to build RC boat hull designs that feel alive. In this guide, I’ll share the exact fundamentals, materials, and step-by-step processes I use so you can craft a hull from scratch—or refine one you already have.
Why the focus on the hull?
Because it’s the chassis, suspension, and aerodynamics of a boat rolled into one. Get hull geometry, balance, and waterproofing right, and speed, stability, and confident handling follow. We’ll look at mono hulls, catamarans, hydroplanes, and outriggers, and I’ll show you what surprised me after testing wood, fiberglass, plastic, and even 3D-printed polymers.
If you’re drawn to ultra-low-drag skim racers, browsing specialized options like RC hydroplane boat kits can spark design ideas.
And for creative inspiration, I still love seeing what builders do with modular concepts like a Lego Technic RC boat. Whether you’re diving into RC boating basics or elevating your model boat building skills, mastering hull design principles is crucial for achieving the perfect balance of speed, stability, and handling on the water.
Understanding RC Boat Hull Fundamentals
Hull choice is crucial in determining how your RC boat rides, turns, and accelerates. Understanding the nuances of RC boat hull types helps you select the perfect design for your style and water conditions.
Here’s a quick overview of the main hull types:
- Mono (V-hull): The all-rounder of RC boats. Its predictable handling, ease of setup, and tolerance to surface chop make it perfect for beginners and sport-speed builds.
- Catamaran: Featuring two narrow hulls, it reduces drag and provides exceptional cornering grip when trimmed properly — ideal for speed runs and smooth-water racing.
- Hydroplane/Outrigger: Designed to ride mostly above water at speed, slashing drag significantly. These are blisteringly fast but require meticulous setup and perform best on calm water.
To grasp key hydrodynamics involved in these hull designs, consider:
- Buoyancy: Your hull must displace enough water to support the boat’s total weight. More displacement means more float but can limit top speed.
- Drag: Minimizing wetted surface and optimizing hull angle reduces resistance. Less hull touching water at high speeds equals less drag and better performance.
- Center of Gravity (CG): The balance point varies across hull types — typically 28–33% from the transom for mono, 30–35% for catamarans, and at the sponson ride point for hydro/out riggers. Even small battery shifts can vastly change handling.
If you want to explore long, sleek sponsoned designs, RC outrigger boat kits are an excellent way to learn about lift and ride attitude.
| Hull Type | Buoyancy | Drag | Center of Gravity | Stability vs Speed |
|---|---|---|---|---|
| Mono Hull (V-hull) | Moderate displacement for stable float | Medium drag due to larger wetted surface | 28–33% from transom | Balanced stability and speed; tolerant to chop |
| Catamaran Hull | Lower displacement with narrow hulls | Reduced drag offering higher speeds | 30–35%, centered between hulls | Less stable in chop but excellent speed and corner grip |
| Hydroplane/Outrigger | Minimal displacement at high speed; mostly lifted out of water | Very low drag when properly trimmed | At sponson ride point | High speed with low stability; sensitive to setup |
Choosing the Best Materials for Building Your RC Boat Hull
After testing various materials for RC hulls side-by-side, the trade-offs between options like wooden model boat hulls, fiberglass RC hulls, ABS hulls, and 3D-printed RC hulls became crystal clear.
- Wood (ply/balsa skins over frames)
– Pros: Easy to shape, light, warm aesthetics; budget-friendly.
– Cons: Requires diligent sealing for waterproofing; dents more easily than composites.
– Best for: Classic builds, prototypes, and learning hull geometry.
– Tools: Hobby saw, razor plane, sanding blocks, epoxy, clamps. - Fiberglass (cloth + epoxy or polyester)
– Pros: Strong, repairable, smooth finish; ideal for repeatable molds.
– Cons: Messy without prep; requires safety gear and curing discipline.
– Best for: Performance monos/cats; long-lasting hulls.
– Tools: Shears, rollers/squeegees, peel ply, respirator, mixing scale. - Plastic composites/ABS
– Pros: Tough, quick assembly if pre-formed; well-suited for beginners.
– Cons: Weight versus stiffness trade-off; bonding requires proper adhesives.
– Best for: Sport boats, kit bashes.
– Tools: ABS cement, deburring tools, fine files. - 3D-printed polymers (PLA+, PETG, ASA)
– Pros: Rapid iteration; allows integration of stringers, ducts, and wire channels.
– Cons: Layer-line leaks needing post-sealing; heat sensitivity, especially for PLA.
– Best for: Prototyping, unique geometries, modular hulls.
– Tools: 3D printer with 0.4–0.6 mm nozzle, slicer software, epoxy sealant.
A real-world note: A fiberglass RC hull finished with a careful epoxy resin finish consistently delivered the best strength-to-weight ratio and the glassiest water release after polishing, demonstrating excellent density durability waterproofing. For premium laminate reference and proven layups, explore Aeromarine Laminates RC boats. This is a valuable resource for those looking to optimize performance and longevity in fiberglass RC hulls.
If you prefer to jump-start your project rather than scratch-build, high-quality RC boat kits offer a great middle ground with pre-formed parts and materials designed for easy assembly.
Check out the selection at SwellRC RC boat kits.
Step-by-Step Guide: How to Build an RC Boat Hull
If you’re embarking on the journey of designing and building your own remote control watercraft, this step-by-step RC hull design guide walks you through the entire process from a blank page right up to a pond-ready masterpiece. It all begins with defining your mission and picking a plan that suits your aspirations—whether you want a sport mono, speed catamaran, or a hydroplane/OU craft. Think about what you want: calm-lake speed runs, club racing, or simply fun bashing sessions.
This early stage involves choosing a well-crafted hull blueprint for RC boats or specific RC speedboat hull plans scaled precisely to accommodate your chosen electronics and battery size. A pro tip here is to print full-size templates and mark key points like the waterline, CG target, and shaft centerline.
Next, it’s time to create the skeleton of your boat. Transfer bulkheads and stringers onto quality plywood—typically 3 to 4 mm thickness for small electric models, moving up to 5–6 mm for larger builds. Precise cutting and a dry-fit on a perfectly flat building board, ideally equipped with a centerline jig, ensure every frame aligns squarely.
Tack the framework with CA glue, then reinforce these joints using strong epoxy fillets.
For skinning the hull, you have versatile approaches depending on your materials preference and skill set. The wood path uses planking or sheet balsa/ply, often requiring pre-bending through steam or heat to fit curves. The fiberglass path involves building a plug and mold or skinning over a wooden core, with typical layups for small boats being two layers of 6 oz cloth, scaling up strategically with 6–10 oz cloth for larger crafts.
Alternatively, modern enthusiasts might opt to 3D print the hull in sections with walls between 1.2–2.0 mm thick and 15–30% infill. These sections are solvent-welded or epoxy-joined, incorporating internal ribs every 60–100 mm for added strength and rigidity.
Moving on to fairing sanding sealing, start with progressive sanding sequences ranging from 120, 220, up to 320 grit to create a smooth surface. Pay close attention to the edges—keep them crisp where you want lift and make them rounded where you desire clean separation. Filling pinholes with lightweight filler followed by a final skim coat of epoxy ensures a silky base coat ready for finishing.
Waterproof RC hull integrity is critical. Within the hull, apply two thin coats of epoxy, tipping the boat carefully to help the resin wick into seams and pores. On the exterior, finish with an epoxy resin finish, optionally topped off with a 2K clear coat after primer and painting to lock in durability and gloss.
For hardware penetrations, oversize drill the mounting holes first, fill them with thickened epoxy, then re-drill to exact size—this technique stands out as a long-term leak stopper. To verify waterproof readiness, plug all openings and softly pressurize the hull while misting it with soapy water or simply leave it floating overnight in a tub as a leak test.
When it comes to hardware and alignment, reference your plans closely to mark the correct shaft angle and strut height. Ensure the propeller centerline sits just below the waterline for monos and slightly higher for cats. It’s also crucial to keep the motor mount square with the shaft and consider soft-mounting the motor to minimize vibration transmission.
Finally, in the testing and adjustments phase, take it easy on first runs by throttling up to only around 50–70%. Log temperature readings and trim changes carefully. Adjust the battery location in small 5–10 mm increments to find the perfect balance point—the sweet CG position—which profoundly influences handling traits such as turn-in response and porpoising behavior.
Performance Optimization: Making Your RC Hull Faster and More Stable
When learning how to make an RC boat faster, a few critical areas consistently move the needle. First, balance and trim are essential; aim for a center of gravity (CG) mono between 28–33% from the transom, catamarans at 30–35%, and hydroplanes at the sponson ride point. Battery placement emerges as the easiest tuning tool—nose-heavy setups are safe but slow, while tail-heavy ones increase speed but can be twitchy.
Next, thrust angle and ride attitude and hardware fine-tuning can make all the difference: start with a neutral thrust angle, then add 1–2° downthrust if the bow lifts or reduce it if the boat plows. Sharpen trailing edges of strakes and chines for cleaner water release but keep leading edges dull to avoid hooky behavior. Ensure the turn fin and rudder alignment are truly vertical; a slight toe can help calm darting and improve stability tuning.
For lightweight reinforcement, apply carbon tape selectively on the keel, sponson tips, and transom corners to strengthen critical points without adding unnecessary weight.
This approach supports the boat’s structural integrity and maintains agility on the water. Advancing into hydrodynamic shaping and finishing, final wet-sanding to 1000–2000 grit followed by polishing creates a slick bottom that genuinely feels faster. Micro-bevel hatch lips combined with closed-cell foam seals and a light silicone grease smear keep water out and improve overall performance.
Lastly, optimizing prop and power synergy is key: a prop that’s too large generates heat and risks motor blowout, while one that’s too small results in sluggish acceleration.
Adjust prop diameter or pitch one size at a time for the best performance balance. To sum it up, keep this quick optimization checklist handy:
- CG within the target window
- Straight shaft and centered rudder
- Clean, sealed hatch
- Smooth bottom finish and true strakes
- Temperatures under control after 2–3 minute runs
Mastering these areas will help you gain speed without sacrificing control. For a deeper dive, visit how to make an RC boat faster and unlock expert tips for next-level performance.
Conclusion: Why Building Your Own RC Boat Hull is Worth Every Minute
What keeps me hooked is how every small change—one more layer of glass on the keel, a 5 mm battery shift, a crisper strake edge—shows up instantly on the water. Building your own hull merges creative engineering with hands-on problem-solving, making your personal build journey both thrilling and rewarding.
We’ve covered everything from hull fundamentals and material choices to a start-to-finish build path, waterproofing techniques, and key performance tweaks. Whether you’re diving into DIY RC projects to craft a wooden model boat hull for that classic vibe, a fiberglass rocket built for speed, or a cutting-edge 3D-printed prototype to push the boundaries of design, you’ll arrive at a boat that’s truly a reflection of your vision.
If a hover-y, go-anywhere design is more your style, explore RC airboat kits for a fresh take on fun and innovation. These kits are perfect for enthusiasts eager to blend speed, maneuverability, and unique aesthetics into one thrilling experience.
Ready to get started? Here’s a simple way to launch into your project:
- Sketch that plan: Bring your creative ideas to life on paper before touching wood or fiberglass.
- Set up the jig: Establish a solid foundation for precision and reliability in your build.
- Launch your first test run: Let the water be your guide—the performance feedback will spark your next round of hull customization and improvements.
Jump into the exciting world of RC boats and experience firsthand how small tweaks lead to big rewards. Your adventure in DIY RC projects awaits!
Frequently Asked Questions
- What is the best design for an RC boat hull?
There’s no universal “best”—match hull to mission. For versatile fun and easy setup, choose a mono (V-hull). For high-speed on smooth water, a catamaran shines. For maximum top-end with careful tuning, hydroplanes/outriggers are king but need calmer water and precise balance. - How thick should an RC boat hull be?
Depends on size and material. Wood skins: 1.5–3 mm (1/16–1/8 in) over 3–6 mm frames. Fiberglass: typically 1.0–1.5 mm total laminate for small electrics (two layers of ~6 oz cloth), 1.5–2.5 mm for larger/high-power setups. 3D-printed hulls: 1.2–2.0 mm wall with 15–30% infill plus internal ribs. - What materials are best for building an RC boat hull?
For durability and performance, fiberglass with epoxy is my go-to. Wood is fantastic for learning and light builds if well sealed. ABS/plastics are tough and convenient for kits. 3D printing is ideal for rapid prototyping and complex shapes—just seal it thoroughly. - How do you make an RC boat hull waterproof?
Seal inside with two thin coats of epoxy, outside with an epoxy resin finish and paint/clear. For any holes, drill oversize, fill with thickened epoxy, then re-drill. Use closed-cell foam gaskets on hatches and a light silicone grease smear. Always tub-test overnight before the first run. - How do you calculate buoyancy and balance for RC boats?
Buoyancy equals the weight of displaced water. Estimate needed hull volume (in cm³) roughly equal to your ready-to-run weight (in grams). Example: a 1,800 g boat needs ~1,800 cm³ displacement. For balance, start CG at 28–33% of hull length from the transom (mono) or 30–35% (cat), then tune with battery placement. - Can you use 3D printing to make RC boat hulls?
Yes. Print in sections with 1.2–2.0 mm walls, 15–30% infill, and generous internal ribs. PETG or ASA handle heat better than PLA. Bond sections with epoxy, then brush on thin epoxy coats to seal layer lines. Sand, prime, and finish like a composite hull. - What’s the difference between mono hulls, catamarans, and hydroplanes?
Monos ride deeper and handle chop; they’re forgiving and versatile. Cats have two narrow hulls for lower drag and strong cornering on smooth water. Hydroplanes/outriggers ride on minimal contact points (pads/sponsons), giving extreme speed but higher sensitivity to setup and water conditions. - How do you make your RC boat faster without losing control?
Trim CG forward into the stable window, sharpen trailing edges, verify straight driveline, and choose props incrementally. Reduce weight high in the hull, reinforce only critical stress zones, and polish the running surface. Tune thrust angle and rudder/fin alignment to keep tracking true.