The Ultimate Guide to Building and Flying 3D Flat Foam Airplanes
After countless hours testing wings in school gyms and dodging basketball hoops, I fell headfirst into the fascinating world of 3D flat foam airplanes—the kind of RC planes that float, hover, and tumble like they’re defying physics. For those new to the radio control hobby, a 3D flat foam airplane is a lightweight, profile-style foam RC aircraft cut from sheet foam, featuring oversized control surfaces, an impressive thrust-to-weight ratio, and notably low wing loading. This unique combination delivers outrageous agility even at walking speed, setting indoor 3D planes apart in the realm of lightweight aircraft design.
What truly hooked me was the incredible paradox: these flat foam profile planes are forgiving enough to withstand crashes yet precise enough to execute advanced 3D aerobatic patterns like torque rolls, harriers, and knife-edges right inside a gymnasium. My journey began by exploring broad overviews of foam RC designs (see foam model airplane: https://www.swellrc.com/foam-model-airplane/), followed by countless builds, crashes, repairs, and iterations until the patterns became clear. Here’s a teaser—selecting the right foam, making a gram-savvy glue choice, and adjusting the center of gravity by just a few millimeters can elevate a twitchy sheet of plastic foam into a stable, competition-capable aerobat that truly excels in the world of RC planes.
What Makes 3D Flat Foam Airplanes So Special
Understanding why these planes behave differently involves a close look at both the aerodynamics of the flat-plate airfoil and the materials used in their construction. At the slow speeds and high angles of attack typical of indoor aerobatics, a simple flat wing generates ample lift by riding a controlled, attached vortex. This unique flight mechanic allows planes with this airfoil to behave somewhat like helicopters rather than conventional airplanes, especially when paired with generous thrust and very low wing loading.
The result is a nimble aircraft capable of precise maneuvers and easy hovering.
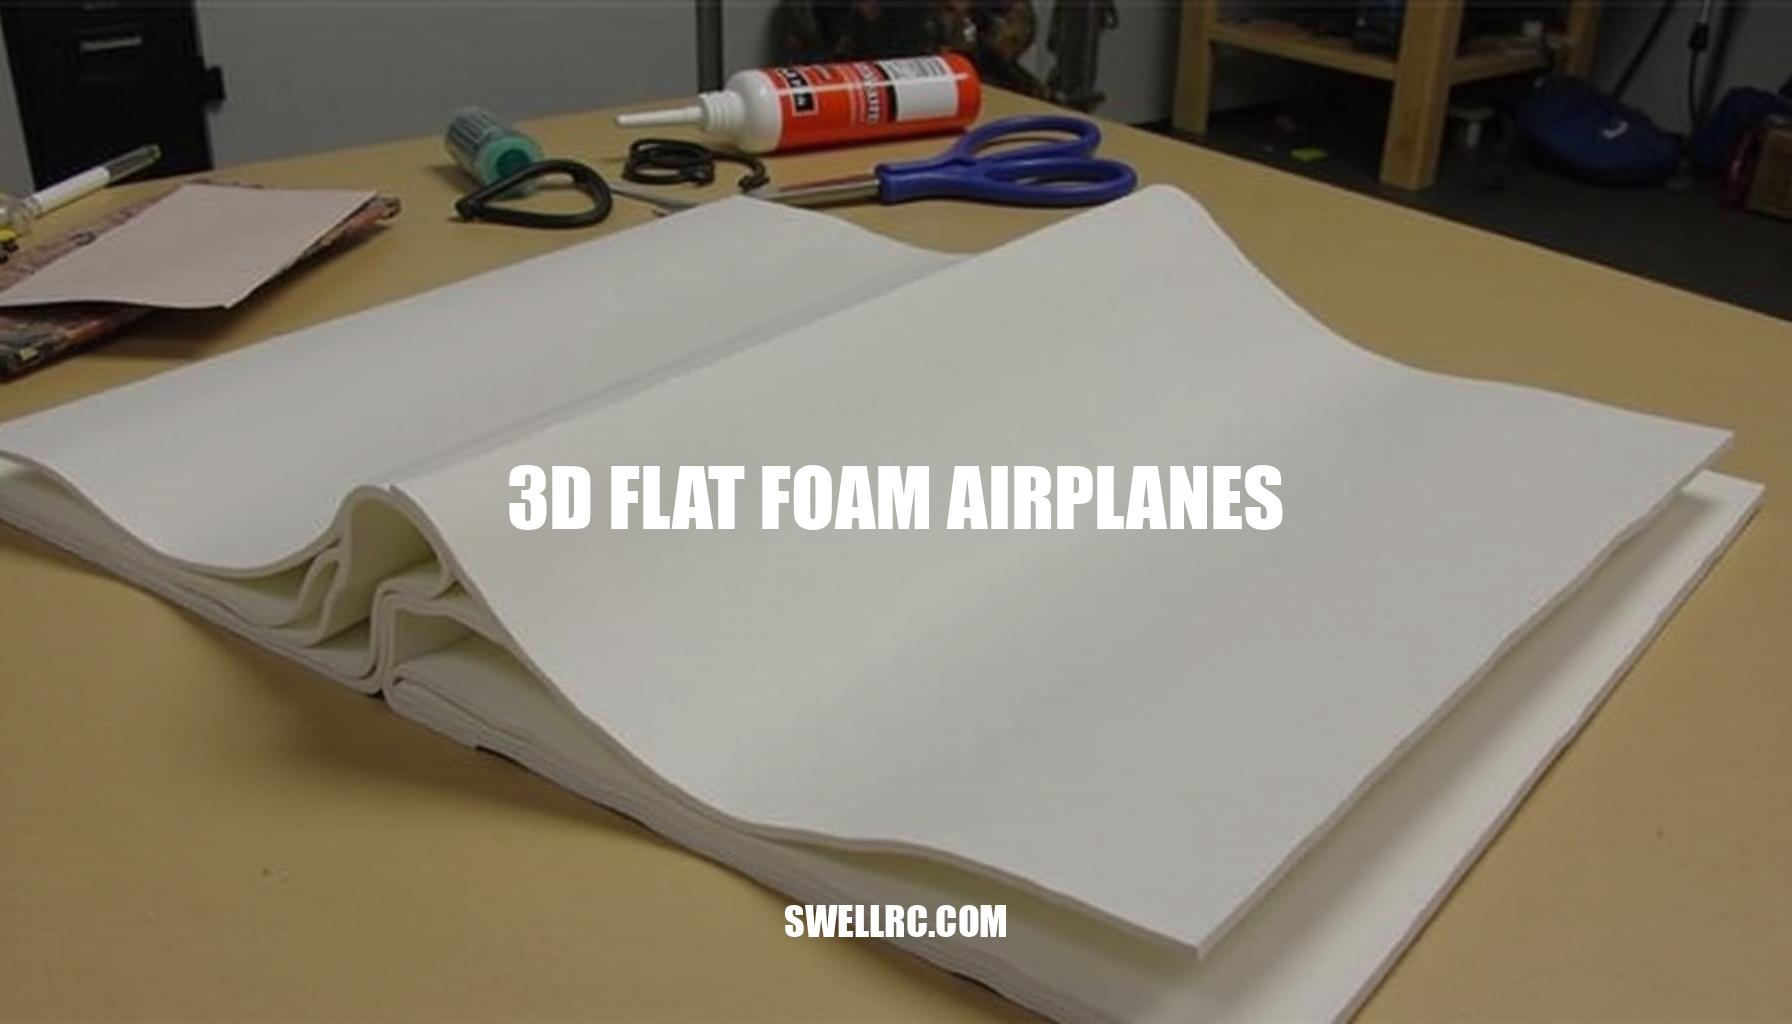
Equally important to flight performance are the materials chosen for the plane’s build. The choice of foam affects density, stiffness, toughness, and ultimately, how the model flies and how frequently repairs are needed. When selecting between popular 3D foam planes materials, options include:
- EPP foam RC planes: Known for their resilience and beginner-friendly durability, EPP foams withstand crashes well and are easier to repair, making them ideal for practice and trainers.
- Depron foam airframes: Offering excellent stiffness and ultra-light weight, Depron is perfect for precision builds and indoor 3D flying where low mass and high responsiveness are crucial.
- Foamboard models: Widely used for budget builds and quick prototyping, foamboard strikes a balance between cost-effectiveness and reasonable stiffness but tends to be heavier and less resilient compared to EPP and Depron.
The advantage of lighter materials indoors cannot be overstated. Lower mass results in slower stall speeds, smaller turning radii, and reduced crash energy, essential qualities for gym flying and precision aerobatics.
Here’s a comparison table summarizing the key characteristics of these popular foams:
| Foam Type | Density / Weight | Stiffness | Impact Resilience | Repair Ease | Cost | Typical Use-case |
|---|---|---|---|---|---|---|
| EPP | Low to Medium | Medium | High | Easy | Moderate | Indoor 3D, Trainers |
| Depron | Very Low | High | Low to Medium | Moderate | Moderate | Indoor 3D, Precision Builds |
| Foamboard | Medium to High | Medium | Low | Moderate | Low | Budget Builds, Prototyping |
Key takeaway: Successful indoor flying demands balancing stiffness for precision and resilience for practical durability. By matching the foam type to your flying environment and repair preferences, you optimize not only your plane’s performance but also your flying enjoyment and maintenance efforts.
Building or Buying: Foam Airplane Kits, Custom Builds, and Modifications
As someone who has experience with both scratch cutting profiles from dollar foam and assembling laser-cut kits that feel like puzzle art, I can confidently say each method brings its own valuable lessons and benefits. Scratch builds can teach you a lot about weight management, ensuring straightness, and mastering repeatability. On the other hand, kits offer a fast, consistent build process and often come with intelligent reinforcements designed to improve durability and ease of assembly.
If you’re new to the hobby, exploring pre-designed foam airplane kits is a fantastic way to shorten the learning curve while still enjoying the thrill of building your own RC plane. These RC plane building kits typically include clear instructions, pre-cut parts, and proven designs that assure predictable weight and geometry.
For those intrigued by customization and modern techniques, integrating 3D printed RC plane parts into your builds can be a game changer. Components like motor mounts, control horns, servo trays, and lightweight brackets printed with low infill add durability and convenience without a significant weight penalty. This approach perfectly blends the best of DIY foam RC building and cutting-edge technology — learn more in this guide on how to make a 3D printed RC plane.
Here’s a quick comparison to help you decide between building from scratch, buying a kit, or combining both methods:
- Scratch build: Lowest cost; medium-to-high time investment; requires skill to make accurate cuts, maintain straight assemblies, and align hinges; offers ultimate customization and freedom in design.
- Kit build: Moderate cost; low-to-medium time; predictable weight and geometry; typically includes good documentation; limited but sufficient customization options.
- Hybrid approach: Combines kits with 3D printed parts for strengthened durability and serviceability without adding weight; excellent for foam RC modifications.
Pro tip: Whichever route you choose, focus on building straight first, then trimming grams. A crooked, light airplane will perform worse than a slightly heavier but perfectly straight one. This principle is key whether you’re tackling flat foam profile planes, kits, or hybrids.
Flight Performance and Aerobatics: The Indoor Arena Advantage
There’s nothing quite like the thrill of indoor 3D planes, especially when you’re hovering just six feet off the floor in a quiet gym. Feathering the throttle to hold altitude, then snapping into a torque roll that spins like a drill bit in slow motion showcases the magic of precision in aerobatic RC flying. Unlocking core maneuvers such as harriers with minimal wing rock, tail-touch hovers, center-court elevator passes, high-alpha knife-edge maneuvers, and mesmerizing pinwheels becomes achievable with flat foam builds that emphasize low wing loading and nimble responsiveness.
To truly translate flight physics into practical setup and flying tips, consider these essential setup parameters for indoor 3D and F3P flying:
- All-up weight: indoor F3P models ideally weigh between 100–160 g; for indoor/park 3D profiles, aim for 220–300 g.
- Center of Gravity (CG): start at 25–30% of the chord and move aft by 1–2 mm increments to increase 3D maneuverability.
- Thrust-to-weight ratio: target between 1.8:1 and 2.5:1, ensuring confident hovers and smooth pull-outs.
- Motor/prop setup: use lightweight 12–20 g outrunners on 2S batteries with large, slow-fly props for F3P planes; for park 3D, choose 18–28 g motors on 2S–3S setups.
- Control throws: set elevator, rudder, and aileron to 45–60 degrees for 3D rates, complemented by 30–40% exponential (expo) initially, adjustable based on feel.
- Structural elements: incorporate carbon strip spars in wings and tail, rigid pushrods, and slop-free linkages for crisp control response.
- Trims: apply 1–2 degrees of right-thrust to counter motor torque and adjust slight down-thrust to manage climb tendencies on throttle.
For inspiration and proven aerobatic RC patterns, studying high-end F3P designs is invaluable — resources like SwellRC’s F3P RC planes gallery showcase top-tier craftsmanship and flying technique. Beginners can safely explore the fundamental physics and orientation skills without heavy investment by crafting powered paper prototypes, such as the paper remote control aeroplane, allowing for gentle control practice indoors.
To hone your skills systematically, start by flying large, stable patterns to build confidence in orientation and throttle control. Then, gradually integrate hover practice near a soft wall or net to safely push precision limits. Finally, refine fine throttle adjustments to master advanced moves like the torque roll, high-alpha knife-edge passes, and precise hovering with tail touches.
By embracing these setup parameters and practicing methodically, you’ll unlock the full potential of your indoor 3D planes and experience the exhilarating world of aerobatic RC flight.
Tips, Tools, and Techniques for the Perfect Build
For any builder aiming to create lightweight, precise RC models, assembling a smart toolkit is essential. Here’s a hands-on, bookmarkable build reference packed with practical tools, weight optimization tips, common pitfalls, and quick fixes to elevate your build techniques.
1. Essential Tools Checklist:
- Sharp hobby knife with spare blades – crucial for clean foam cutting and trimming.
- Metal straightedge and cutting mat – ensures straight cuts and protects surfaces.
- Soldering iron and heat-shrink assortment – for reliable RC plane electronic connections.
- Precision scale (0.01 g resolution preferred) – vital for accurate weight optimization.
- Small square and incidence gauge (or DIY equivalents) – to maintain perfect geometry.
- Foam-safe CA with kicker, UHU Por or contact cement, minimal hot glue – key foam-safe adhesives prevent melting or warping.
- Low-temp hot glue gun for selective joints – provides quick tack without excess weight.
- Carbon strips/rods, pushrod wire, clevises/horns – fundamental for rigid carbon reinforcement and smooth linkages.
- Lightweight servos (e.g., 4–9 g), matching ESC, RX, LiPo – choose smallest reliable electronics to reduce overall mass.
- Magnetic building board or pins for straight assemblies – aids in precision foam building and alignment.
Weight Optimization Tips: Pre-plan wire runs to avoid unnecessary bulk and reduce friction drag. Cut lightening holes where structural safety permits, and always select the smallest, dependable electronics compatible with your design. For deep dive strategies on making ultra-light indoor models, see the detailed guide on how to make super light RC indoor planes.
Common Mistakes and Quick Fixes:
- Over-gluing: Adds grams rapidly. Instead, apply thin adhesive films and allow contact cements like UHU Por to tack before joining surfaces.
- Warped Wings: Caused by uneven glue or tape tension. Pre-bend spar caps to counteract and build on a flat surface.
- Sloppy Linkages: Lead to oscillations. Use snug Z-bends, quality horns, and carbon pushrods for stable control response.
- Weak Hingelines: Avoid failures by using proper hinge tape, scored foam hinges, or blenderm for strength and flexibility.
Adhesive Comparison Table:
| Adhesive | Bond Strength | Flexibility | Cure Time | Weight Added per 10 cm Joint | Best Use |
|---|---|---|---|---|---|
| Foam-safe CA | High | Moderate | Fast (seconds) | Low (approx. 0.1 g) | Bonds foam edges quickly without damaging |
| UHU Por / Contact Cement | Moderate | High | Moderate (minutes to tack) | Very Low (thin film) | Flexible joints, foam-safe lamination |
| Low-temp Hot Glue | Moderate | Moderate | Fast (seconds) | Moderate (approx. 0.3 g) | Selective joints needing quick tacking |
| Epoxy (Spar/Bulkhead Only) | Very High | Low | Slow (hours) | High (approx. 1+ g) | High-stress reinforcements |
Process Flow to Keep Builds Straight: Always dry fit all parts first. Tack key joints lightly to check alignment, then square up assemblies using a small square and incidence gauge. Add carbon reinforcement strips or rods for rigidity.
Apply final glue beads sparingly to reduce weight. Lastly, install hardware and electronics ensuring all linkages and controls align perfectly.
Final Build Check: Balance your model on the marked CG point, verify all control surfaces are at neutral trims, and confirm correct servo directions before the inaugural throttle-up. These precision foam building habits ultimately yield reliable, straight-flying indoor RC planes with optimal weight.
By integrating these RC plane tools and foam-safe adhesives with thoughtful weight optimization and careful build techniques, you’ll avoid common pitfalls and build smarter, lighter, and stronger models.
Conclusion: Why 3D Flat Foam Planes Are the Ultimate RC Playground
After months of trial runs and late-night repairs, my notes all point to one truth: 3D flat foam airplanes deliver maximum fun per gram. The secret lies in a formula that’s both simple and powerful—smart foam choice, straight builds, lightweight electronics, and careful setup unlock slow, precise aerobatics anywhere from a crowded gym to a calm park. These models perfectly blend accessibility, creativity, and performance, making them ideal for anyone passionate about indoor RC flying and RC foam aerobatics.
Why are these planes so captivating?
Here’s what makes 3D foam profiles stand out:
- Cheap to crash: Affordable materials and simple designs make setbacks easy to handle without breaking the bank.
- Quick to fix: Repairs are straightforward, encouraging continuous hobby progression without downtime.
- Endlessly tunable: Adjust your build with small tweaks, like shaving grams or nudging the center of gravity, to perfect your flight performance.
Speaking from personal experience after testing everything from foamboard planes to digital-fabrication hybrids, I finally found my sweet spot in 3D foam flying. It’s a journey of constant learning and improvement, where every lightweight build brings new insights.
Ready to take off? Your next steps are simple:
- Pick a foam material that suits your style.
- Choose between a kit or scratch-building.
- Build it straight and true to achieve optimal flight characteristics.
- Join a local indoor meet or online community to share progress and exchange tuning tips.
Embrace the joy of accessible RC planes and make every flight an opportunity for growth and exhilaration.
The sky’s not the limit—it’s just the beginning of your hobby progression.
Frequently Asked Questions
- What are 3D flat foam airplanes and how do they fly?
They are lightweight profile RC planes cut from sheet foam with large control surfaces, very low wing loading, and high thrust-to-weight. At slow speeds and high angles of attack, a flat-plate wing generates lift efficiently, while powerful motors and big control throws enable hovering, harriers, torque rolls, and other 3D maneuvers. - Which foam type is best for building lightweight RC planes?
For pure lightness and crisp precision, many indoor 3D pilots favor Depron. For durability and crash resistance while learning, EPP is outstanding. Foamboard is affordable and easy to build with, though heavier. The best choice depends on your priorities: precision vs resilience vs budget. - Are flat foam planes good for beginners?
Yes, if you choose a durable material (EPP) and start with tame rates. Flat foam trainers are inexpensive, repairable, and fly slowly. 3D maneuvers themselves are not beginner-easy, but the airframes are forgiving and great for building skills indoors. - How can I make my 3D foam airplane more stable during flight?
Move the CG slightly forward, reduce control throws and add more expo, stiffen the airframe with carbon strips, ensure straight builds with no warps, check for slop in linkages, and fine-tune thrust angles (1–2 degrees right-thrust). Use a slightly larger, slower prop for smoother throttle response. - What’s the difference between EPP and Depron foam for model planes?
EPP is flexible and impact-tolerant, making it ideal for practice and beginners; it’s slightly heavier and less stiff. Depron is lighter and stiffer, giving crisp tracking and precision but it’s more brittle and needs careful handling and bracing. Both bond well with foam-safe adhesives but prefer different reinforcement strategies. - Can you 3D print parts for foam RC planes?
Yes. Print small components like motor mounts, servo trays, control horns, and battery cradles. Use lightweight materials and low infill, and avoid large printed structures that add mass. Printed parts pair well with foam to improve serviceability without a big weight penalty. - What tools or materials do you need to build a foamboard plane?
A sharp hobby knife and straightedge, cutting mat, hot glue or foam-safe CA, packing or hinge tape, small square, carbon rods/strips, pushrod wire and horns, lightweight servos (4–9 g), a suitable motor, ESC, receiver, LiPo battery, and a basic soldering setup. - How do F3P competition planes differ from regular foam models?
F3P models are extreme: ultra-light (often under 150 g), heavily braced with carbon, huge control surfaces, and power systems optimized for smooth, low-RPM thrust. They prioritize precision, neutral handling, and slow-flight control over crash resilience, unlike general EPP park 3D profiles.