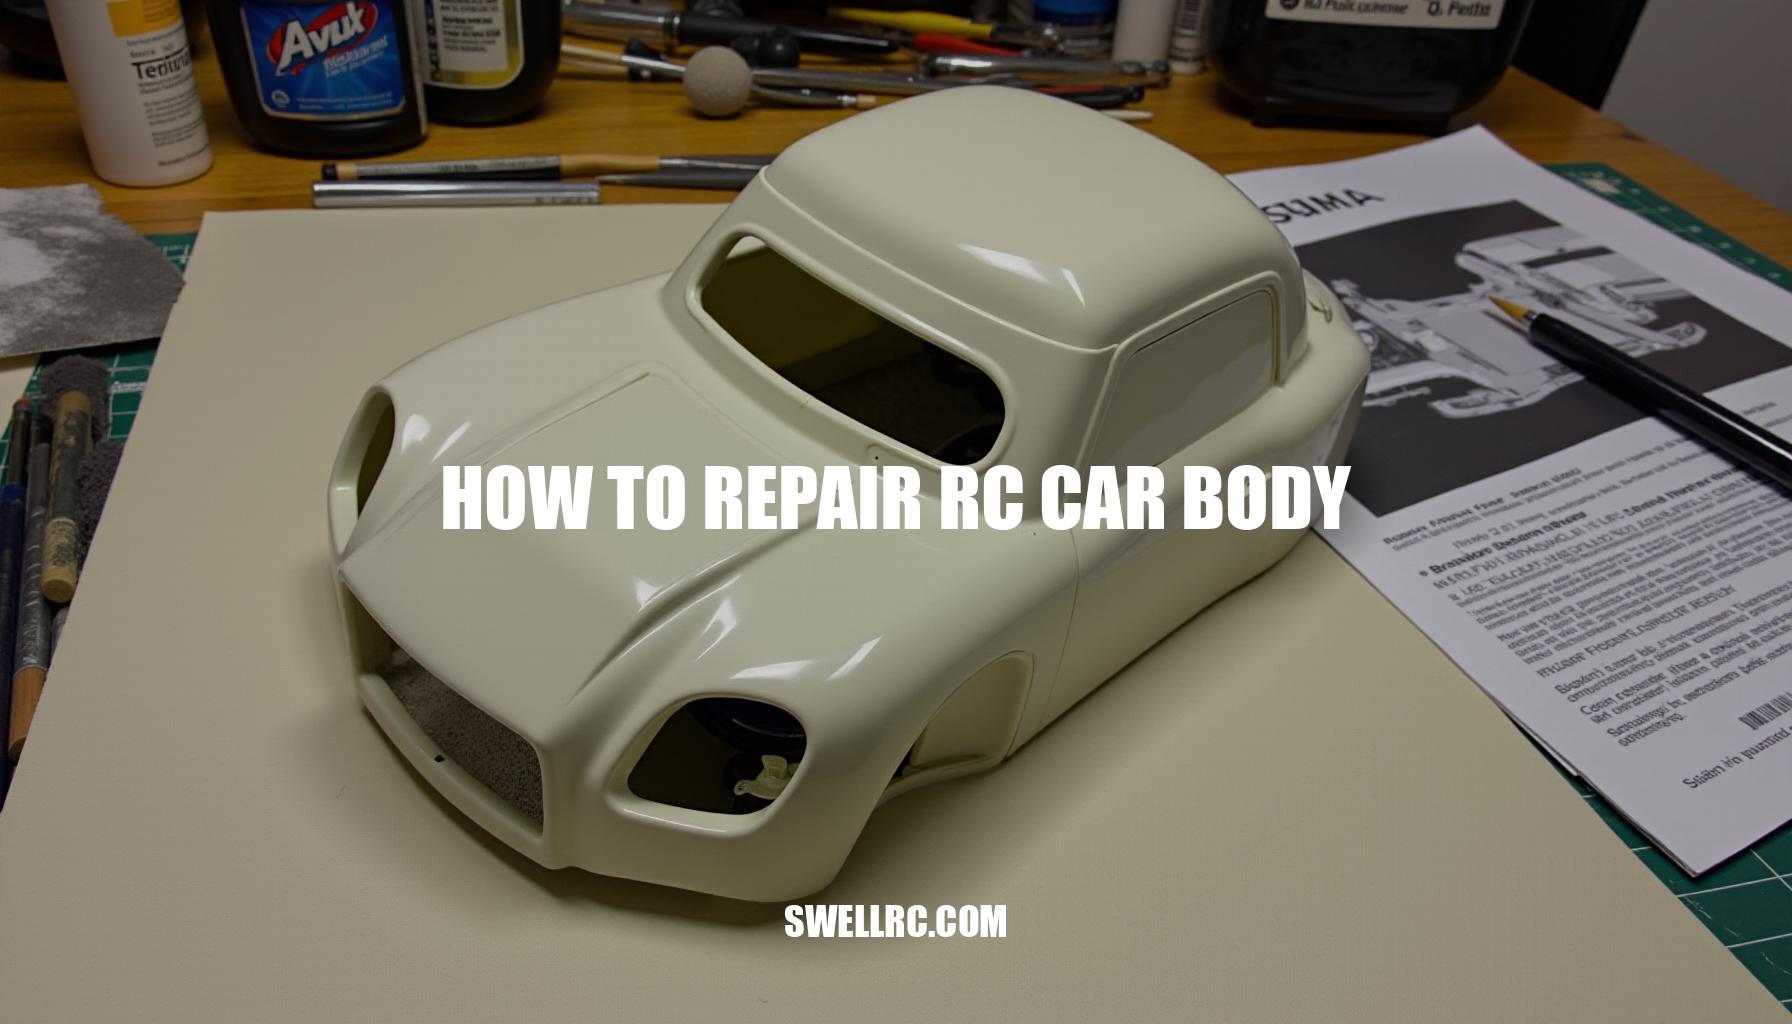
How to Repair RC Car Body: A Comprehensive Guide
I’ll never forget the first time I cracked an RC car shell—there I was, heart pounding after a wild jump gone wrong, staring at that jagged crack and thinking, “Well, there goes my ride.” But then, curiosity took over. I had to try this fix myself. The moment I saw it work—the crack sealing up and the shell looking sturdy again—I was hooked.
It wasn’t just about saving a part; it felt like breathing new life into my favorite machine.
RC bodies take a real beating out there. Whether it’s tumble-filled rollovers, the brittleness caused by cold weather, those inevitable curb kisses, or high-speed cartwheels that test every seam—these shells get knocked around constantly. But here’s the good news: the right repair techniques can bring those battered bodies back to nearly-new strength and looks.
Not all RC bodies are created equal—some are Lexan (polycarbonate), others might use different plastics—and your repair method depends heavily on what you’ve got. If you want to be sure, this resource on what RC car bodies are made from is a great place to start.
In this guide, I’ll walk you through a complete, tested approach to RC car body restoration. From fixing cracks and patching missing pieces to repainting and reinforcing your shell, I’ll share hands-on tips and tricks I’ve learned—insights that even seasoned hobbyists sometimes overlook.
Whether you’re looking for how to repair RC car body damage or mastering RC hobby maintenance, this is your go-to resource for reliable RC car repair that lets you get back on the track faster and stronger than ever.
Understanding Your RC Car Body Type Before You Start Repairs
Understanding how material drives the repair plan is crucial for maintaining and restoring your RC car’s body effectively. Different RC body materials such as polycarbonate/Lexan, ABS, and other blends each have unique properties that influence durability, flexibility, typical damage patterns, and the choice of compatible adhesives and paint preparation methods.
| Material | Durability & Flexibility | Typical Damage Patterns | Compatible Adhesives | Paint Prep Considerations |
|---|---|---|---|---|
| Polycarbonate (Lexan) | Lightweight, highly flexible, impact-absorbing | Stress cracks around body posts; small splitter cracks from flexing | Cyanoacrylate (super glue), plastic welding adhesives | Use polycarbonate-safe paints; avoid aggressive sanding to prevent weakening; light scuffing with 400–600 grit |
| ABS | Heavier, rigid, less flexible but good impact resistance | Cracks and chips, occasional brittle breaks; less prone to stress cracking | ABS cement, epoxy, plastic weld adhesives | Standard acrylic or enamel paints suitable; sanding from 400–1000 grit; primer recommended |
| Other Blends (Polyblend, PC/ABS mix) | Moderate durability and flexibility, varied by specific mix | Combination of crack types; moderate chip resistance | Depends on exact material; usually epoxies or specialized plastic adhesives | Test paint on sample area; generally similar prep to ABS |
Lightweight, flexible Lexan handles impacts differently than hard ABS shells. This means your repair techniques and paint choices must adapt accordingly. For example, the Traxxas 4-Tec 3.0 body—a popular touring platform made of polycarbonate—features a thinner shell that reduces weight but can increase stress around body posts and splitter areas, leading to specific crack patterns requiring gentle sanding and compatible adhesives.
Understanding these nuances helps you preserve real-world fit and finish while ensuring durability during use. For more details on Traxxas RC body material and its effect on damage and repairs, see this resource.
Before starting any repair or paint job, always identify your RC body identification to confirm the material and paint type. Determine whether your existing paint is polycarbonate-safe or standard acrylic/enamel. This is important because sanding or stripping incompatible paints could damage the shell and compromise repair quality.
- Degreaser: Removes oils and grime before repair or paint
- Isopropyl Alcohol: Cleans the surface after degreasing
- Sanding Pads: 400–2000 grit for controlled surface prep depending on material
- Body Reamer: Precisely adjusts post holes for better fit
- Masking Tape: Protects areas during paint and repair
- Body Scissors: Cleanly trims lexan or ABS material
- Heat Gun: Aids shaping and flexing recovery on polycarbonate shells
- Clamps: Holds repairs secure while adhesives cure
- Nitrile Gloves: Protect hands from chemicals and adhesives
- Respirator: Safeguards lungs during sanding or painting
- Lint-Free Wipes: Removes dust without contamination
By understanding the distinguishing features of Lexan vs ABS and other blends, and tailoring your repair and finish approach, you enhance your RC car’s overall durability and visual appeal, ensuring it performs optimally on all tracks and terrains.
Step-by-Step — How to Repair RC Car Body Damage
Repairing your RC car body, whether tackling a cracked RC shell or prepping for a fresh paint job, demands a precise workflow that beginners can follow, while veterans will recognize the value of each nuanced step. Here’s a comprehensive, tested guide packed with pro tips on adhesives curing times, tape orientation impacts on flex, and longevity improvements.
- Inspection and Cleaning: Begin by thoroughly rinsing the shell to remove dirt. Follow with a degreasing step and wipe down the surface using isopropyl alcohol—this removes persistent grime and silicone residue, both notorious for ruining adhesion. Pay special attention to stress lines around wheel arches, body posts, and bumpers, as these are common failure points in polycarbonate repair and ABS plastic repair.
- Surface Prep: Should repainting or blending be necessary, proper stripping is essential. We recommend following the detailed, step-by-step guide at this resource for removing old paint safely. Always wear protective gear and ensure good ventilation to avoid inhaling fumes.
Proper surface preparation primes your RC body painting for long-lasting results.
- Crack Repair: For Lexan shells, perform the classic inside repair: apply drywall tape or fiberglass mesh saturated with Shoe Goo or E6000 and feather the edges well beyond the crack to distribute load effectively. On the outside, consider micro crack stop-drilling with a 1–2 mm bit at crack ends to prevent further propagation. For ABS plastic repair, CA glue combined with baking soda is excellent for filling gaps, but plastic-weld solvent cement or two-part epoxy offers structural strength.
Reinforce internally by bonding styrene or ABS patches for durability. These are some of the best glues for RC car body repair we’ve validated through hands-on tests.
- Holes, Missing Pieces, and Dents: To repair holes, back them on the outside with tape oriented to allow maximum flex—this prevents stiff spots. From the inside, lay mesh and apply adhesive, then carefully remove the outside tape once cured. Comparing RC body filler options, we’ve found Tamiya putty works best for skim coats, epoxy putty excels structurally around body-post holes, and lightweight glazing putty is superior for filling tiny pinholes.
When reshaping ABS with a heat gun, always apply heat gently and incrementally to prevent warping; abrupt heating can damage the shell.
- Sanding, Priming, Painting, and Decals: For Lexan repair, spray paint from the inside using polycarbonate-safe paints for best adhesion and durability. For ABS, use a quality plastic primer and apply color in light, multiple coats. Wet sanding between layers can address imperfections.
From our testing, allowing 10–15 minutes of flash time before applying backing coats like silver or white deepens color vibrancy. For RC decals application, ensure the surface is fully dry, apply decals smoothly using a soft applicator, and inspect post-drying for air bubbles or lifting. A checklist helps maintain consistency:
- Surface fully cleaned and dry
- Primer and base coats cured
- Decals applied carefully, no trapped air
- Final clear coat or sealant applied if desired
- Allow decals to dry for at least 24 hours before handling
- Final Cure and Shake-Down: Allow at least 24–48 hours of cure time before subjecting the shell to hard bashing. Perform a short test run to listen for rattles, check for flex whitening around repaired areas, and ensure repairs do not rub against tires under compression. This final step confirms the longevity and resilience of your work.
After testing numerous RC body fillers and adhesives, it’s clear that epoxy putty holds up best for structural repairs like body-post holes, whereas lightweight glazing putty is perfect for feathering scratches before paint. Similarly, the orientation of backing tape significantly affects flex; applying tape lengthwise allows natural bending, enhancing durability. In adhesives, longer cure times improve longevity, but balancing curing with practical turnaround is key—products like Shoe Goo provide a forgiving working time, while CA glue delivers quick fixes for small cracks.
Reinforcement & Preventative Upgrades
When aiming to make your repaired RC car shell tougher than stock, focusing on inside reinforcement strategies is key to enhancing RC car durability. A proven method involves applying Shoe Goo combined with fiberglass drywall tape across high-stress areas such as arches, body posts, and splitters. This reinforcement tape creates a flexible yet strong barrier that absorbs impacts and reduces shell cracks.
Complement these reinforcements with body-post aluminum washers to distribute mounting stresses more evenly and protect the posts from cracking. Additionally, using Gorilla tape edge guards on exposed shell edges and corners shields against chipping and wear. Internally, foam bumpers and skid plates add a cushioning layer against direct hits and abrasive surfaces, boosting your RC body strength significantly.
| Shoe Goo or E6000 | Fiberglass drywall tape | Medium CA with kicker |
| Two-part epoxy | Epoxy putty | Tamiya fine putty |
| Gorilla tape | Aluminum body washers | M3 hardware assortment |
| Quality masking tape | Polycarbonate-safe paint | Plastic primer |
| 400–2000 grit sandpapers | Heat gun | Respirator and lint-free cloths |
For enhanced structural integrity, consider adding chassis bracing or slight chassis-mounted supports. These DIY braces help in distributing loads more evenly across the frame, reducing stress concentrations that cause shell failure. A great resource for understanding how to build or modify an RC frame for better load distribution is available here.
Implementing these preventative upgrades aligns the structural synergy between your shell and chassis to maximize strength.
Equally important is crash energy management through correct bumper tuning. A well-tuned bumper absorbs collision energy effectively, preventing excessive forces from reaching the shell. Troubleshooting bumper behavior can preempt damage and improve RC bumper replacement cycles.
Comprehensive advice on tuning and troubleshooting can be found here. This fine-tuning is essential for avoiding brittle breaks and extending the life of your reinforcements.
Lastly, consider performance-aligned upgrades like superior tire compounds and foams. Better tires reduce sudden snap-oversteer impacts by improving traction and handling, which indirectly protects the shell from harsh crashes. Experimenters interested in crafting their own tires can explore a detailed guide here, enabling further customization for durability and control.
When to Replace Instead of Repair
When deciding whether to replace vs repair an RC body, it’s essential to weigh the long-term benefits and costs carefully. Repairing might seem cost-effective initially, but certain damage indicators suggest replacement is the smarter route. Consider these signs before committing to fixes:
- Multiple radiating cracks from posts indicating structural fatigue beyond simple patching.
- Spider-webbing across large surface areas that compromises the body’s integrity and aesthetics.
- Plastic gone brittle with white stress marks, signaling material degradation.
- Stretched or torn mounting holes that no longer hold washers, risking insecure fits.
- Repeated failures at the same spot even after proper reinforcement efforts.
- Paint so compromised that stripping and refinishing would cost more than the RC shell’s value.
From a cost and time perspective, replacement often saves hours—and occasionally dollars—over meticulous repair attempts.
New bodies typically reduce weight inconsistencies and restore optimal performance trade-offs that worn shells can’t match. While custom repairs might personalize your RC car, investing in foundational durability upgrades, such as enhanced electronics layout and robust wiring, extends the lifespan of your next shell and simplifies long-term maintenance. For guidance on building a better circuit system, explore this detailed tutorial.
If you prefer a creative approach or fresh project, consider transforming small die-casts into tiny RCs for a fun customization challenge (Hot Wheels conversion guide).
Alternatively, go big with a custom basher build to maximize durability and performance (RC monster truck build). These paths complement your passion for RC car customization and promote meaningful upgrades.
Ultimately, choosing to replace instead of repair is sometimes the smartest upgrade of all—balancing RC shell cost, durability, and performance for a more satisfying driving experience.
Troubleshooting and Additional Resources
When facing post-repair issues like paint lifting, fisheyes, orange peel, or glue fogging, understanding quick fixes and diagnostic steps is key to extending the life of your RC model. Common problems include:
- Paint lifting: Often due to improper surface prep. Clean and scuff the area well, ensuring you use the correct paint type compatible with the substrate.
- Fisheyes or craters: Caused by silicone contamination.
Use a panel wipe and tack cloth to eliminate residues before painting.
- Orange peel: This uneven surface arises from incorrect spray distance or temperature. Correct by wet-sanding and then recoating with proper technique.
- Glue fogging on ABS: Typically from CA glue fumes; apply CA sparingly, ensure good ventilation, and polish the fogged area carefully.
- Tape/mesh delamination: Results from insufficient scuffing—key the surface thoroughly before applying adhesive for better bonding.
- Visible repair lines under paint: Feather filler more smoothly and use a high-build primer to blend transitions seamlessly.
- Stress whitening after a bash: Indicates reinforcement failure; add reinforcements or reduce body-post preload to minimize stress.
For diagnostic steps, start with visual inspection under good lighting, followed by tactile checks for uneven surfaces or delamination areas. Document your findings and decide whether to rework or live with the flaw based on severity and impact on performance.
Here’s a short decision tree:
| Issue Severity | Action |
|---|---|
| Minor cosmetic defect | Live with or minor touch-up |
| Functional impairment or spreading damage | Rework or reinforce |
Expanding your skills through cross-discipline fixes enhances your troubleshooting arsenal. This aircraft repair guide exemplifies the mindset shift needed to approach problems creatively across RC domains.
Keep experimenting, logging results meticulously, and iterating your methods. Remember, small improvements in preparation and reinforcement add up — resulting in a body that lasts far longer than stock.
Embrace the journey of continual refinement for the best in RC troubleshooting and repair.
Conclusion — The Joy of Bringing Your RC Car Back to Life
Embarking on an RC body restoration journey begins with identifying the right shell material—be it polycarbonate, ABS, or fiberglass—and choosing the perfect repair method that suits it. Smart reinforcement techniques not only strengthen your shell but also set the stage for long-term maintenance. Remember, the true RC hobby pride comes from saving and upgrading a cherished shell, not just swapping it out for a new one.
To keep your machine performing at its best, incorporate routine checks after every hard run, and schedule seasonal refreshes to catch tiny issues before they develop into stubborn cracks.
Here’s a quick guide to keep your restoration on track:
- Identify shell material: Know your RC body’s composition for proper repair.
- Repair with precision: Use adhesives and techniques compatible with the material.
- Reinforce smartly: Add strength without adding unnecessary weight.
- Maintain consistently: Regular inspections and touch-ups ensure durability.
At the heart of this process lies the rewarding feeling of DIY repair satisfaction and a commitment to continuous improvement. After all the glue, sanding, and late-night testing—you realize it’s not just about repair; it’s about keeping your favorite machine alive.
Frequently Asked Questions
- What’s the best adhesive to fix a cracked RC car body?
For flexible Lexan/polycarbonate, Shoe Goo or E6000 combined with fiberglass/drywall tape on the inside provides strong, flexible repairs. For hard ABS shells, use medium CA with baking soda for quick gap-filling, plastic-weld solvent cement for true fusion, or a two-part epoxy for structural patches. - How do you repair scratches and dents on an RC car shell?
Light scratches can be wet-sanded and polished. For deeper scratches or dents on ABS, skim with plastic putty or epoxy putty, sand smooth, prime, and repaint. On Lexan, focus on inside reinforcement and repaint from the inside; outside cosmetic scratches can be minimized with fine sanding and clear coats if painted externally. - Can you repaint an RC car body after repairing it?
Yes. For Lexan, scuff and paint the inside with polycarbonate-safe paint after repairs cure. For ABS, use plastic primer, apply thin color coats, and wet-sand between layers if needed. Always allow full adhesive and filler cure times before painting. - What materials are RC car bodies made from?
Most are polycarbonate (Lexan) for flexibility and impact resistance, while some scale bodies use ABS or styrene for detail and rigidity. Each material needs different adhesives, prep, and paint types. - How do you reinforce your RC car body to make it stronger?
Reinforce high-stress areas from the inside with drywall tape or fiberglass mesh saturated with Shoe Goo/E6000, add aluminum body washers at posts, use foam bumpers, and protect edges with tough tape. Consider chassis or frame bracing to reduce shell flex loads. - Is it worth replacing vs repairing an RC shell?
Replace when the shell has widespread spider cracks, brittle plastic, repeatedly failing repairs, or stretched post holes that won’t hold. If repair costs and time approach the price of a new body—or weight and aesthetics suffer—replacement is the better option.


