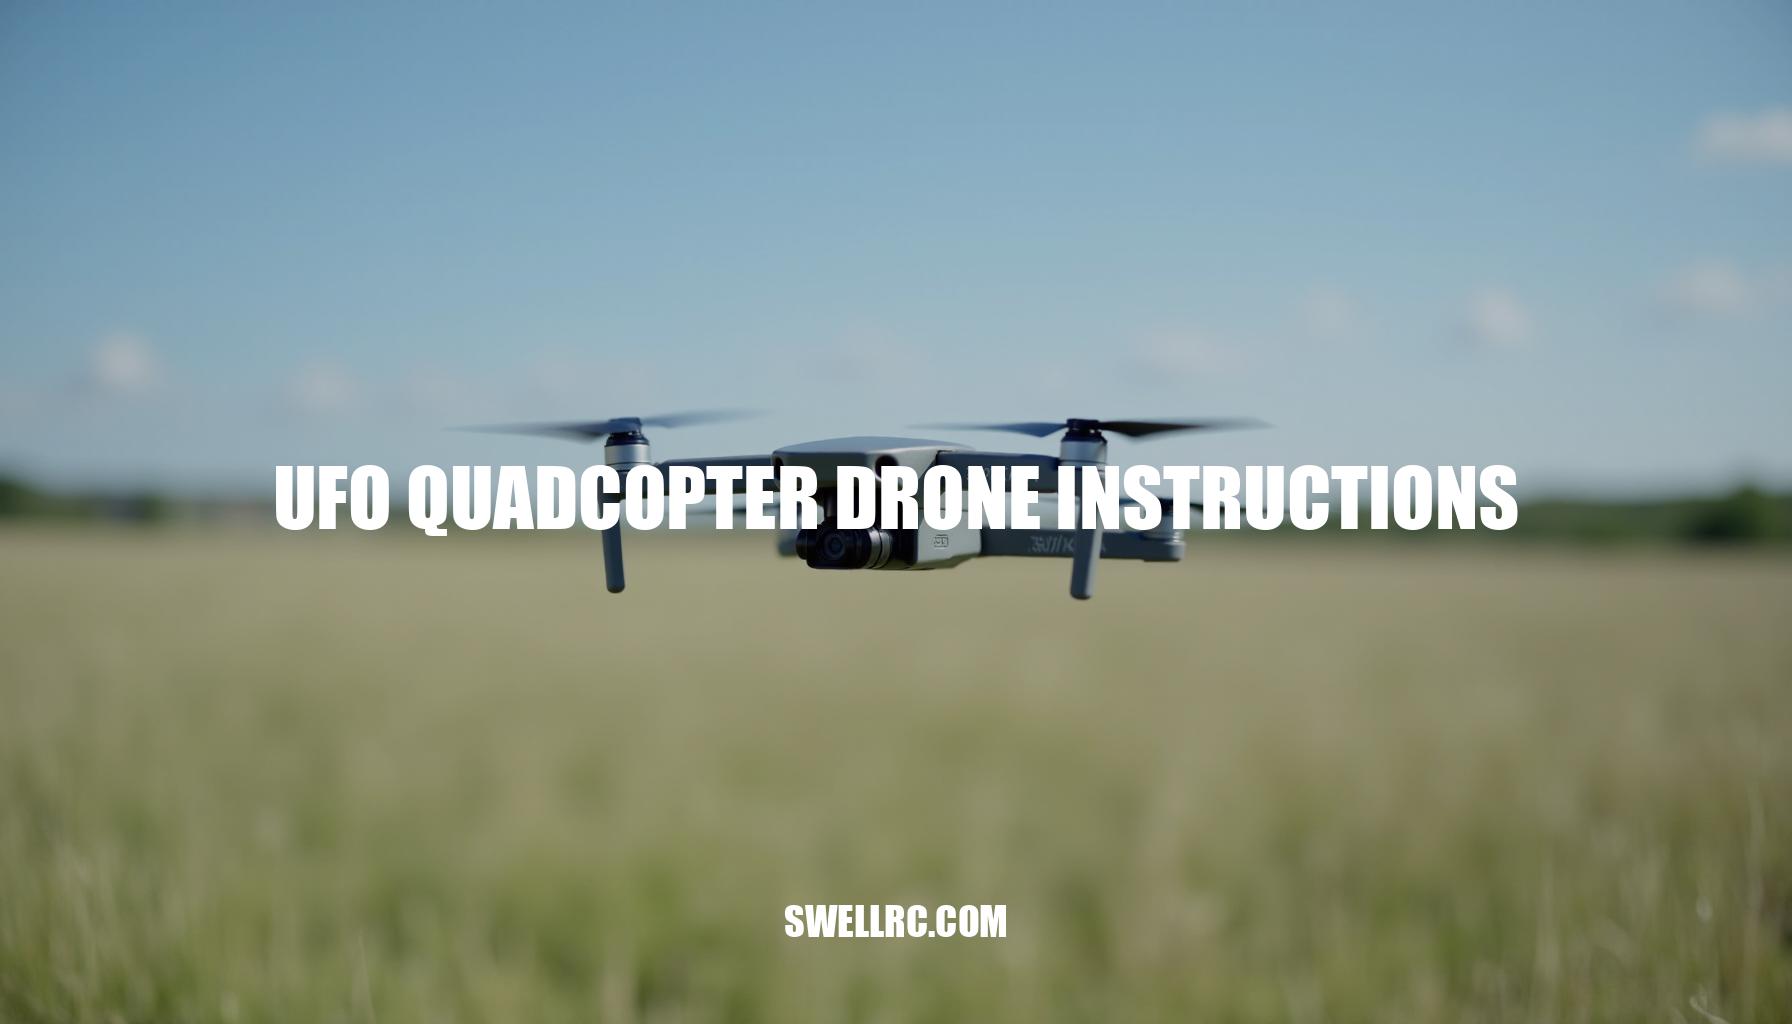
UFO Quadcopter Drone Instructions: Mastering Flight Control and Safety
The tiniest drones often deliver the biggest smiles, and the UFO drone is a perfect example of this. Compact yet durable, it stands out as an excellent choice for beginners and curious hobbyists exploring the exciting world of quadcopters. After testing multiple models over several weekends, I consistently returned to the UFO style because its intuitive design makes quadcopter setup straightforward, while its responsive controls ensure an engaging flying experience.
This drone flight guide distills those hands-on sessions into clear, step-by-step instructions you can follow today, making it ideal for those seeking a beginner drone flying tutorial. If you’re itching to get airborne fast, I also found this primer helpful for newcomers: how to fly a UFO drone (https://www.swellrc.com/how-to-fly-a-ufo-drone/). Let’s dive into the essential RC drone startup steps—including setup, calibration, first flights, and easy fixes—so your quadcopter feels rock-steady from takeoff to touchdown.
Pre-Flight Setup and Calibration
To ensure a smooth flight and avoid those frustrating “why won’t it lift?” moments with your RC drone, it’s crucial to follow essential RC drone startup steps and quadcopter safety checks. Start by charging the battery correctly; use the included USB charger on a non-flammable surface and allow the typical 1S LiPo (300–600 mAh) battery about 40–90 minutes to fully charge. The charger’s LED usually changes from red to green when fully charged.
Remember to let the battery cool down after each flight before recharging to maintain battery health.
Next, perform a thorough inspection and assembly routine. Check the drone’s frame for any cracks, ensure motor mounts are tight, and that prop guards fit snugly. Matching the propellers to the motor direction (A/A and B/B or CW/CCW) is vital—incorrectly installed or reversed props are the #1 reason for a drone failing to lift.
Proper battery charging tips and pre-flight inspections go hand in hand with safety.
The power-on sequence matters: always turn on the transmitter first, then connect the battery to the drone while it rests on a perfectly flat surface. Keep the drone still during boot-up to allow correct sensor initialization. For drone controller calibration, bind the controller by moving the throttle stick up until a beep sounds, then down until a second beep is heard.
Steady lights indicate the pairing is successful. If your model supports app integration, consult guides like how to connect a DEERC drone to your phone for detailed pairing instructions.
Calibrate the gyroscope by placing the drone on a level surface and holding both sticks down and outward (or inward) for 2–3 seconds until the LEDs flash then go steady. This step eliminates drift and is similar to processes in many micro drones, such as those outlined in Avialogic mini drone instructions.
Before you take off, check trims and throttle response by gently arming the drone. If it creeps in any direction, land immediately and fine-tune the trims to ensure stable flight. This attention to detail in quadcopter safety checks minimizes mid-air surprises.
| LED Signal | Meaning |
|---|---|
| Steady lights | Paired and ready |
| Slow blinking | Searching/binding |
| Rapid blinking | Calibration in progress or error state |
| Blinking red | Low battery – land immediately |
| Front/back color split (blue/red) | Orientation aid (blue = front, red = rear on many models) |
Before lift-off, confirm your battery is fully charged, props are correctly matched, the transmitter is bound, the gyro is calibrated, and your takeoff area has a clear 5-meter radius free of people or pets. Adhering to these RC drone startup steps and understanding the UFO quadcopter LED signals ensures a safe and enjoyable flying experience. Remember: Never leave LiPo batteries charging unattended and avoid overcharging or using damaged cells.
Safely recycle any battery packs that appear puffy or compromised.
How to Fly the UFO Quadcopter Drone Like a Pro
After a dozen short practice flights, my confidence—and hover time—skyrocketed thanks to a solid drone flight guide that streamlined every movement. If you’re wondering how to fly a UFO quadcopter or seeking a beginner drone flying tutorial, here’s the effective flow that helped me master orientation and balance through precise steps.
- Gentle takeoff: Arm your drone at low throttle, then increase gradually until the quad rises about 30–50 cm. Pause here to sense the hover point, crucial for smooth control.
- Hold a steady hover: Use tiny stick inputs, and if you notice drifting, tap the trim buttons for adjustment. This trimming controls technique stabilizes flight. Keep the drone in front of you with the “front” LEDs pointing away — this visual alignment helps maintain intuitive control and orientation.
- Basic directions: Practice pitching forward and backward for slow cruising. Yaw (rotating) in place helps re-center the nose, and combining small yaw with pitch enables smooth turning maneuvers.
- Side slides and figure eights: Integrate gentle rolls to sidestep obstacles. Flying wide figure eights at chest height builds essential muscle memory for balance and control.
- Height management and landing: Descend in incremental steps and land by gradually reducing throttle. Avoid abrupt throttle cuts from high altitudes to prevent sudden drops.
Callout: Trimming for silky control
Persistent drifting after calibration? Apply 2–4 clicks of opposite trim. If trim adjustments go beyond halfway, recalibrate your drone to restore smooth flight.
To deepen your understanding, check out these resources: how to fly RC drone and how to fly a mini drone for beginners.
Common mistakes to avoid:
- Taking off from uneven surfaces, which causes instant drift.
- Incorrect propeller orientation, leading to no lift or dangerous flips.
- Flying with a low battery — voltage sag results in wobble and drop.
- Overcontrolling with big stick movements that create oscillations rather than smooth flight.
Troubleshooting and Common Flight Issues
If you’re diving into drone flying, understanding common issues and their fixes is crucial for a smooth experience. Here’s a drone troubleshooting guide that covers frequent problems like how to troubleshoot drone not lifting off, gyro miscalibration, motor spin issues, and signal loss. By addressing these real-world fixes, you can ensure your sessions remain uninterrupted.
| Issue | Cause | Quick Fix |
|---|---|---|
| Drone won’t pair | Wrong power sequence or interference | Turn TX on first, then the drone. Move 3–5 m away from Wi‑Fi routers; rebind. |
| Motors spin, no lift | Wrong props or bent props | Match A/B props to motor labels; replace bent props. |
| Flips on takeoff | One motor reversed or prop mis-matched | Verify motor direction and props; recalibrate gyro. |
| Constant drift | Uneven surface or bad calibration | Recalibrate on dead-level surface; add small trim. |
| Shaky hover | Low battery or damaged prop | Swap to fresh pack; replace nicked props. |
| One motor not spinning | Hair in motor or failed motor | Clean carefully; if still dead, replace motor. |
| Sudden drop mid-flight | Low voltage cut-off | Land at first red blink; charge fully; avoid flying to LVC. |
| Short range / signal loss | Antenna orientation or low TX batteries | Point TX antenna tip away from drone; replace TX batteries. |
Pro tip: Maintain a solid link by keeping line-of-sight, fresh transmitter batteries, and minimizing nearby 2.4 GHz noise (put phones in airplane mode when possible). These small steps can prevent common signal loss and other connection issues.
If you’re crossing over from helicopters, this quick reference is invaluable: Sky Rover helicopter troubleshooting. For more advanced platform habits like preflight checks and environment awareness—which are essential in motor spin issues and gyro miscalibration troubleshooting—see how to fly a DJI drone.
Upgrades, Customizations, and DIY Experimentation
Pushing a UFO drone beyond its stock capabilities is where the tinkering gets truly exciting—and each modification reveals new insights about stability and control. Recommended upgrades and accessories include:
- Spare batteries with proper C-rating: These provide more airtime and reduce voltage sag, ensuring consistent performance.
- High-efficiency or slightly larger props (within motor limits): Enhanced propellers offer quieter, smoother lift and improved handling.
- Prop guards and soft landing feet: Essential for protecting motors and facilitating indoor practice sessions safely.
- Anti-vibration pads or camera mounts: These help achieve cleaner footage when using micro cameras.
- Better USB charger or parallel charge board (for multiple packs): Ensures a sane turnaround time between flights, keeping your drone ready to go.
- Carry case: Keeps props straight and gear organized, perfect for transport and storage.
Adding a tiny camera with lightweight AIO FPV cams or clip-on recorders is a great way to capture aerial footage, provided your frame supports the extra weight. Keep in mind that camera add-ons can reduce flight time.
For creative builds and inspiration, check out how to make a mini drone with camera (https://www.swellrc.com/how-to-make-a-mini-drone-with-camera/).
For DIY drone experimentation enthusiasts, swapping props to fine-tune throttle feel and stability or trying mild frame dampening to reduce jello can significantly enhance flight quality. If you’re curious about hybrid projects, the guide on how to make an RC plane out of a drone (https://www.swellrc.com/how-to-make-an-rc-plane-out-of-a-drone/) provides inspiration for fun weekend experiments.
Fly responsibly: Remember that extra weight changes handling and increases momentum. Always recalibrate your drone after every hardware change and keep clear of people, pets, and property to ensure a safe flying experience.
Conclusion: The Journey from Novice to Skilled Pilot
From that first nervous hover to smooth figure eights, every minute with a UFO quadcopter teaches timing, orientation, and finesse. After testing multiple models, the biggest game-changers for me were drone controller calibration, matched props, and tiny stick inputs—those three alone transformed my control and confidence in the air.
As you move through the beginner to advanced progression, it’s crucial to keep safety in mind. Performing thorough quadcopter safety checks before each flight ensures both your equipment and surroundings are secure, helping you focus on improving your skills.
For those looking to expand their knowledge, a great next step is learning how to fly a UDI RC drone. SwellRC offers a comprehensive drone flight guide built for exactly this kind of progression—providing clear instructions, practical fixes, and inspiring ideas that nudge you toward more confident, creative flying.
- Master drone controller calibration for better responsiveness
- Perform regular quadcopter safety checks to protect your investment
- Develop precision with subtle stick movements
- Explore new techniques through trusted guides like SwellRC
See you in the air as you continue your journey from novice to expert pilot!
Frequently Asked Questions
- How do I pair my UFO quadcopter with the controller?
Turn on the transmitter first, then connect the drone battery on a flat surface. Move the throttle stick up, then down to bind (you’ll hear beeps and see steady LEDs). If pairing fails, re-power both, increase distance from Wi‑Fi routers, and try again. - What do the different LED indicator lights mean on a UFO drone?
Common patterns: steady lights = paired and ready; slow blink = searching/binding; rapid blink = calibration or error; blinking red = low battery; front/back colors help orientation. Check your manual for model-specific codes. - Why won’t my UFO quadcopter take off or respond to controls?
Likely causes: wrong prop placement, unpaired transmitter, bad calibration, or low battery. Match A/B props to motors, rebind, recalibrate on a level surface, and try a fully charged battery. - How long should I charge my UFO drone battery?
Most 1S LiPo packs (300–600 mAh) take 40–90 minutes with the stock USB charger. Stop when the charger LED turns green and never leave LiPos charging unattended. - What are the best beginner flying tips for UFO quadcopters?
Take off from a level surface, keep the nose pointed away for easy orientation, use tiny stick inputs, trim out drift, fly at chest height, and land before the battery hits low-voltage warning. - How do I calibrate the gyroscope on a UFO quadcopter?
Place the drone on a perfectly flat surface. Power on, then hold both sticks down and outward (or inward) for 2–3 seconds until LEDs flash and become steady. Procedures vary slightly by model. - Can I attach a camera to a UFO quadcopter drone?
Yes, if the frame and motors can handle the weight. Use ultra-light micro cameras or AIO FPV units, expect shorter flight times, and recalibrate after installation. - How do I troubleshoot common flight stability issues?
Recalibrate the gyro on a level surface, replace bent or nicked props, use a fresh battery, and add small trim. If wobble persists, inspect motors for hair/debris and confirm prop orientation.